How To Paint Over Oil-based Paint Without Sanding Indoors
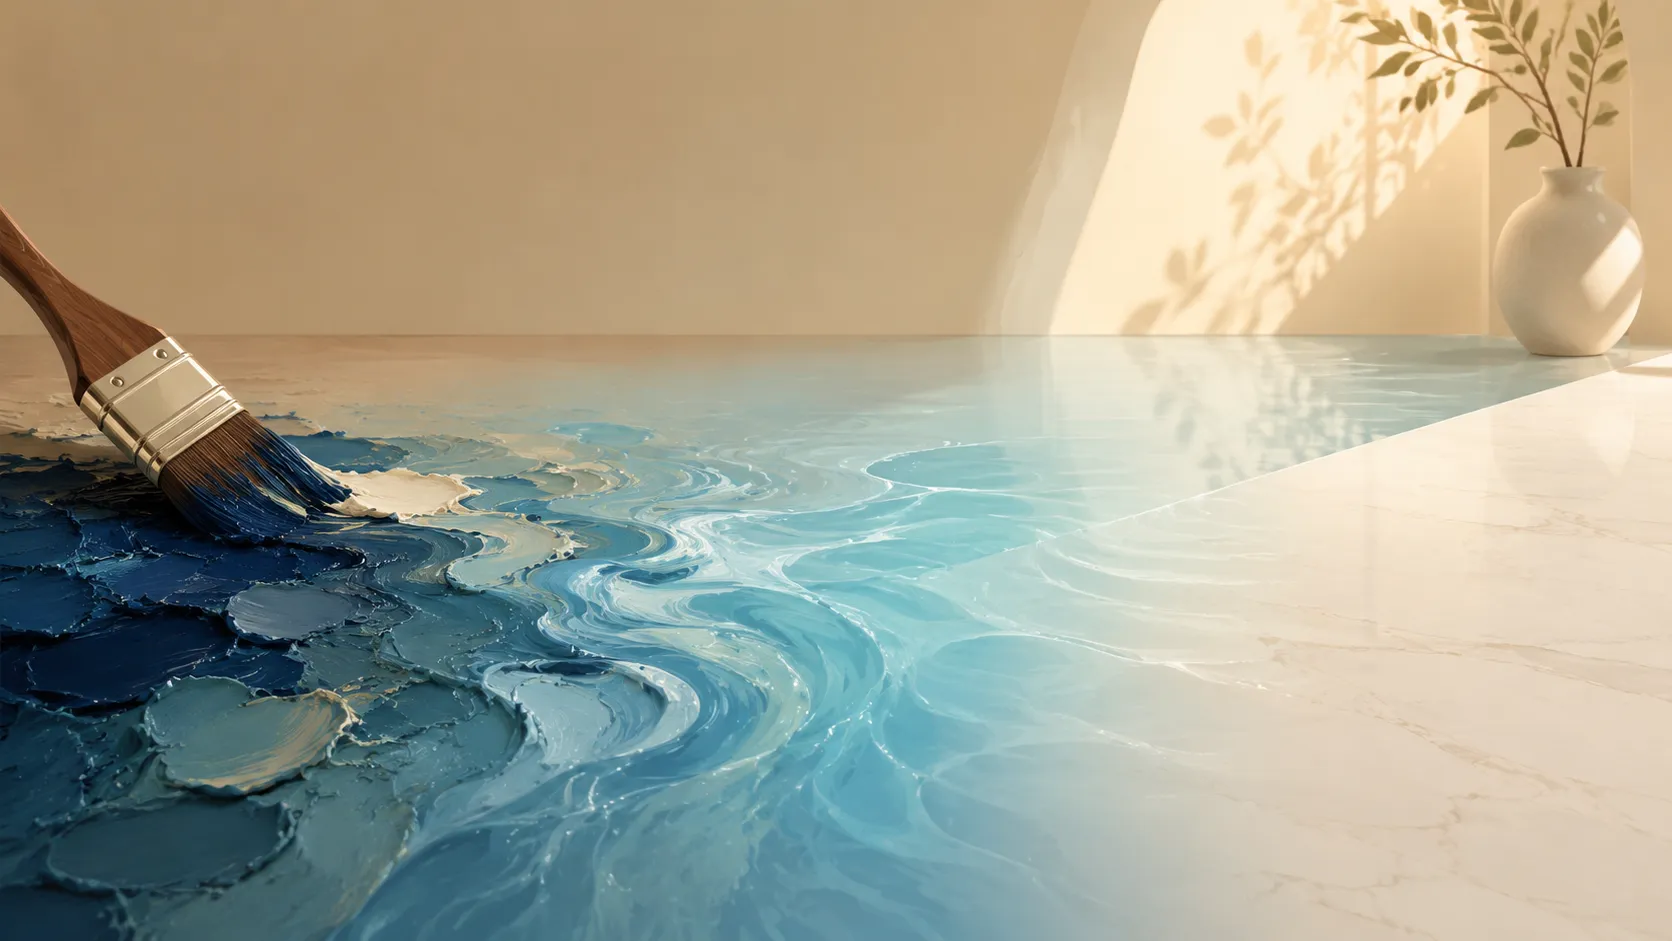
Painting over old oil-based paint without sanding is possible, but the result depends heavily on how well the surface is prepared. Because cured oil paint forms a hard, smooth film, many water-based coatings cannot bond reliably to it on their own. A surface may look flawless immediately after painting and still begin peeling, chipping, or scratching weeks or months later.
The good news is that you do not always need to sand every inch of the surface. Thorough cleaning, a suitable liquid deglosser, and a high-adhesion bonding primer can provide an effective alternative when the existing coating is sound. This approach is especially useful for doors, trim, cabinets, and detailed surfaces where extensive sanding creates unnecessary dust or is difficult to perform evenly.
Before painting, first confirm what type of coating is already on the surface. Then remove grease and residue, dull the gloss with an appropriate deglosser, and apply a primer specifically designed for difficult or glossy finishes. Once the primer has cured according to its manufacturer’s instructions, apply a compatible topcoat in controlled, thin layers.
The important distinction is that skipping sanding does not mean skipping surface preparation. If the old paint is peeling, flaking, badly damaged, or contaminated, additional mechanical preparation may still be necessary. The goal is not simply to avoid sandpaper; it is to create a stable surface that gives the new coating a dependable foundation.
Contents
Why Oil-Based Surfaces Usually Resist New Paint Layers
Cured oil-based paint creates a dense, durable film that is often smooth and glossy. That hardness makes it excellent for surfaces exposed to frequent handling and cleaning, but it also leaves the new coating with very little texture to grip. Many modern water-based paints cannot form a dependable bond when applied directly to that slick surface.
This is why sanding has traditionally been recommended before repainting oil-based finishes. Light abrasion creates microscopic scratches that give primer and paint additional mechanical grip. When sanding is not practical, a properly formulated deglosser and bonding primer can provide an alternative by reducing surface gloss and improving chemical adhesion.
The Hard Glossy Structure of Oil-Based Paint
Oil-based paint cures primarily through oxidation, gradually developing a hard, tightly formed coating. Older finishes can become particularly resistant to new paint as they continue to harden over many years. Their durability is useful during everyday use, but it also means the surface should be treated as a nonporous coating rather than a surface that fresh paint can easily penetrate.
Why Latex Paint Struggles to Bond
Water-based latex paint is flexible and convenient, but flexibility does not compensate for poor adhesion. When it is applied directly to a slick oil-based finish, the coating may dry normally while remaining weakly attached underneath. Everyday contact, cleaning, humidity, and temperature changes can then expose the problem and cause the new paint to lift or peel.
How to Identify Oil-Based Paint Before Starting
Identifying the existing coating before choosing a primer can prevent a costly repainting mistake. Oil-based paint is especially common on older trim, doors, cabinets, and other surfaces that were designed to withstand repeated handling. Because the finished surface can resemble newer coatings, a simple test is useful before you begin preparation.
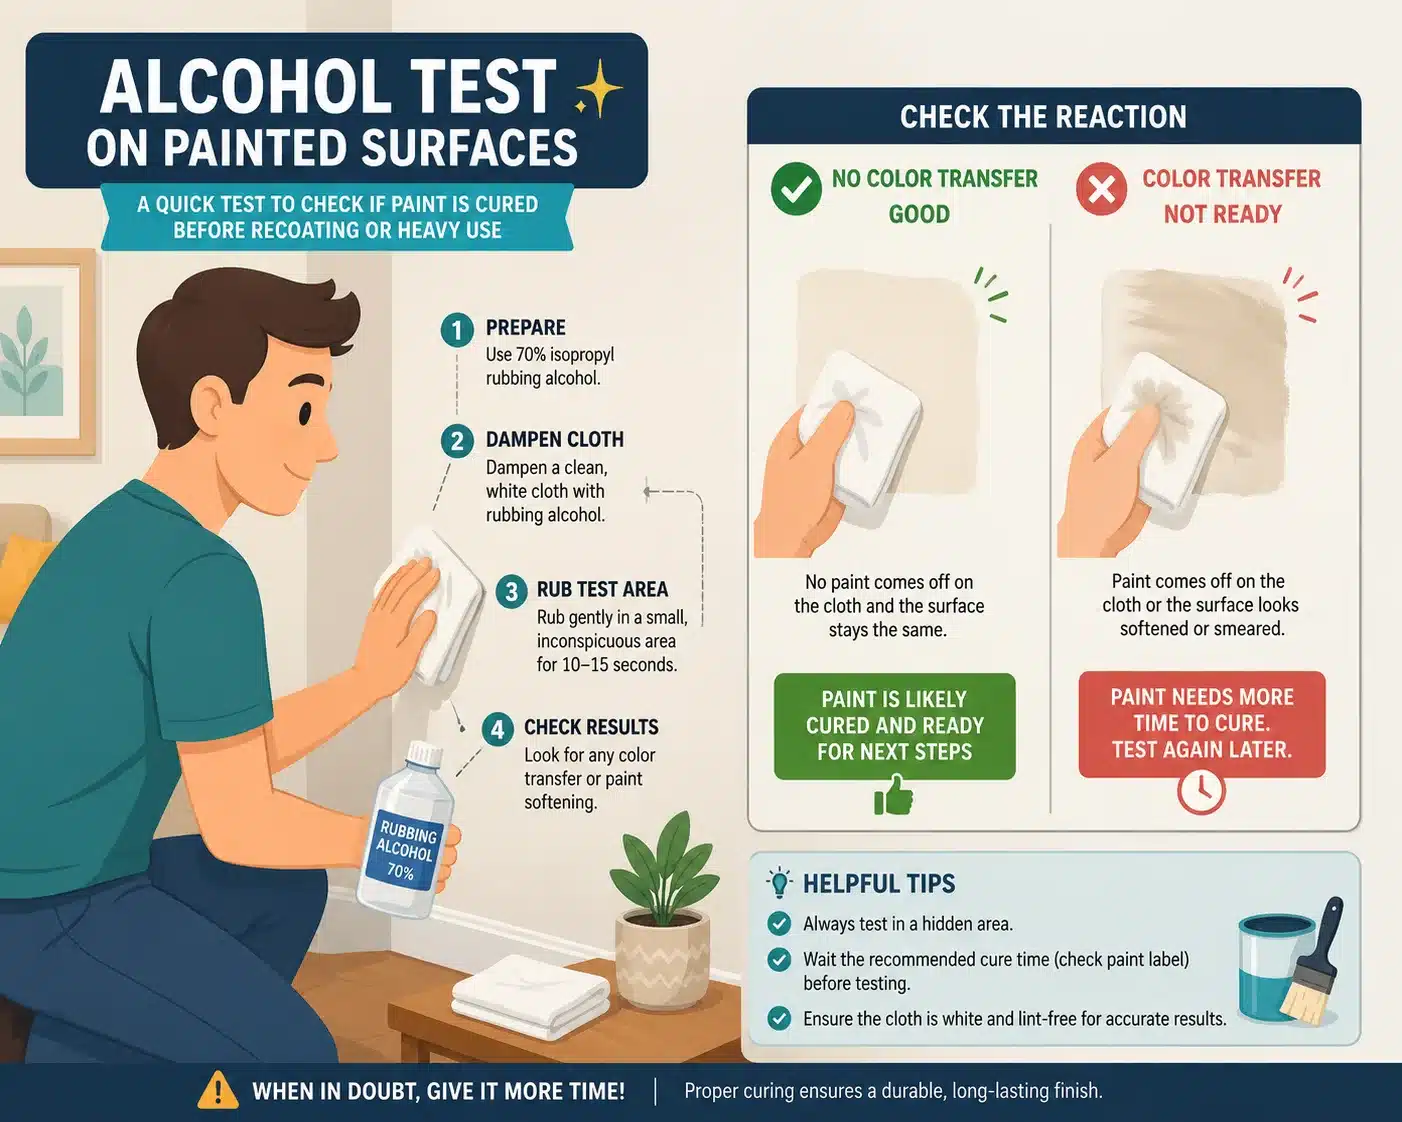
One practical method is the alcohol test. Rub a cotton ball or clean cloth dampened with denatured alcohol over a small, inconspicuous area. If the paint softens or transfers to the cloth, the coating is more likely to be water-based. If the finish remains intact and no paint transfers, it may be oil-based. Treat the result as an identification aid rather than a substitute for product information or professional testing when the coating’s composition is uncertain.
The Alcohol Test Explained
The test works because many cured latex coatings react to alcohol more readily than oil-based coatings. Choose a hidden location and use only a small amount of solvent. Avoid testing on a highly visible area until you know how the existing finish will react. If the coating cannot be identified confidently, check old paint records or consult a paint professional before selecting the primer and topcoat.
Safety tip: If the property is older and there is a possibility that the existing coating contains lead, do not sand, scrape, or disturb it until you have determined the appropriate lead-safe procedure.
Cleaning and Deglossing the Finish Before Painting
Skipping sanding does not mean skipping preparation. In fact, preparation becomes even more important when you avoid sanding because chemical adhesion must replace mechanical adhesion. Dirt, cooking grease, furniture polish, wax residue, and even invisible oils from fingerprints can interfere with primer bonding.
Professional painters often begin by washing surfaces thoroughly with a degreasing cleaner such as TSP (trisodium phosphate) or a modern substitute. Bob Vila’s painting guide specifically recommends deep cleaning before applying water-based paint over oil paint because contaminants reduce adhesion dramatically.
Think of the surface like a windshield covered in oily film. Even the best paint cannot bond properly through grease. Kitchens, bathrooms, and handrails are especially vulnerable because airborne oils and moisture accumulate over time.
After cleaning comes deglossing. Liquid deglossers, also called liquid sanders, chemically dull glossy finishes without creating dust. These products soften the shiny top layer slightly and improve primer adhesion. Many professional painters now use liquid deglossers when sanding is impractical or when working around intricate trim details.
Removing Grease, Wax, and Dirt
Always rinse cleaning residue completely and allow the surface to dry thoroughly before priming. Leftover cleaner can interfere with bonding just as badly as grease itself.
Using Liquid Deglossers Instead of Sandpaper
Liquid deglossers work best on surfaces that are already structurally sound. If paint is actively peeling or flaking, sanding or scraping damaged areas may still be necessary.
Bonding Primers That Help Paint Stick Smoothly
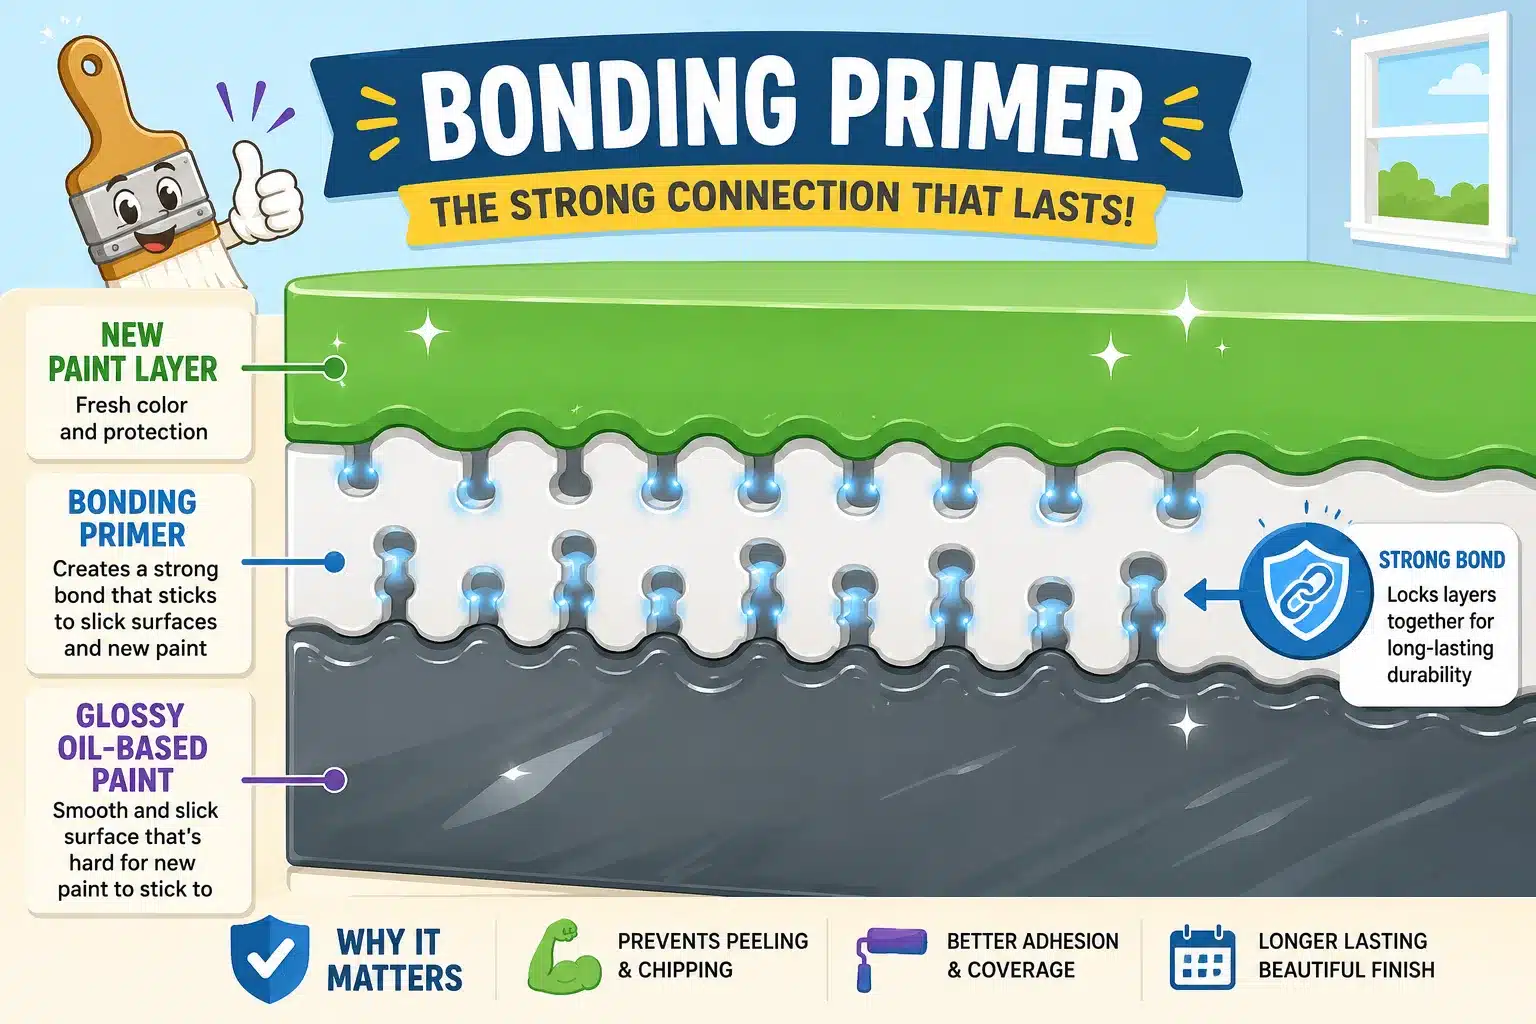
If there is one product category that makes no-sanding painting possible, it is the bonding primer. These primers are designed specifically for slick, glossy, hard-to-paint surfaces. Instead of relying purely on texture, they use aggressive adhesion chemistry to grip difficult finishes.
Modern bonding primers have improved dramatically in recent years. Many are now water-based yet capable of adhering to glossy oil paint, laminate, varnish, tile, and even glass-like surfaces. Professional painting discussions frequently recommend products like STIX or shellac-based primers for difficult oil-painted trim and cabinetry.
A bonding primer essentially acts as a translator between incompatible layers. The primer grips the old oil paint while simultaneously creating a paint-friendly surface for the new topcoat. Without this intermediary layer, latex paint often struggles to hold on long term.
| Primer Type | Best Use | Strengths | Weaknesses |
|---|---|---|---|
| Water-Based Bonding Primer | Interior trim, cabinets | Low odor, easier cleanup | May fail on poorly cleaned surfaces |
| Oil-Based Primer | Heavy stains, older oil paint | Excellent adhesion | Strong fumes |
| Shellac-Based Primer | Tough glossy surfaces | Fast drying, superior sealing | Expensive and high odor |
What Makes Bonding Primers Different
Traditional primers are designed mainly to seal porous materials. Bonding primers focus on adhesion first. That difference is critical when painting over oil paint without sanding.
Popular Primer Types for Difficult Surfaces
Shellac-based and oil-based primers generally offer the strongest adhesion, though newer water-based bonding primers are becoming increasingly reliable for residential projects.
Take A Look: What Is the Average Size of a Baby Blanket for Different Uses
Choosing Compatible Paint for Better Long-Term Results
Once the primer is applied correctly, selecting the right topcoat becomes the next major decision. Not every paint performs equally well over old oil-based surfaces. Some products remain flexible and durable, while others become brittle or peel under stress.
Water-based acrylic enamel paints are currently among the most popular choices for cabinets, trim, and doors because they combine easier cleanup with strong durability. Many professional painters prefer urethane-modified acrylics because they cure harder than ordinary wall paint while still maintaining flexibility.
Oil-based topcoats remain an option too. They naturally bond well over old oil paint because the chemistry is compatible. The downside is longer drying times, stronger fumes, and increasingly strict environmental regulations in many regions. Behr and Bob Vila both note that cured oil paint can generally be repainted with either oil-based or properly primed water-based coatings.
Water-Based vs Oil-Based Topcoats
Water-based paints dry faster and yellow less over time. Oil-based paints generally level better and create extremely durable finishes but require more ventilation and patience.
Paint Finishes That Hold Up Best
Semi-gloss and satin finishes are common choices for trim and cabinets because they resist moisture and cleaning better than flat paint. High gloss can look attractive but also highlights imperfections more aggressively.
Applying Thin Coats to Reduce Peeling Risks
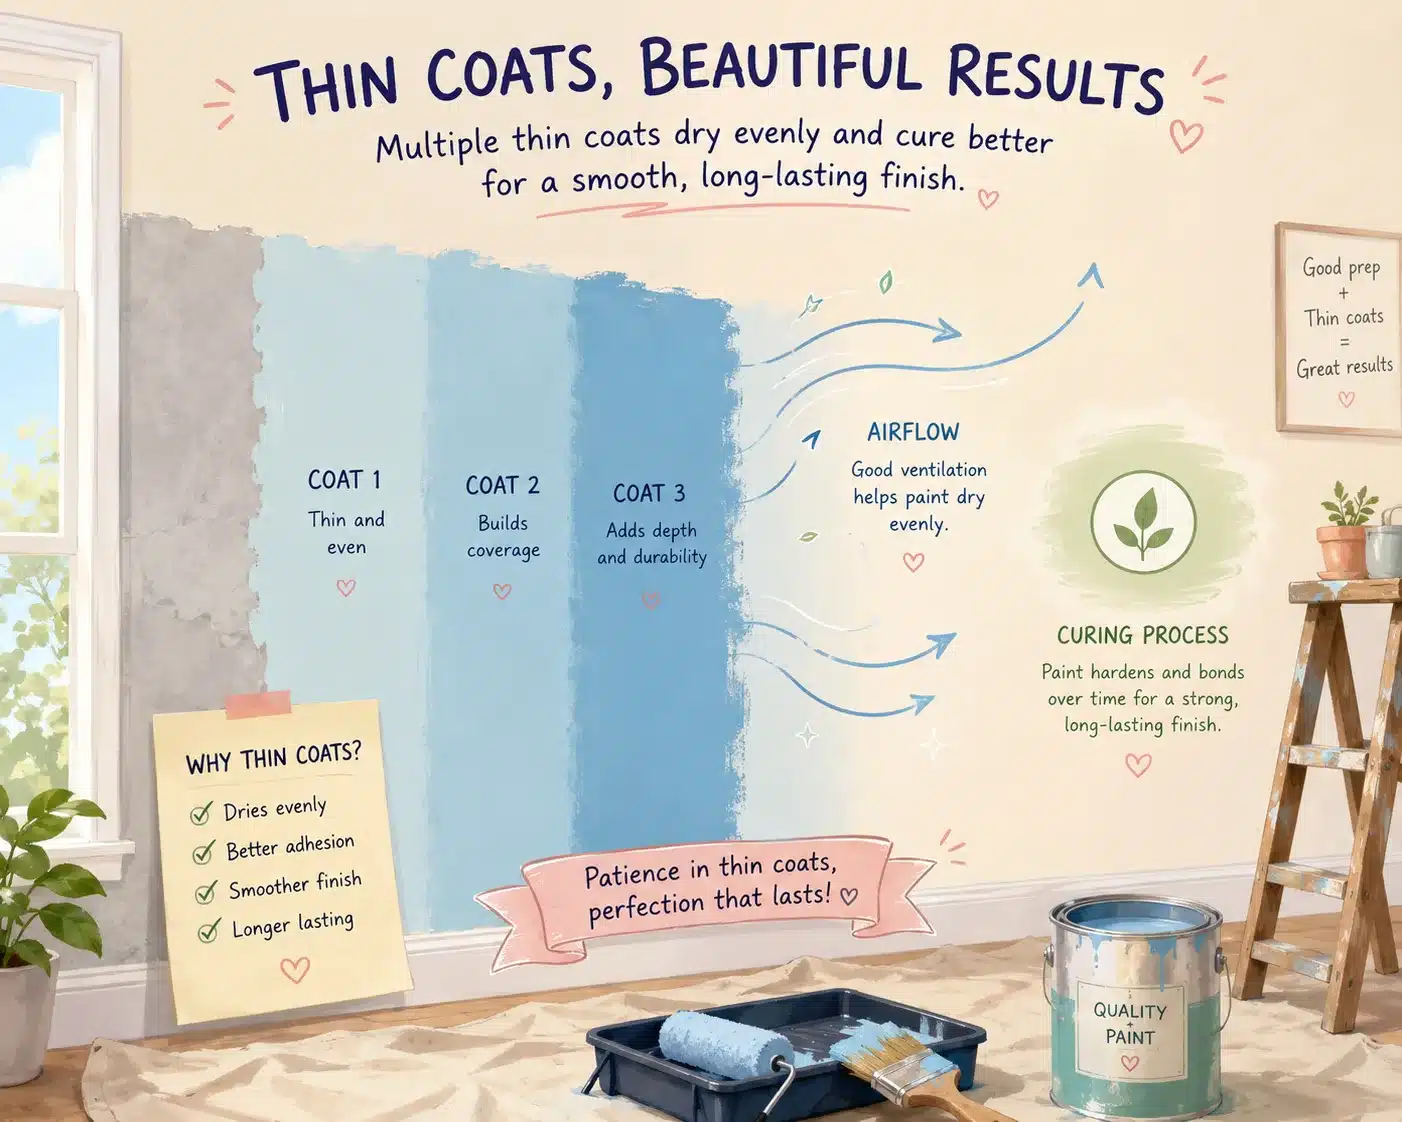
One of the fastest ways to ruin adhesion is applying thick paint coats too quickly. Heavy layers trap moisture and solvents underneath the surface, preventing proper curing. This becomes especially dangerous over slick oil paint because weak adhesion underneath combines with trapped moisture above.
Thin coats dry more evenly and create a stronger bond. Imagine stacking thin sheets of paper carefully instead of throwing down one thick lump of wet cardboard. The smoother, controlled buildup produces better long-term durability.
Professional painting advice consistently recommends multiple thin coats instead of one heavy application. Screwfix’s paint preparation guidance warns that thick layers often lead to cracking and peeling because moisture becomes trapped within the coating.
Why Thick Paint Layers Fail Faster
Paint cures from the outside inward. Thick coats can skin over before the lower layers fully dry, leading to softness, bubbling, or peeling later.
Best Techniques for Smooth Even Coverage
Use high-quality brushes or microfiber rollers and avoid overworking partially drying paint. Smooth, consistent strokes help prevent lap marks and uneven texture.
Drying and Curing Factors That Affect Durability
Drying and curing are not the same thing. Paint may feel dry within hours yet still require days or weeks to fully harden. This distinction matters enormously when painting over oil-based surfaces because premature stress can weaken adhesion before the coating fully stabilizes.
Humidity and temperature also play huge roles. Cool temperatures slow curing dramatically, while high humidity traps moisture and extends drying times. Painting during rainy weather or in poorly ventilated rooms can sabotage an otherwise perfect prep job.
Several paint industry sources emphasize allowing sufficient cure time between primer and paint layers. Rushing the process is one of the most common causes of long-term peeling.
Temperature and Humidity Problems
Most paints perform best between roughly 50°F and 85°F. Extreme heat can cause paint to dry too quickly on the surface, while cold weather slows curing internally.
How Long Paint Really Takes to Cure
Even if paint feels dry after a day, full curing may require up to 30 days depending on the product type and environmental conditions.
Common Problems That Appear Months After Painting
Paint failures rarely happen immediately. Many no-sanding jobs initially look flawless before hidden adhesion problems slowly emerge over time. Peeling corners, bubbling patches, hairline cracks, and soft surfaces often appear months later after seasonal temperature swings or repeated cleaning.
The most common culprit is insufficient preparation. Even the best bonding primer struggles if grease, wax, or glossy residue remains underneath. Some Reddit users reported peeling despite using premium primers because the underlying surface was not cleaned or deglossed properly.
Another issue involves incompatible paint systems. Applying ordinary wall paint onto high-traffic trim or cabinetry can lead to scratching and soft finishes because the coating lacks sufficient hardness.
| Problem | Likely Cause | Solution |
|---|---|---|
| Peeling paint | Poor adhesion | Use bonding primer and proper prep |
| Bubbling | Moisture trapped underneath | Apply thinner coats |
| Cracking | Paint applied too thick | Sand damaged areas and repaint |
| Scratching | Weak topcoat | Use cabinet or enamel paint |
Peeling, Cracking, and Bubbling Issues
Peeling often starts around corners, edges, and high-touch areas because these locations experience the most stress and moisture exposure.
How to Prevent Future Adhesion Failure
Test products on a small hidden area first. Allow adequate cure time, clean aggressively, and never rush drying stages.
Read Next: How to Get Spray Paint to Dry Faster in Any Weather
Situations Where Sanding May Still Be Necessary
Despite all the advances in primers and deglossers, sanding still has a place. Some surfaces simply require mechanical abrasion for reliable long-term performance. If the existing paint is peeling, heavily chipped, uneven, or extremely glossy, sanding may still be unavoidable.
Lead paint also changes the equation entirely. Homes built before 1978 may contain lead-based coatings, and sanding them improperly creates serious health hazards. In these situations, homeowners often use encapsulating primers or hire professionals trained in lead-safe practices. Some Reddit painting discussions specifically mention avoiding sanding because of potential lead exposure.
Cabinets and trim subjected to heavy daily wear may also benefit from light scuff sanding even when bonding primers are used. Many professional painters still prefer minimal abrasion combined with deglossers and primers because it provides both mechanical and chemical adhesion.
The key takeaway is simple: skipping sanding works best when the existing finish is clean, intact, and properly prepared. If the surface already shows signs of failure, painting over problems usually creates bigger problems later.
Conclusion
Painting over oil-based paint without sanding is absolutely possible today, but success depends entirely on preparation and product selection. The glossy, hardened nature of oil paint naturally resists new coatings, which is why peeling and adhesion failures happen so often when shortcuts are taken. Cleaning thoroughly, chemically deglossing the finish, using a true bonding primer, and applying thin compatible paint layers dramatically improve the odds of long-term durability.
Modern primers have made no-sanding methods far more reliable than they were years ago, especially for trim, cabinets, doors, and decorative surfaces where heavy sanding is messy or impractical. Still, no primer can fully compensate for dirt, grease, peeling paint, or rushed curing times. The most durable results come from patience, proper prep, and realistic expectations.
Think of the process like building a bridge between two incompatible materials. The old oil paint and the new coating do not naturally want to connect. Your job is to create the conditions that allow them to lock together securely. Done properly, the finish can remain smooth and durable for years instead of peeling away after one humid season.
FAQs
Can latex paint stick directly to oil-based paint?
Usually no. Latex paint struggles to bond directly to glossy oil-based finishes unless the surface is deglossed and primed with a bonding primer.
What is the best primer for painting over oil paint without sanding?
Bonding primers designed for slick surfaces are the best option. Shellac-based, oil-based, and advanced acrylic bonding primers are all commonly recommended.
Is liquid deglosser as effective as sanding?
Liquid deglossers can work very well on clean, intact surfaces, but severely glossy or damaged finishes may still benefit from light sanding.
How long should bonding primer dry before painting?
Drying times vary by manufacturer, but many primers require at least several hours before recoating and days for full curing.
Why does paint peel months after application?
Peeling often results from poor surface preparation, trapped moisture, incompatible paint systems, or insufficient primer adhesion.

Kareem Sallam is an Egyptian special writer based in Australia, with a strong interest in practical ideas and creative content that focuses on everyday solutions. He writes clear, engaging articles designed to be easy to follow and useful for a wide range of readers.
His work centers on DIY projects, handmade ideas, simple crafts, and home based creativity. Kareem aims to deliver content that is practical, inspiring, and accessible, helping readers turn simple materials into smart and enjoyable projects.