How to Cook a Homemade Frozen Lasagna for the Best Texture and Flavor
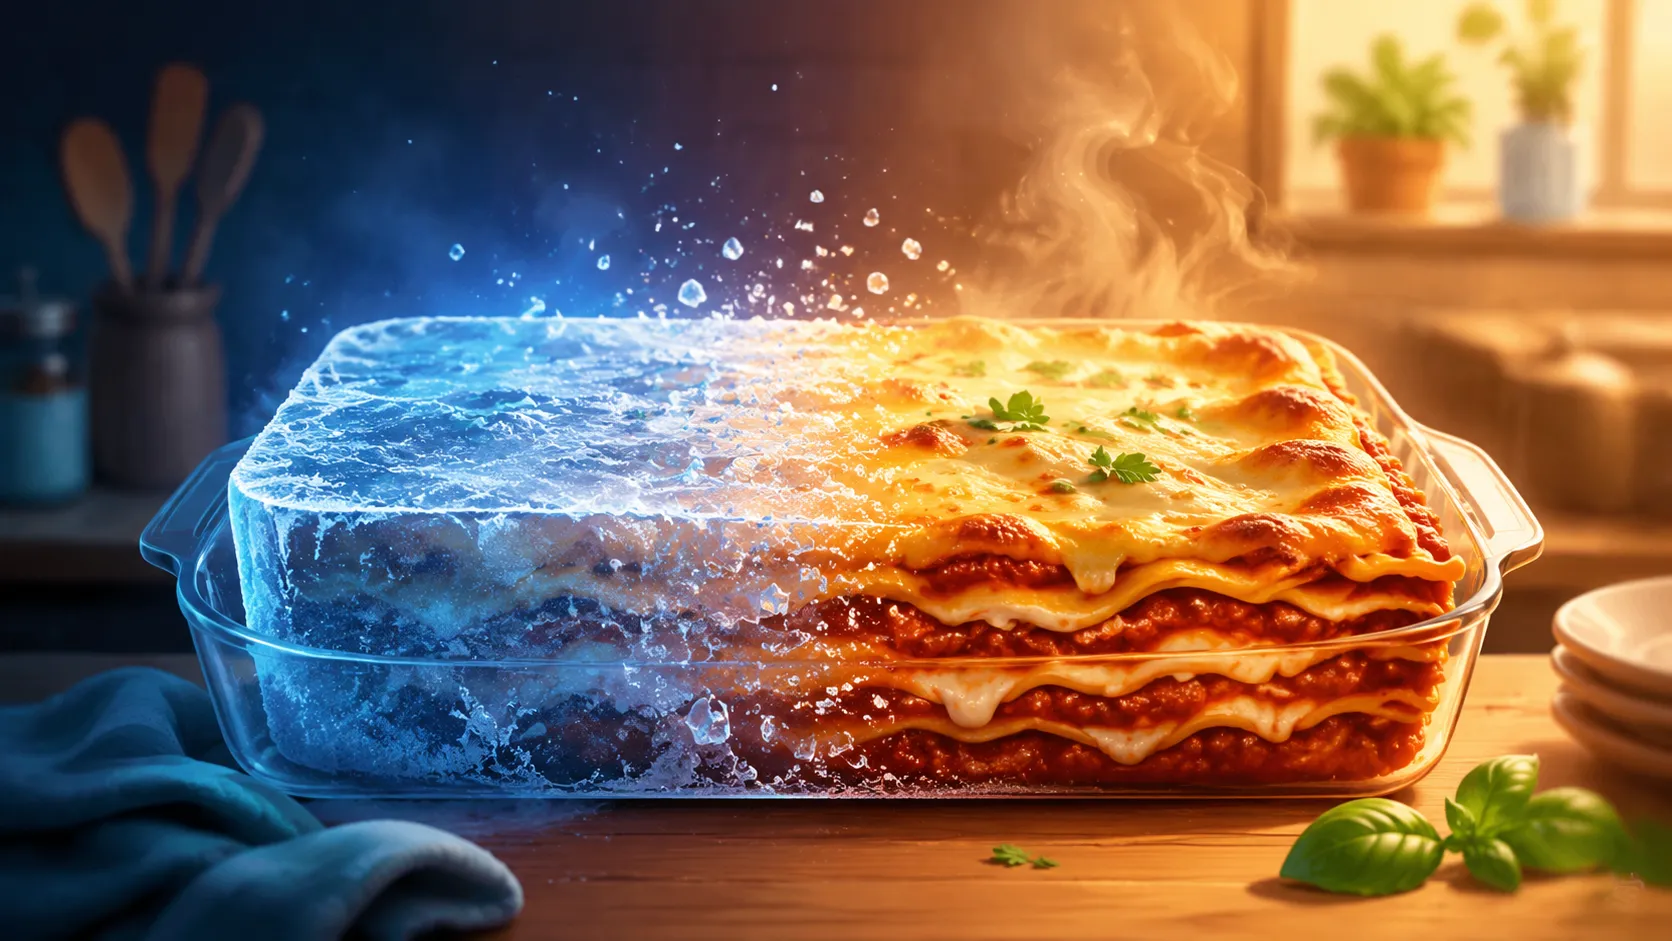
There’s something incredibly comforting about pulling a homemade frozen lasagna out of the freezer after a long day. It’s like opening a time capsule packed with bubbling cheese, rich sauce, and layers of pure comfort. But here’s the problem many home cooks run into: frozen lasagna can easily turn into a disaster. Burnt cheese on top, icy middle, dried-out corners, or a watery mess underneath are all common frustrations.
The good news? Cooking frozen lasagna properly is less about luck and more about understanding heat, timing, and technique. Once you know how frozen layers react in the oven, you can consistently get restaurant-quality results right from your freezer. Whether you prepared the lasagna yourself weeks ago or froze leftovers for future meals, the cooking method makes all the difference between mediocre and unforgettable.
Recent food safety guidance from the USDA recommends reheating casseroles and leftovers to an internal temperature of 165°F (74°C) for safe consumption. That temperature matters because dense dishes like lasagna can stay cold in the center long after the edges look finished. Understanding how to heat it evenly is the real secret.
Before diving into the cooking process, let’s build the roadmap first.
Contents
Why Frozen Lasagna Can Be Difficult to Cook Properly
Frozen lasagna sounds simple in theory. Put it in the oven, wait, and eat. But anyone who has sliced into a frozen lasagna too early knows the heartbreak of discovering an ice-cold center hiding beneath beautifully melted cheese. The problem comes from how heat travels through dense layered foods. Lasagna isn’t like cookies or pizza where heat quickly reaches the center. It’s more like a brick made of pasta, cheese, sauce, and sometimes meat, all stacked tightly together. That thickness slows heat transfer dramatically.
The edges naturally heat first because they’re closest to the oven’s hot air. Meanwhile, the center remains insulated by frozen layers. This is why many people accidentally overcook the outside while waiting for the middle to finish. Think of it like trying to melt a giant block of ice with a hair dryer. The outside softens quickly while the inside stubbornly resists change.
Another issue is moisture. Frozen foods release water as they thaw during cooking. If the lasagna is uncovered too early, that moisture evaporates, leaving dry edges and chewy cheese. On the other hand, if it stays covered too long, steam gets trapped and can create a soggy top layer. Balancing moisture retention and browning is what separates good lasagna from unforgettable lasagna.
Many home cooks also underestimate cooking time. A frozen homemade lasagna often needs much longer than expected, especially if it’s thick or deeply layered. USDA guidelines emphasize that casseroles and leftovers should reach 165°F internally before serving. That temperature ensures the center is safely heated and fully cooked.
Thawing vs Baking Straight from Frozen Explained
One of the biggest debates in home cooking is whether frozen lasagna should be thawed before baking. The answer depends on your priorities: convenience, texture, or cooking speed. Both methods work, but each creates slightly different results.
Thawing lasagna overnight in the refrigerator gives you more control. Because the layers are no longer frozen solid, the lasagna cooks faster and more evenly. The center reaches temperature sooner, reducing the risk of overcooked edges. Thawed lasagna also tends to slice more neatly because the ingredients heat at a more uniform pace. If you’re preparing dinner for guests and want picture-perfect layers, thawing is often the smarter route.
Baking directly from frozen, though, is incredibly convenient. You can go straight from freezer to oven without planning ahead. According to USDA food safety guidance, reheating frozen casseroles without thawing is perfectly safe as long as the dish reaches the correct internal temperature. The tradeoff is time. Frozen lasagna usually needs significantly longer in the oven, sometimes nearly double compared to thawed versions.
Texture also changes slightly depending on the method. Baking from frozen can actually help preserve moisture because the dish heats gradually. That slower thaw-and-bake process gives cheese and sauce more time to meld together. The downside is that if your oven runs hot, the corners may dry out before the middle finishes.
A practical compromise many cooks use is partial thawing. Letting the lasagna sit in the refrigerator for 12 hours softens it enough to shorten cooking time without fully defrosting it. It’s like giving the oven a head start rather than forcing it to do all the heavy lifting from scratch.
Choosing the Right Baking Dish for Even Heating
Read More: How to Weave a Lattice Pie Crust
Your baking dish matters far more than most people realize. The wrong pan can create hot spots, burned edges, or uneven cooking. Choosing the proper material is almost like selecting the right tires for a car. The vehicle may still move with bad tires, but the performance changes dramatically.
Metal pans are often praised for their excellent heat conductivity. Experts frequently recommend aluminum or aluminized steel because these materials distribute heat evenly and reduce cold spots. If your goal is faster, more consistent cooking, metal performs exceptionally well. It heats quickly and encourages browning along the edges and bottom.
Glass dishes, meanwhile, heat more slowly but retain warmth longer. That makes them popular for casseroles and lasagna because they keep the dish hot at the table. The downside is that glass can sometimes overcook the outer edges before the center catches up. Ceramic dishes behave similarly, offering strong heat retention and attractive presentation, though they’re heavier and slower to respond to temperature changes.
Here’s a quick comparison table:
| Baking Dish Material | Pros | Cons |
|---|---|---|
| Metal | Even heating, faster cooking | Can brown edges quickly |
| Glass | Retains heat well, easy monitoring | Slower heating, possible edge overcooking |
| Ceramic | Attractive, excellent heat retention | Heavy, slower temperature response |
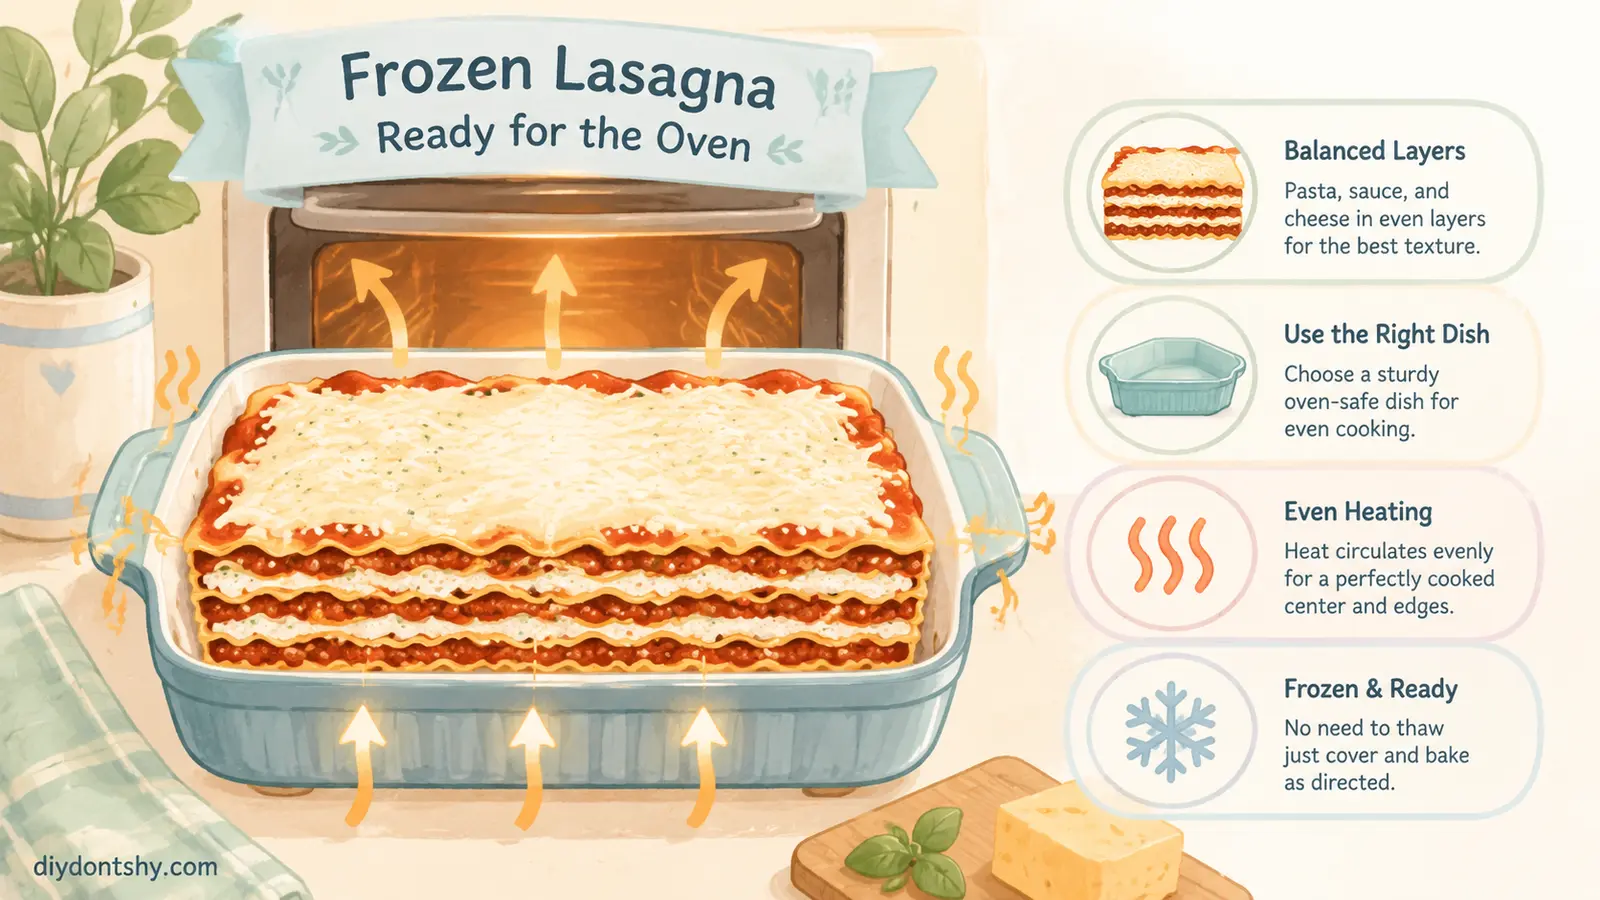
Pan depth matters too. A standard 9×13-inch dish usually works best for balanced cooking. Overly deep lasagnas take much longer to heat through, increasing the risk of dried-out edges. Shallow pans, meanwhile, may overflow or cook too aggressively.
Preparing Frozen Lasagna for the Oven
Preparation before baking often determines whether the final result tastes homemade or disappointing. The first step is preheating your oven fully. This sounds obvious, but putting frozen lasagna into a half-heated oven creates inconsistent cooking from the start. A properly preheated oven establishes stable heat immediately, helping the lasagna warm more predictably.
Most homemade frozen lasagnas cook best at 375°F (190°C). Lower temperatures can make the process drag endlessly, while higher temperatures often burn the top before the center heats properly. Think of 375°F as the sweet spot between patience and efficiency.
Many cooks wonder whether extra sauce or cheese should be added before baking. If the lasagna looks slightly dry before freezing, adding a thin layer of sauce on top can help maintain moisture during the long bake. Extra cheese can also improve browning later, but adding too much too early risks burning. Cheese behaves a bit like sunscreen under intense oven heat; too much exposure eventually causes trouble.
Another smart trick is allowing the frozen dish to sit at room temperature for 20 to 30 minutes before baking. This slight tempering reduces thermal shock and helps the oven work more efficiently. Just don’t leave it sitting out too long, since food safety guidelines warn against keeping perishable foods in the temperature “danger zone” for extended periods.
If your lasagna was frozen in glass, avoid moving it directly from freezer to a blazing hot oven unless the manufacturer confirms it’s safe. Sudden temperature changes can crack certain dishes.
Covering Techniques That Prevent Dry Edges
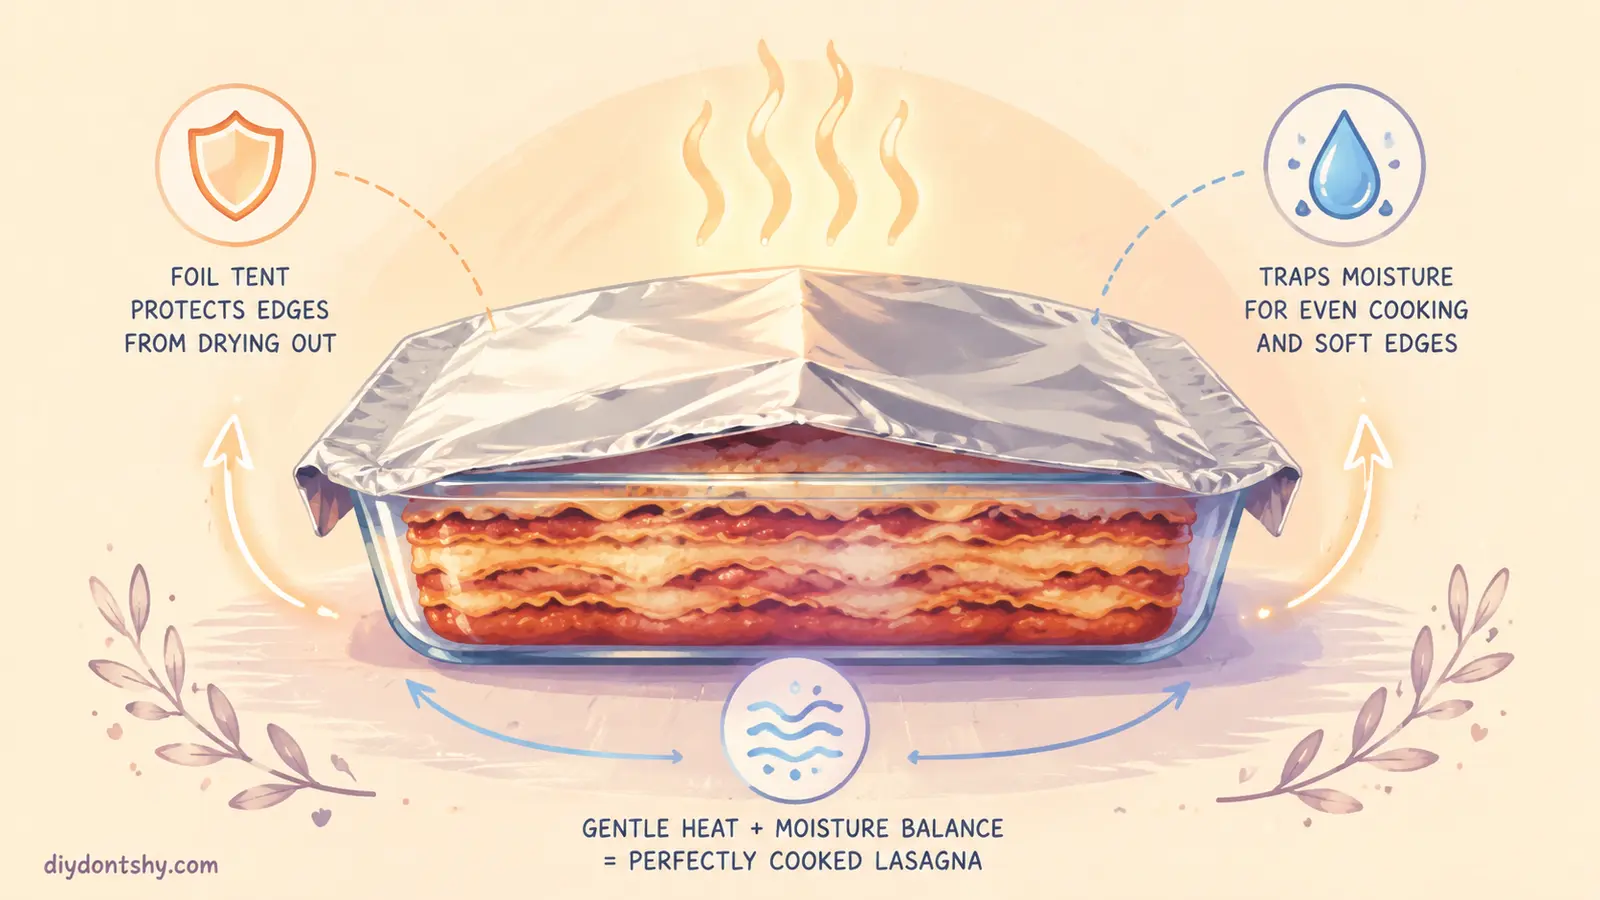
Covering frozen lasagna correctly is one of the most underrated cooking skills. Foil isn’t just a lid; it’s a moisture management system. Used properly, it traps steam, prevents burning, and helps heat travel deeper into the center.
The key is tenting the foil slightly above the cheese rather than pressing it directly against the surface. When foil touches melting cheese, it often pulls off the topping later like removing duct tape from fabric. A loose tent allows hot air and steam to circulate while protecting the top from excessive browning.
During the first stage of baking, keeping the lasagna covered is essential. Frozen lasagna needs steam to thaw and heat evenly. Without that protection, the edges dry out long before the middle finishes. It’s similar to slow-cooking meat: moisture preservation is everything.
Condensation can become an issue, though. If too much steam collects under tightly sealed foil, water droplets may drip back onto the lasagna and create soggy spots. Poking a few tiny ventilation holes in the foil helps regulate moisture without fully exposing the dish.
Timing matters here too. Most frozen lasagnas benefit from staying covered for roughly 70% to 80% of the cooking time. The remaining uncovered time allows cheese to brown beautifully without over-drying the dish.
How Long Frozen Lasagna Really Takes to Cook
People consistently underestimate how long frozen lasagna actually needs in the oven. A thick homemade lasagna often requires between 90 minutes and 2 hours when baked directly from frozen. Smaller portions may finish sooner, while extra-deep pans can take even longer.
Here’s a general timing guide:
| Lasagna Type | Temperature | Approximate Cooking Time |
|---|---|---|
| Thawed Homemade Lasagna | 375°F | 45–60 minutes |
| Frozen Homemade Lasagna | 375°F | 90–120 minutes |
| Individual Portions | 375°F | 45–70 minutes |
Oven variations also play a massive role. Some ovens run hotter than their settings indicate, while others fluctuate constantly during cooking. Convection ovens tend to cook slightly faster because circulating air distributes heat more aggressively.
Altitude, dish material, and ingredient density affect timing too. Meat-heavy lasagnas usually require more heating time because protein-rich fillings retain cold temperatures longer. Extra sauce can also slow cooking because liquid absorbs heat energy differently than dry ingredients.
This is why relying solely on time is risky. Cooking duration should be treated as a guideline rather than a guarantee. The true indicator is temperature and texture, not the clock.
Signs the Center Is Fully Heated Through
The most reliable way to confirm doneness is using a food thermometer. According to USDA recommendations, casseroles and leftovers should reach 165°F (74°C) internally. Insert the thermometer into the very center of the lasagna because that’s the slowest area to heat.
Visual signs help too. Fully heated lasagna usually bubbles actively around the edges, and the center no longer looks watery or stiff. When you insert a knife into the middle, it should slide through softened layers without resistance. The cheese should appear melted uniformly rather than partially hardened.
One overlooked clue is aroma. Properly heated lasagna releases a rich, unified smell where sauce, cheese, herbs, and pasta blend together. Undercooked frozen centers often smell muted because the ingredients haven’t fully warmed.
Another useful test involves gently shaking the dish. Properly heated lasagna jiggles slightly but doesn’t slosh like soup. If the center still moves too loosely, it likely needs additional time.
Avoid repeatedly opening the oven every few minutes. Heat escapes quickly, extending cooking time dramatically. Every unnecessary peek acts like hitting the pause button on the baking process.
Keeping Cheese Golden Without Burning the Top
Perfect lasagna cheese should look golden, stretchy, and lightly crisped around the edges; not blackened or dried into a crust. Achieving that balance requires strategic timing.
The simplest approach is removing the foil during the last 20 to 30 minutes of cooking. This gives the cheese enough exposure to brown without enduring excessive heat for the entire bake. If you uncover too early, the cheese may burn before the center finishes heating.
Broiling can create stunning color, but it’s also risky. Broilers generate intense direct heat, almost like an upside-down grill. Even oven-safe dishes aren’t always broiler-safe. If you decide to broil, watch continuously. Cheese can move from beautifully caramelized to ruined in under two minutes.
A safer alternative is moving the oven rack slightly higher during the final uncovered stage. This encourages browning gradually rather than blasting the top aggressively.
Cheese choice matters too. Mozzarella browns differently than parmesan or provolone. Blending cheeses often creates the best texture and color combination. Parmesan adds nuttiness and faster browning, while mozzarella provides stretch and creaminess.
If the top browns too quickly while the center still needs time, loosely place foil back over the dish. Think of foil as a heat shield you can deploy whenever needed.
Resting Time and Why It Improves Texture
The hardest part of cooking lasagna might actually be waiting after it comes out of the oven. Cutting immediately feels tempting because the smell is irresistible. But resting changes everything.
Freshly baked lasagna is structurally unstable. The sauce is bubbling intensely, cheese is molten, and steam is trapped between layers. Slicing too soon causes the entire structure to collapse into a sloppy pile. Resting allows temperatures to equalize and moisture to redistribute.
About 15 to 20 minutes of resting creates noticeably cleaner slices. During this time, the layers firm slightly while remaining hot enough to serve comfortably. It’s similar to resting steak after cooking; juices settle instead of spilling everywhere.
Resting also improves flavor perception. Extremely hot foods can overwhelm the palate, muting subtle herbs, cheese complexity, and seasoning. Allowing the temperature to drop slightly helps flavors become clearer and more balanced.
Texture improves dramatically too. The pasta absorbs excess moisture during resting, helping the layers hold together beautifully. The difference between immediately sliced lasagna and properly rested lasagna is almost like comparing wet cement to a finished brick wall.
Freezing and Reheating Tips for Better Future Meals
Related Article: How to Make Canned Frosting Taste Like Homemade
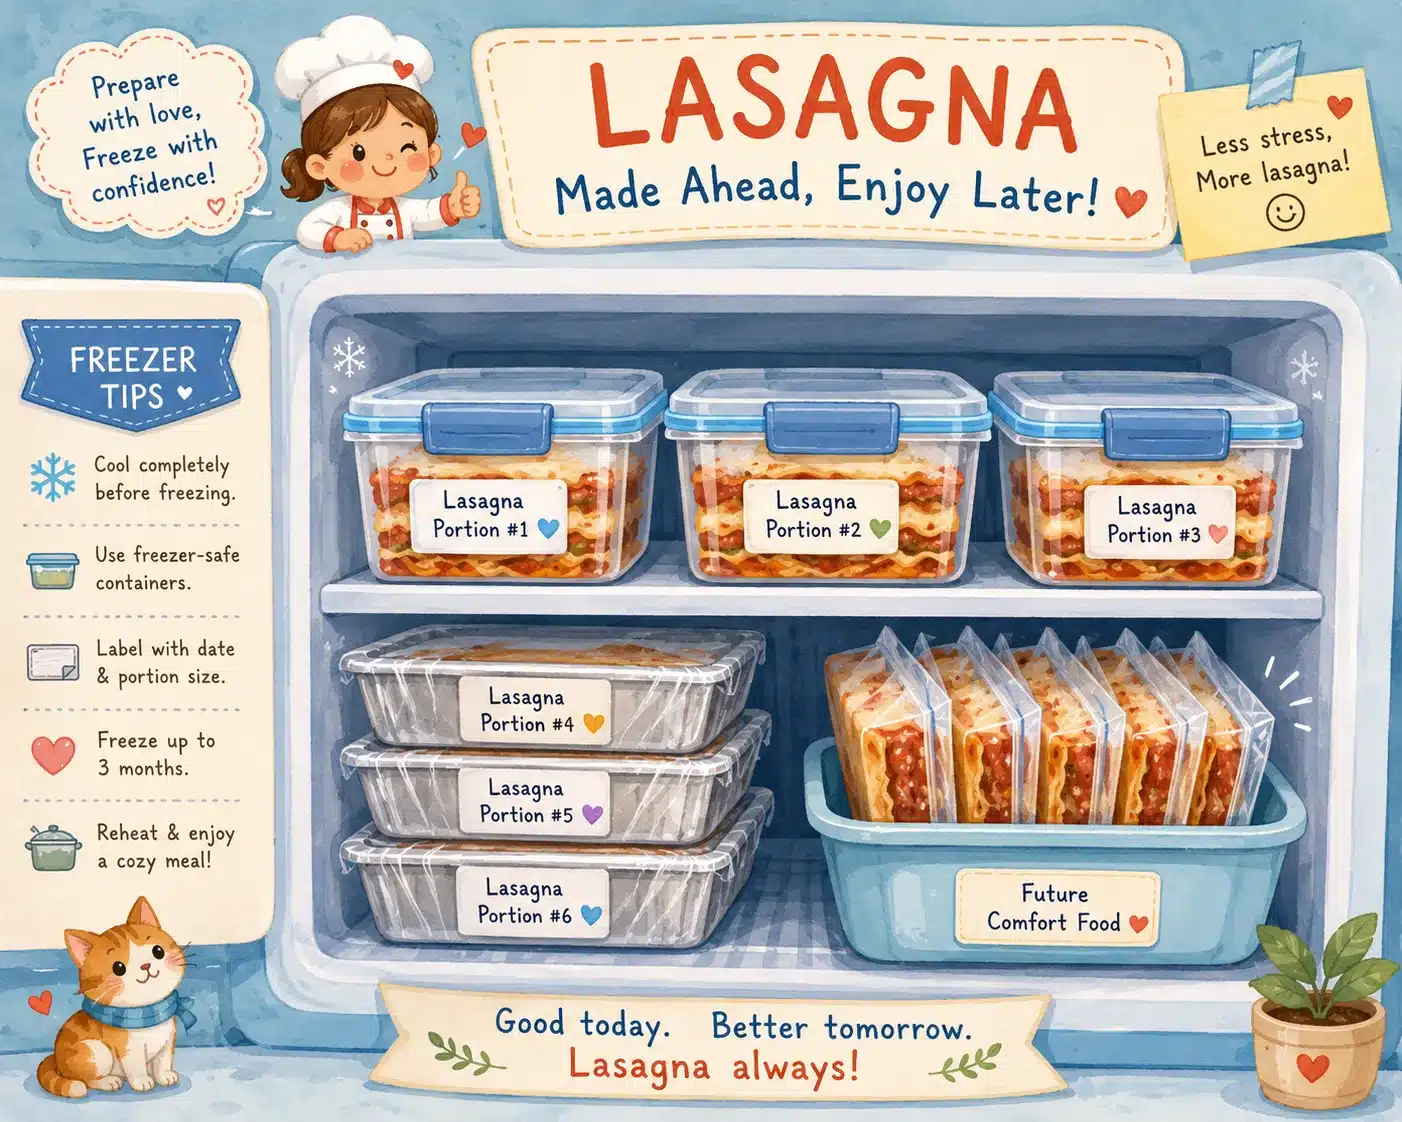
A great frozen lasagna starts before freezing even happens. Cooling the lasagna properly first is essential. Letting it cool slightly before freezing prevents excess steam from turning into ice crystals, which damage texture later.
Wrap lasagna tightly using plastic wrap followed by heavy foil or airtight containers. Exposure to air causes freezer burn, which dries out cheese and sauce. According to food safety guidance, frozen lasagna maintains best quality for around 3 to 4 months in the freezer.
Freezing individual portions is often smarter than freezing one giant tray. Smaller pieces thaw and reheat faster, giving you flexible meal options during busy weeks.
When reheating leftovers, moisture retention matters again. Add a spoonful of sauce or water before reheating and cover loosely with foil. This prevents the pasta from drying out. Reheating at moderate temperatures works better than blasting the dish with high heat.
Microwaves work for convenience, but ovens usually preserve texture more effectively. If using a microwave, rotating the portion halfway through helps avoid cold spots. USDA guidance recommends reheating leftovers to 165°F throughout.
One final tip many experienced cooks swear by: slightly undercook homemade lasagna before freezing it initially. Pasta continues softening during reheating, so undercooking by a few minutes helps prevent mushy layers later.
Conclusion
Cooking homemade frozen lasagna successfully is really about understanding patience, heat, and moisture. Every decision; from choosing the baking dish to timing the foil removal; shapes the final result. Thawing offers more control and faster cooking, while baking directly from frozen provides convenience and surprisingly rich flavor development when done properly.
The biggest secret isn’t fancy ingredients or expensive cookware. It’s consistency. Maintain steady oven heat, protect moisture early, verify the center temperature carefully, and allow the lasagna to rest before serving. Those small details transform frozen lasagna from a rushed backup meal into something that tastes intentionally crafted.
Once you master these techniques, frozen homemade lasagna becomes one of the most rewarding make-ahead meals imaginable. It saves time, reduces stress, and delivers comfort food whenever you need it most.
FAQs
1. Can I cook frozen homemade lasagna without thawing it first?
Yes, you can safely bake frozen lasagna directly from frozen. It simply takes longer to cook, often around 90 to 120 minutes depending on thickness and oven performance.
2. What temperature should frozen lasagna reach internally?
The USDA recommends casseroles and leftovers reach 165°F (74°C) internally for safe consumption.
3. Why does my lasagna dry out around the edges?
Dry edges usually happen when the lasagna is uncovered too early or baked at excessively high temperatures. Keeping it covered for most of the cooking time helps preserve moisture.
4. Is glass or metal better for baking frozen lasagna?
Metal generally heats more evenly and cooks faster, while glass retains heat longer. Both work well, but metal often reduces uneven cooking problems.
5. How long should lasagna rest after baking?
Let lasagna rest for about 15 to 20 minutes after baking. This improves texture, helps layers hold together, and prevents the filling from collapsing when sliced.

Kareem Sallam is an Egyptian special writer based in Australia, with a strong interest in practical ideas and creative content that focuses on everyday solutions. He writes clear, engaging articles designed to be easy to follow and useful for a wide range of readers.
His work centers on DIY projects, handmade ideas, simple crafts, and home based creativity. Kareem aims to deliver content that is practical, inspiring, and accessible, helping readers turn simple materials into smart and enjoyable projects.