How to Weave a Lattice Pie Crust Like a Homemade Bakery Pie
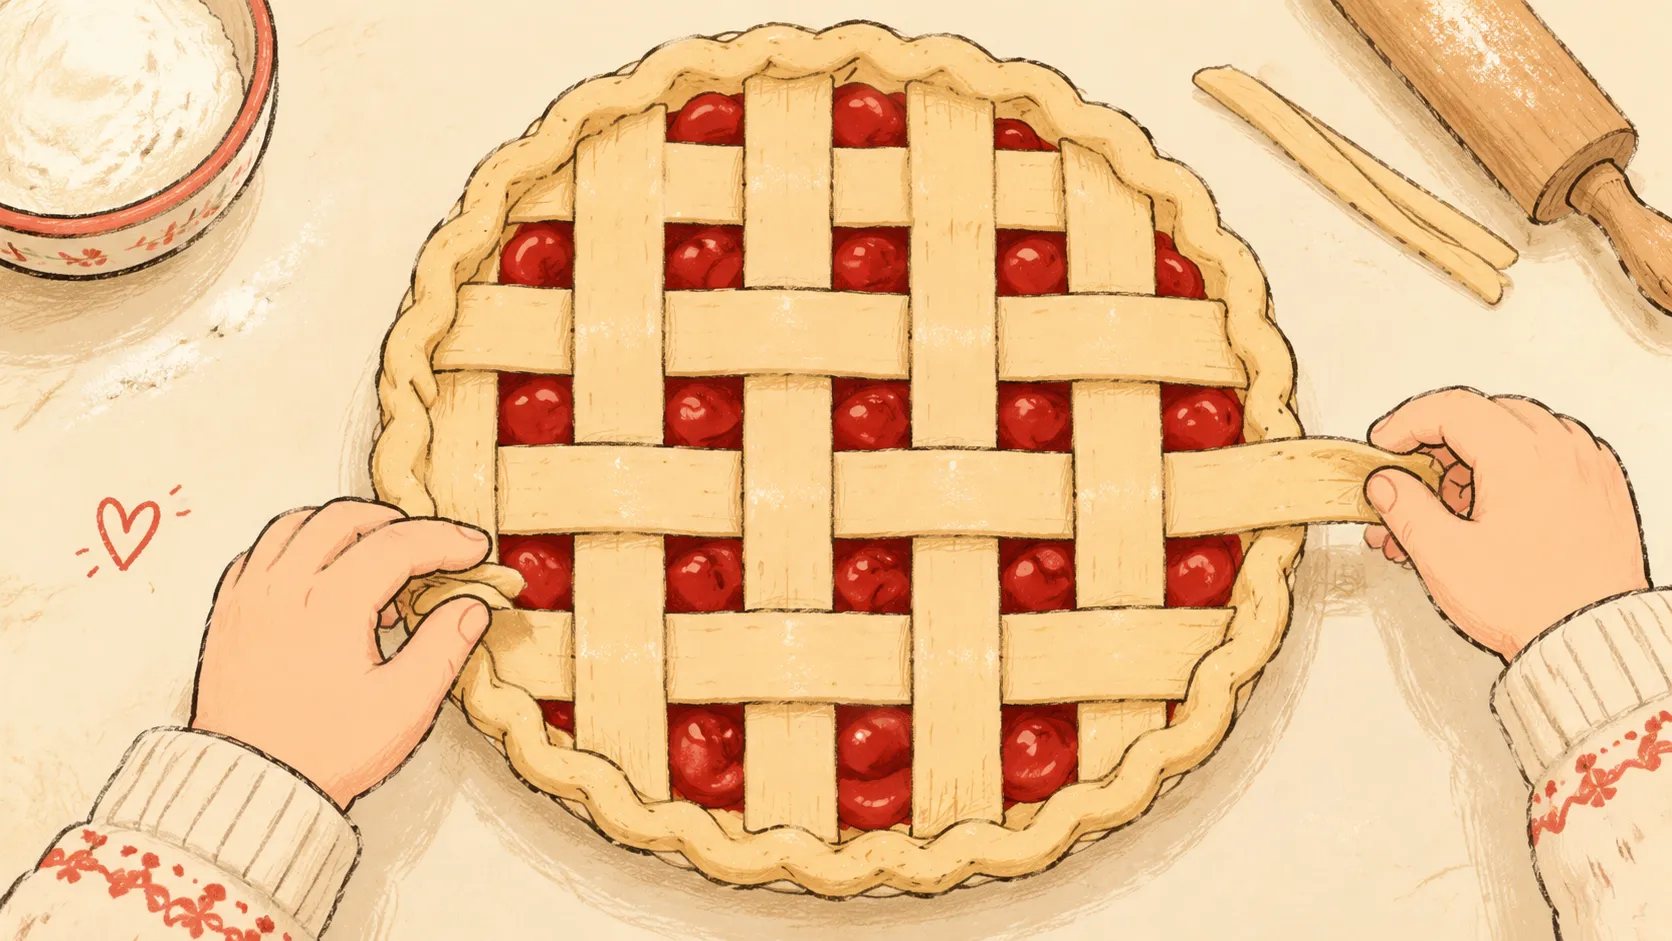
There’s something magical about a beautifully woven lattice pie crust sitting on a kitchen counter. It instantly transforms a homemade pie from “that looks tasty” into “wow, did you really make that yourself?” The funny thing is that lattice weaving only looks complicated. Once you understand the rhythm behind the folds and strips, it becomes surprisingly relaxing, almost like edible basket weaving. According to several recent baking tutorials and professional pastry guides, the secret is less about artistic talent and more about keeping your dough cold, your strips even, and your patience steady.
A lattice crust isn’t just decorative either. Those open spaces allow steam to escape from fruit fillings, helping pies bake more evenly while preventing the dreaded overflow disaster bubbling onto the oven floor. Bakers have been using lattice tops for generations because they strike the perfect balance between beauty and function. Apple, cherry, peach, blueberry, and blackberry pies all benefit from the breathable design. Reddit baking communities are packed with first-time pie makers proudly showing off their imperfect yet charming lattice attempts, proving that the technique is approachable for anyone willing to practice.
If you’ve ever stared at a bakery pie wondering how those neat woven strips came together, you’re about to learn every step in detail. From rolling the dough to the perfect thickness to repairing broken strips without anyone noticing, this guide walks through the entire process in a practical, stress-free way.
Contents
Why a Lattice Pie Crust Looks So Impressive
A lattice pie crust instantly gives a homemade dessert a polished, bakery-style finish. The woven strips create visual texture, while the golden pastry and colorful fruit filling make the pie feel special enough for holidays, gatherings, or weekend baking.
The design is also practical, not purely decorative. The openings in the crust allow steam to escape as fruit releases moisture during baking. This can help the filling cook properly while reducing the chance of excess liquid being trapped beneath a fully covered crust.
Lattice patterns work especially well with fruit pies such as apple, cherry, peach, blueberry, and blackberry. You can keep the strips wide and rustic for a traditional appearance or make them narrower for a more delicate pattern. Even small changes in spacing or strip width can give the finished pie a completely different look.
Best of all, lattice weaving is easier than it first appears. Once you understand which strips to fold back and when to place each crosswise strip, the process becomes a simple repeating pattern. A few practice attempts are usually enough to build confidence and create a crust that looks impressively handcrafted.
Essential Tools and Ingredients for Lattice Pie Success
Before touching the dough, set yourself up properly. Pie crusts behave a lot like moody artists. If the environment is too warm or disorganized, things unravel quickly. Having the right tools nearby makes the entire weaving process smoother and less stressful.
The most important ingredient is cold dough. Not cool. Not room temperature. Cold. Butter-based pie dough must stay chilled so the butter pieces remain intact. Those cold butter pockets create steam during baking, which produces flaky layers. Professional baking tutorials consistently recommend refrigerating dough whenever it softens during handling. Warm dough stretches and tears easily, making lattice weaving frustrating.
Here’s a quick comparison of essential tools and why they matter:
| Tool | Purpose | Why It Helps |
|---|---|---|
| Rolling Pin | Rolls dough evenly | Prevents thin spots |
| Pizza Cutter | Cuts strips cleanly | Faster and neater than knives |
| Ruler | Measures strip width | Keeps lattice symmetrical |
| Pastry Brush | Applies egg wash | Creates glossy golden finish |
| Baking Sheet | Supports pie during baking | Helps avoid soggy bottoms |
| Bench Scraper | Transfers strips safely | Prevents tearing |
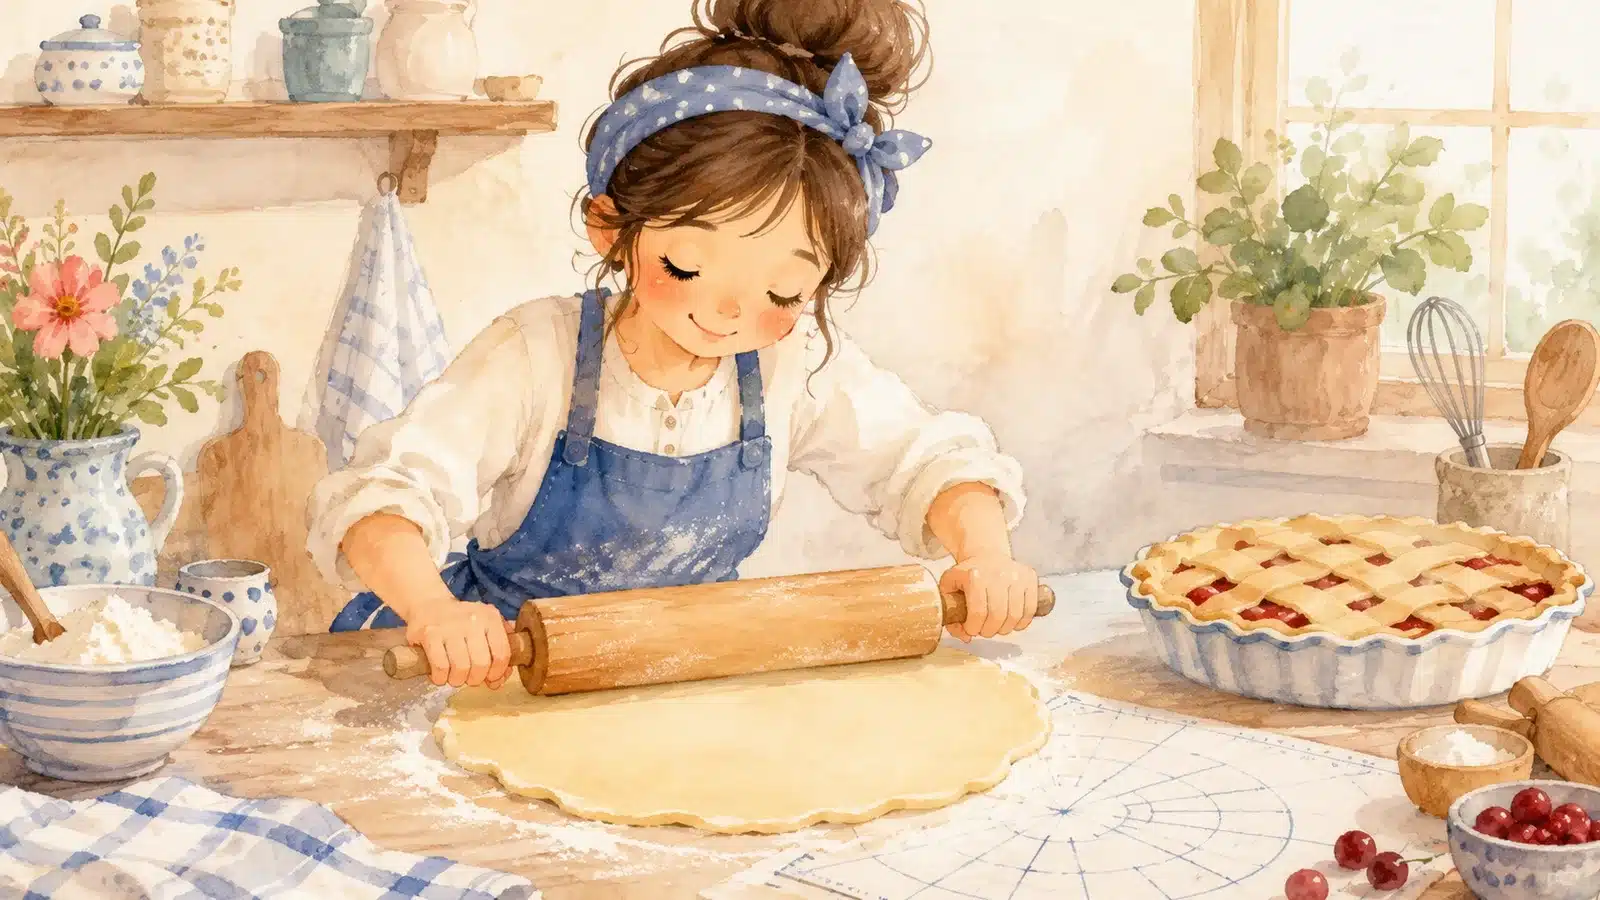
Recent baking guides also recommend rolling dough on lightly floured parchment or silicone mats to reduce sticking. That small trick can save enormous frustration later.
When choosing dough, buttery all-butter crusts are ideal for flavor and flakiness, though shortening-based doughs tend to hold decorative shapes slightly better. If you’re a beginner, don’t feel guilty about using store-bought dough for practice. Many first-time bakers in online baking communities admit they learned lattice weaving using premade crusts before transitioning to homemade pastry.
Preparation matters more than perfection. A calm setup gives you the confidence to focus on technique instead of scrambling for tools halfway through.
Rolling Dough to the Ideal Thickness for Lattice Strips
Roll the dough from the center outward with steady, gentle pressure. Rotate it regularly to encourage an even thickness and lightly flour the work surface when necessary. Avoid repeatedly rolling the same area because excessive handling can warm the butter and make the finished crust less tender.
A rectangular shape is particularly useful when preparing lattice strips. Compared with a round sheet, a rectangle gives you longer, more consistent pieces and makes better use of the available dough. This is especially helpful when you need enough strips to cover a standard pie without running short.
Pay close attention to temperature throughout the process. If the dough starts feeling sticky, greasy, or difficult to move, stop rolling and refrigerate it for 10 to 15 minutes. Cold dough is easier to cut cleanly and much less likely to stretch or tear while you prepare the lattice.
Don’t worry about creating a mathematically perfect circle or rectangle. Minor imperfections will be hidden by the filling and woven strips. The real goal is consistent thickness, firm dough, and enough usable surface area for clean lattice pieces.
Cutting Even Strips for a Neat Lattice Crust
Uniform strips make the finished lattice look balanced and make weaving much easier. For most pies, strips around ½ to 1 inch wide work well. Narrower pieces create a delicate design, while wider strips give the crust a more rustic appearance.
A pizza cutter, pastry wheel, or sharp knife can produce clean edges. For better consistency, use a ruler to mark the dough at regular intervals before cutting. Keeping the widths similar is more important than making every strip perfectly straight.
Work with well-chilled dough and avoid dragging the cutter through a soft sheet. If the dough begins sticking or stretching, place it in the refrigerator briefly before continuing. You can also chill the finished strips for a few minutes before weaving, which makes them easier to lift and position.
Always prepare a few extra strips. Backup pieces are useful because even carefully handled dough can crack during assembly. If a strip breaks, replace it rather than forcing a damaged piece into the pattern. Small repairs can also be pressed together gently and will usually become much less noticeable after baking.
For an extra decorative touch, use a fluted pastry wheel to create softly wavy edges. You can also vary the strip width intentionally, but keep the pattern consistent enough that the weave remains visually balanced.
Building the First Layer of the Lattice
This is where the pie finally starts looking impressive. Once the strips are ready, arrange half of them across the pie in one direction. Most bakers place the longest strips in the center and shorter strips toward the edges for balanced coverage.
Spacing matters more than many people realize. Leave small even gaps between strips so steam can escape during baking. Overcrowding the dough traps moisture and hides the filling beneath. Too much space, though, leaves the pie looking sparse and structurally weak. Aim for balanced visual rhythm, almost like evenly spaced window blinds.
Try not to stretch the strips while placing them. Stretched dough shrinks during baking and can distort the pattern. Instead, gently lay each strip onto the filling naturally. Think of the dough as draping rather than pulling.
Many beginners instinctively start weaving immediately, but take a moment to evaluate the arrangement first. Look at the overall symmetry from above. Are the strips parallel? Are the gaps consistent? Small adjustments now prevent major frustrations later.
Recent tutorials emphasize working directly on the filled pie instead of weaving separately on a board. This keeps the lattice aligned properly and prevents transfer disasters. Although some advanced bakers build entire lattices separately and flip them onto pies, that technique requires practice and confidence.
You’ll also notice that fruit filling texture affects weaving stability. Firmer fillings like sliced apples support strips more effectively than loose berry mixtures. If your filling feels especially juicy, refrigerate the pie briefly before weaving so the surface firms slightly.
At this stage, the pie resembles the skeleton of the final design. The magic truly happens during the folding process.
The Folding Technique That Creates a True Weave
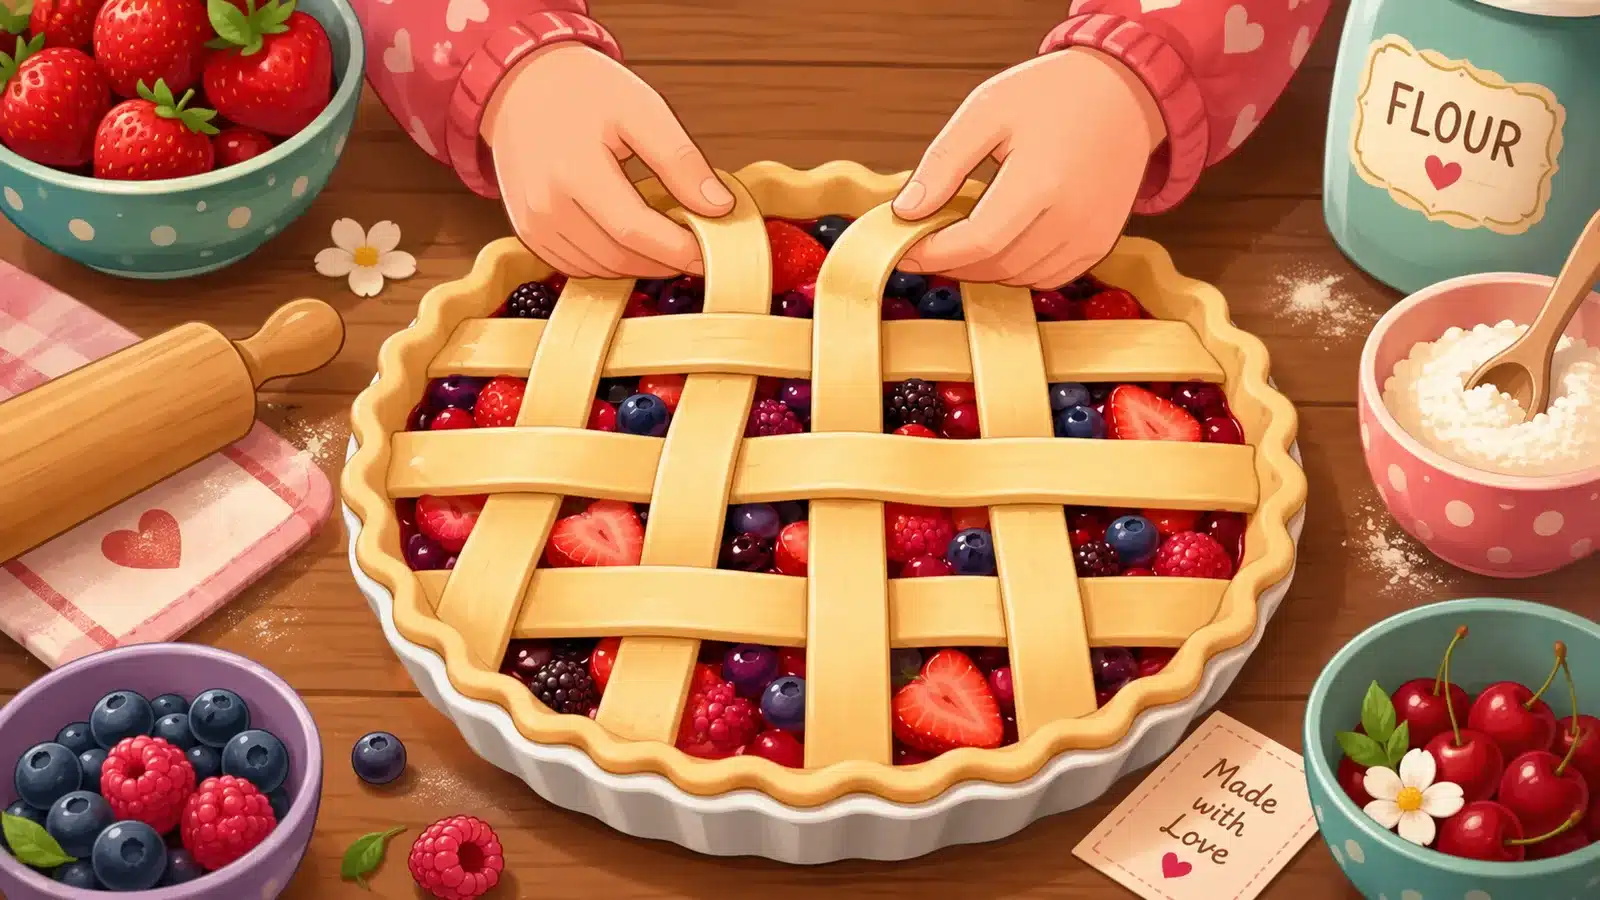
This is the step that intimidates people most, but it’s actually repetitive and surprisingly logical once you understand the pattern. The weaving process works by alternating folded strips over and under perpendicular strips.
Start by folding back every other strip halfway. Then place one new strip perpendicular across the center. Fold the lifted strips back into place over the new strip. Next, fold back the opposite strips and add another perpendicular strip. Repeat until the lattice is complete. Nearly every professional tutorial follows this same rhythm because it creates the authentic woven effect.
The easiest way to think about it is like weaving fabric or making a basket. One group of strips stays put while the other alternates position. After a few rows, your hands naturally memorize the sequence.
Here’s a simplified version of the process:
- Lay vertical strips.
- Fold back alternating strips.
- Add horizontal strip.
- Return folded strips.
- Fold opposite strips.
- Repeat until complete.
If alignment starts drifting, pause and adjust immediately. Dough is forgiving early on but harder to reposition later. Gently slide strips rather than lifting them aggressively.
Some bakers rotate the pie midway through weaving for easier access. That simple move prevents awkward hand angles and accidental smudging of the filling.
The most satisfying moment comes when the woven texture suddenly appears across the entire pie. It’s oddly mesmerizing, almost like watching a checkerboard materialize from strips of butter and flour.
And remember: tiny imperfections add charm. Perfectly symmetrical pies can sometimes feel factory-made. Handmade pies should still look handmade.
Fixing Broken or Uneven Strips Midway Through
Every baker breaks strips. Seriously, every single one. Even experienced pastry chefs occasionally split dough during weaving, especially with buttery crusts. The difference is that professionals know how to hide repairs seamlessly.
If a strip tears, simply overlap the broken edges gently and press them together lightly. Once baked, the seam usually disappears beneath egg wash and browning. Small patches can also be added underneath damaged sections almost invisibly. Because lattice designs naturally create visual texture, tiny repairs blend surprisingly well.
Uneven strips are another common issue. If one strip looks too narrow or stretched, swap it with a backup piece before finishing the weave. That’s why extra strips matter. Recent online baking discussions repeatedly reassure beginners that imperfect lattices still produce gorgeous pies.
Warm dough is usually the real culprit behind breakage. If the strips begin feeling floppy or greasy, refrigerate the entire pie for 10 to 15 minutes before continuing. Professional bakers strongly recommend chilling during any stage where dough becomes difficult to handle.
One clever trick is using small decorative cutouts to disguise repairs. Tiny dough leaves, stars, or hearts placed strategically over seams make the repair look intentional and artistic.
You should also avoid obsessing over microscopic flaws. Baking communities consistently remind beginners that flavor matters more than visual perfection. Once the pie emerges bubbling and golden from the oven, nobody examines individual strip widths.
Pie baking has always been rustic at heart. A slightly crooked lattice often feels warmer and more inviting than machine-like precision.
Decorative Variations That Elevate the Pie Design
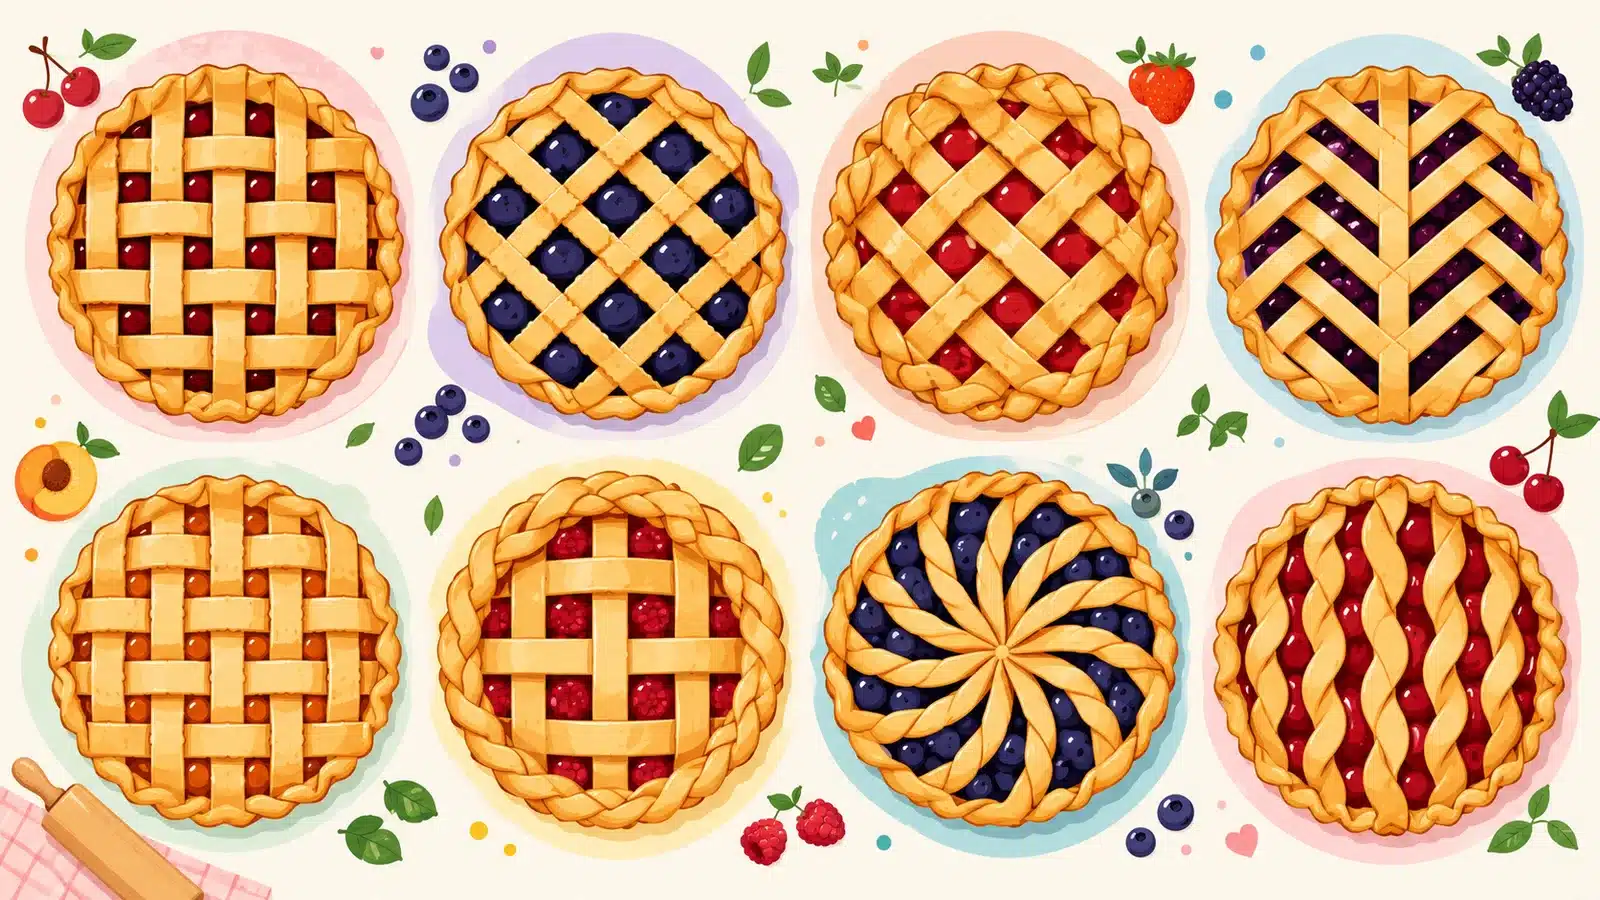
Once you master standard weaving, decorative variations become incredibly fun. This is where pie crust transforms into edible art. Bakers today experiment with everything from diagonal lattices to braided edges and twisted strips.
One particularly eye-catching trend involves angled lattices arranged at 45 degrees instead of straight lines. A recent Reddit baker gained widespread praise for using a custom template to create sharp diagonal weaving patterns. The effect feels modern and geometric while still maintaining classic pie charm.
Braided lattice strips add another layer of sophistication. Simply twist or braid smaller strips before weaving them into the design. This creates dramatic texture after baking, especially when brushed generously with egg wash.
Seasonal decorations also make pies memorable. During autumn, bakers often add leaf-shaped dough cutouts around the edges. Summer berry pies pair beautifully with floral patterns or scalloped strip edges created using fluted cutters.
Here’s a quick comparison of popular lattice styles:
| Style | Appearance | Difficulty |
|---|---|---|
| Classic Straight Lattice | Traditional farmhouse look | Easy |
| Thin Elegant Lattice | Refined bakery appearance | Medium |
| Diagonal Lattice | Modern geometric design | Medium |
| Braided Lattice | Decorative textured finish | Advanced |
| Twisted Strip Lattice | Rustic artisan style | Medium |
Another underrated decorative trick is varying strip widths intentionally. Alternating thick and thin strips creates dynamic visual contrast that feels sophisticated without adding much complexity.
And don’t underestimate sugar. Coarse sparkling sugar scattered across the crust catches light beautifully during baking, giving the pie jewel-like sparkle.
At the end of the day, decorative pie crusts are creative expression. There’s no single “correct” design. Your lattice can be playful, rustic, elegant, or bold depending on your mood and style.
Keeping the Crust From Becoming Soggy
Nothing crushes pie-baking excitement faster than slicing into a soggy bottom crust. Thankfully, several reliable techniques dramatically reduce that risk.
The first key is controlling filling moisture. Fruit fillings release large amounts of juice while baking, especially berries and peaches. Thickening agents like cornstarch, tapioca, or flour help stabilize those juices before they soak the crust.
Temperature also matters enormously. Recent baking experts emphasize starting pies in very hot ovens so crusts set quickly before butter melts excessively. Many bakers place pies on preheated baking sheets positioned on the oven’s lowest rack. That intense bottom heat helps crisp the base crust effectively.
Blind baking or par-baking the bottom crust can also help depending on the pie type. Baking experts increasingly recommend partial pre-baking for moisture-heavy fillings. Even a short head start improves texture significantly.
Another smart trick involves brushing the bottom crust with egg white before adding filling. The protein forms a slight barrier that slows moisture absorption. Some bakers use melted chocolate for cream pies, though that’s less common for fruit fillings.
And don’t skip chilling before baking. Lattice pies warm considerably during assembly, softening the butter within the dough. Refrigerating the assembled pie for 10 to 20 minutes before baking helps preserve flakiness.
Think of crust protection like waterproofing a jacket before rain. A little preparation prevents disappointment later.
Finishing Touches Before Baking the Lattice Pie
The final preparation determines how golden, crisp, and polished your lattice will look. Once the weaving is complete, check each strip and gently press or repair any loose connections before applying the finishing wash.
Add Egg Wash and Sugar
Whisk one egg with a small amount of milk or water, then brush a thin, even layer over the exposed pastry. Egg wash encourages deeper browning and gives the crust an attractive sheen without requiring a complicated finishing technique.
For extra texture, scatter coarse sugar over the washed crust. Turbinado or sanding sugar works particularly well because the larger crystals remain visible after baking and add a subtle crunch to the finished pastry.
Check the Edges and Chill the Pie
Trim excess dough around the rim and secure the lattice to the bottom crust with a firm crimp. A forked edge, classic finger crimp, or braided border can all work well. Before baking, inspect the pie for loose strips, cracks, uneven spacing, or areas that need a quick repair.
The completed pie should then be chilled for about 10 to 20 minutes. This firms the butter and helps the lattice maintain its shape once it enters the hot oven. Starting with cold pastry is one of the simplest ways to encourage a flaky crust and prevent the woven strips from slumping.
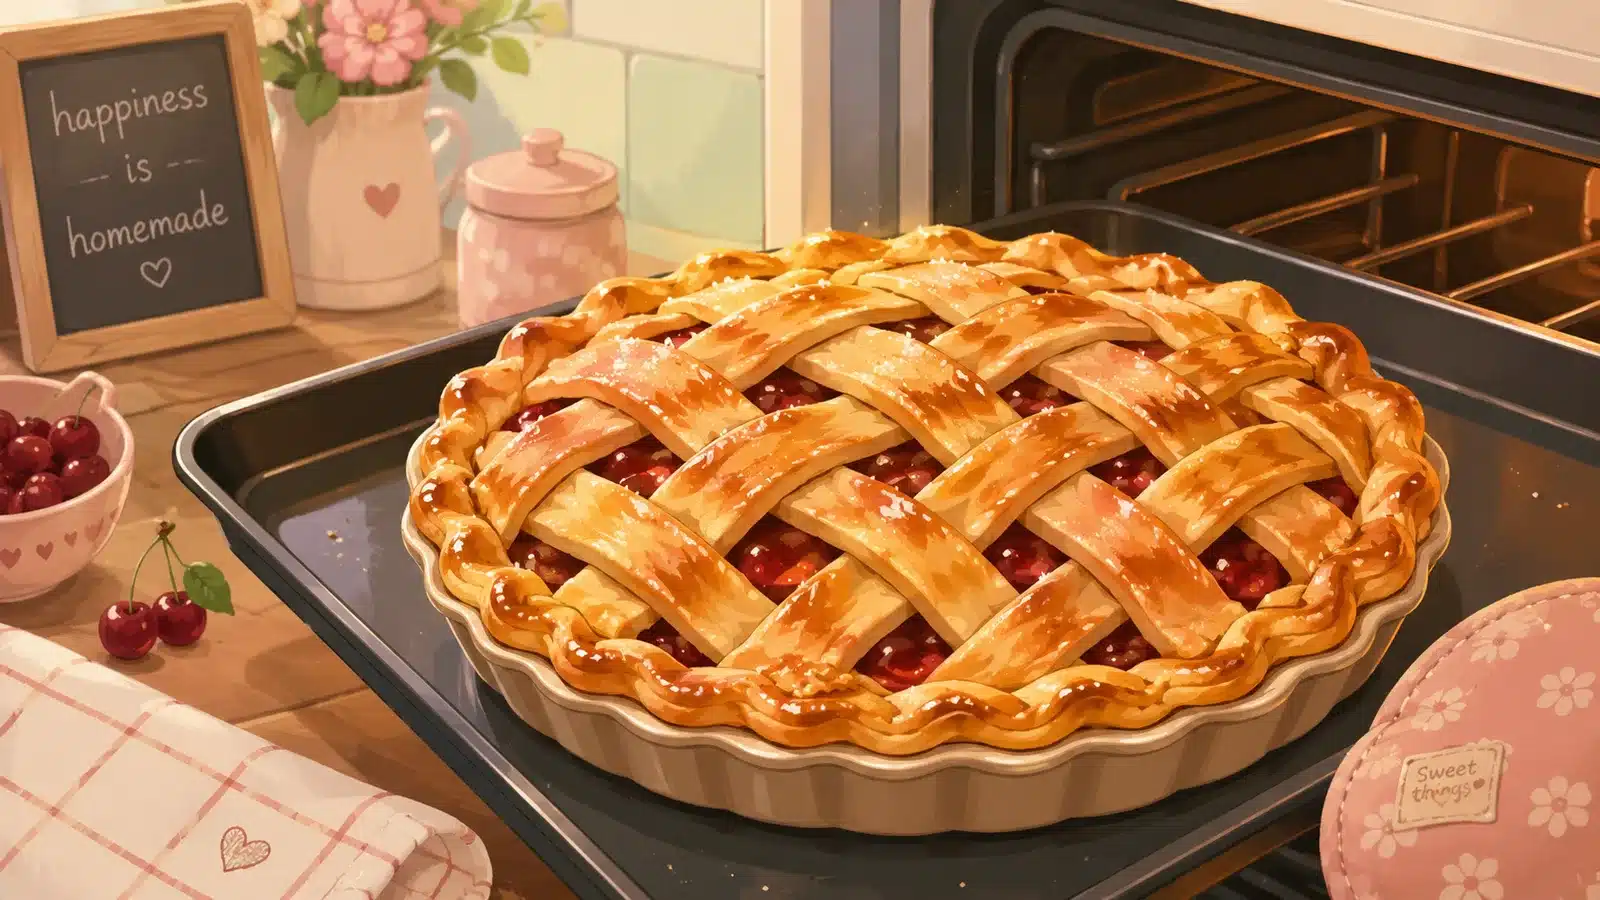
Once the pie is properly chilled, place it in the preheated oven and let the heat do the work. As the pastry browns and the fruit filling bubbles through the openings, the careful preparation finally comes together in a crisp, golden lattice crust.
Conclusion
Learning how to weave a lattice pie crust is one of those baking skills that seems intimidating until you actually try it. The process is really just a sequence of simple, repeatable steps: roll evenly, cut carefully, layer thoughtfully, and weave patiently. Once the rhythm clicks, it becomes less stressful and surprisingly satisfying.
The beauty of lattice pies lies in their balance between elegance and imperfection. Tiny flaws make them feel homemade and authentic. A slightly uneven strip or patched seam doesn’t ruin the pie; it gives it personality. Even professional bakers admit that pie crusts can be unpredictable, which is exactly why practice matters more than perfection.
Whether you stick with classic straight weaving or experiment with angled designs and decorative twists, lattice crusts instantly elevate homemade pies into centerpiece-worthy desserts. The combination of flaky buttery pastry, bubbling fruit filling, and golden woven texture creates something deeply comforting and timeless.
And honestly, there’s a special kind of pride that comes from pulling a beautifully latticed pie out of the oven knowing you made every woven strip by hand.
FAQs
1. What is the best dough thickness for a lattice pie crust?
Most professional bakers recommend rolling pie dough to about ⅛ inch thick. This thickness provides enough strength for weaving while still baking into flaky layers. Dough that’s too thin tears easily, while thick dough can bake unevenly.
2. Why does my lattice crust tear during weaving?
Warm dough is usually the main problem. If the butter softens too much, the strips become fragile and sticky. Refrigerate the dough whenever it feels soft, and handle strips gently without stretching them.
3. Should I chill the pie before baking?
Yes. Chilling the assembled pie for 10 to 20 minutes before baking helps keep the butter cold, which improves flakiness and prevents the lattice from sagging during baking.
4. Can beginners successfully make lattice pie crusts?
Absolutely. Many beginner bakers share successful first attempts online, even when the lattice isn’t perfect. The technique becomes easier after just a few pies because the folding pattern quickly becomes familiar.
5. How do I prevent a soggy pie bottom?
Use thickening agents in the filling, bake the pie on a preheated baking sheet, and start with a hot oven temperature. Some bakers also par-bake the bottom crust slightly for extra crispness.

Kareem Sallam is an Egyptian special writer based in Australia, with a strong interest in practical ideas and creative content that focuses on everyday solutions. He writes clear, engaging articles designed to be easy to follow and useful for a wide range of readers.
His work centers on DIY projects, handmade ideas, simple crafts, and home based creativity. Kareem aims to deliver content that is practical, inspiring, and accessible, helping readers turn simple materials into smart and enjoyable projects.