How to Fix Bathroom Ceiling Paint Peeling and Prevent It Again
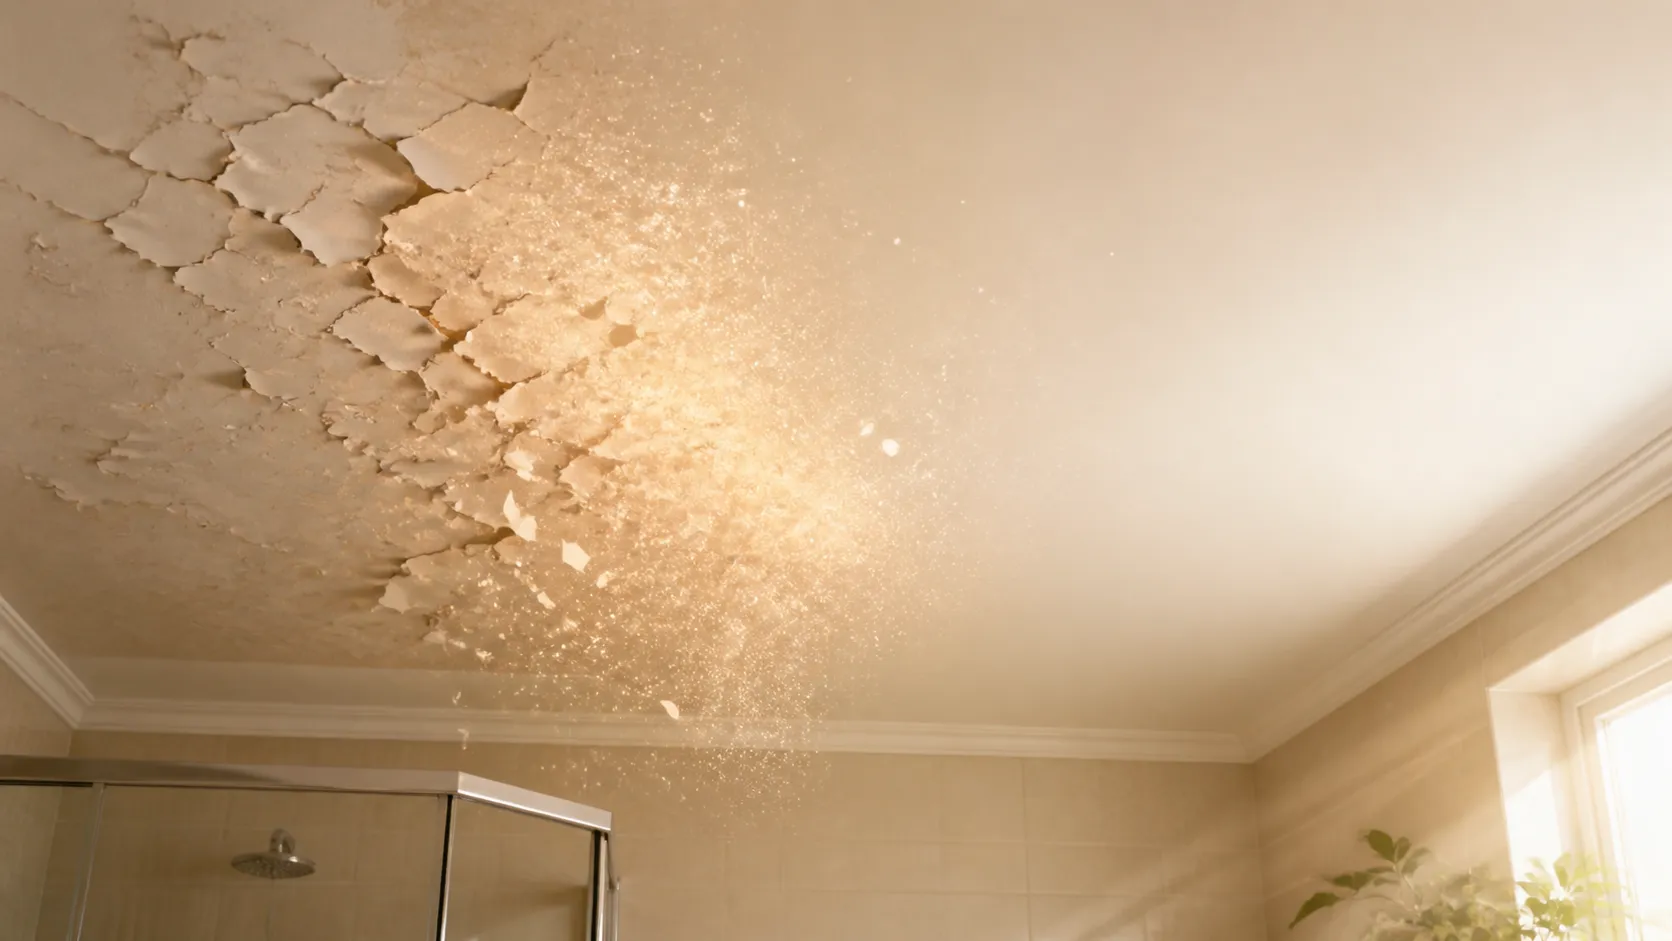
Peeling bathroom ceiling paint has a way of turning a clean, relaxing space into something that feels neglected almost overnight. One day the ceiling looks perfectly fine, and the next, little flakes start curling downward like dried leaves hanging from a tree branch. Most homeowners assume it is just “bad paint,” but the truth is usually deeper than that. Bathrooms create one of the harshest environments inside a home because heat, steam, humidity, and condensation constantly attack painted surfaces. If the underlying issue is not fixed, the paint will keep peeling no matter how many times the ceiling gets repainted.
Recent home maintenance reports and painting industry guides continue to point toward humidity and poor ventilation as the leading causes of bathroom paint failure. Experts also note that moisture-resistant primers and proper surface preparation dramatically increase paint durability in wet rooms.
Instead of treating peeling paint as a cosmetic annoyance, it helps to think of it like a warning light on a car dashboard. Sometimes the issue is simple and easy to repair. Other times, the ceiling is trying to warn you about hidden moisture damage, ventilation problems, or even leaks inside the walls. The good news is that most peeling paint problems can absolutely be fixed permanently if you approach the repair the right way.
Contents
Why Bathroom Ceiling Paint Peeling Happens So Often
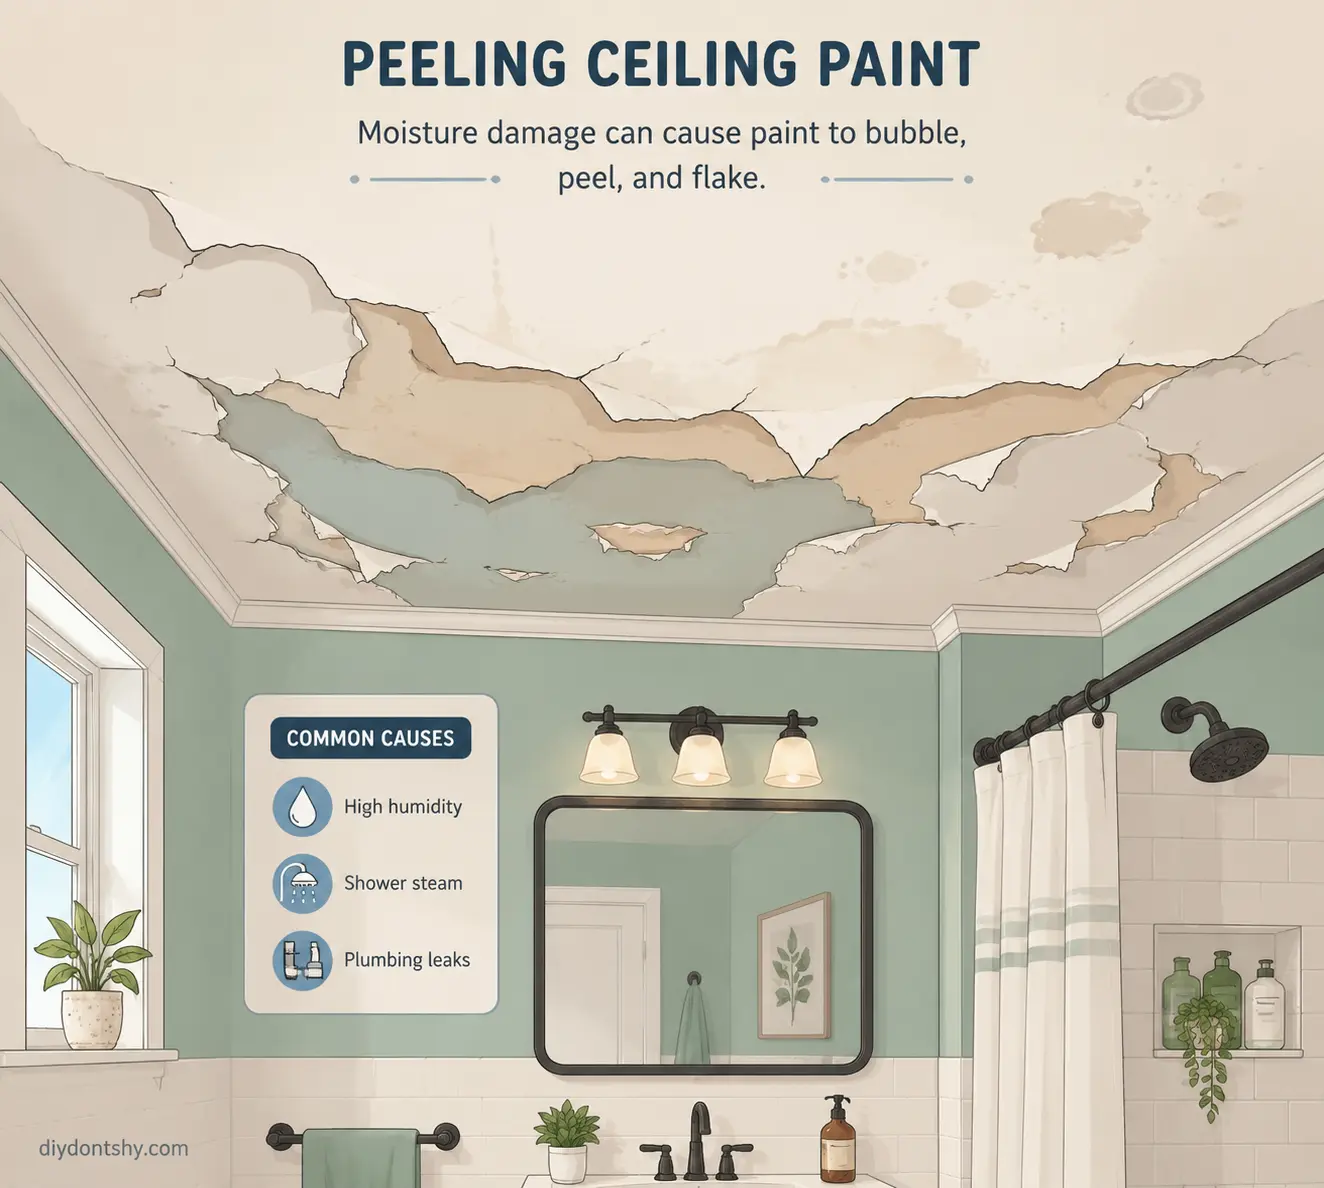
Bathroom ceilings go through a daily cycle that most other rooms never experience. Every hot shower fills the room with steam, and that moisture rises directly toward the ceiling where it condenses into tiny water droplets. Over time, those droplets slowly weaken the paint bond until the surface begins bubbling, cracking, or peeling. It is a little like repeatedly bending a paperclip. The damage may not show immediately, but eventually the material gives out.
Industry paint specialists consistently identify humidity buildup and inadequate airflow as the biggest causes of peeling bathroom paint. Bathrooms without effective exhaust fans trap moisture in the air for long periods, which keeps the ceiling damp long after a shower ends. That constant exposure gradually pushes moisture behind the paint film, causing the surface to lift away from drywall or plaster.
Another reason bathroom ceilings fail so often is poor preparation during earlier paint jobs. Many ceilings are simply painted over old glossy paint without sanding or priming first. Some homeowners even apply standard flat ceiling paint designed for dry living rooms instead of using moisture-resistant bathroom paint. At first everything may look smooth and clean, but once humidity enters the equation, adhesion problems appear quickly.
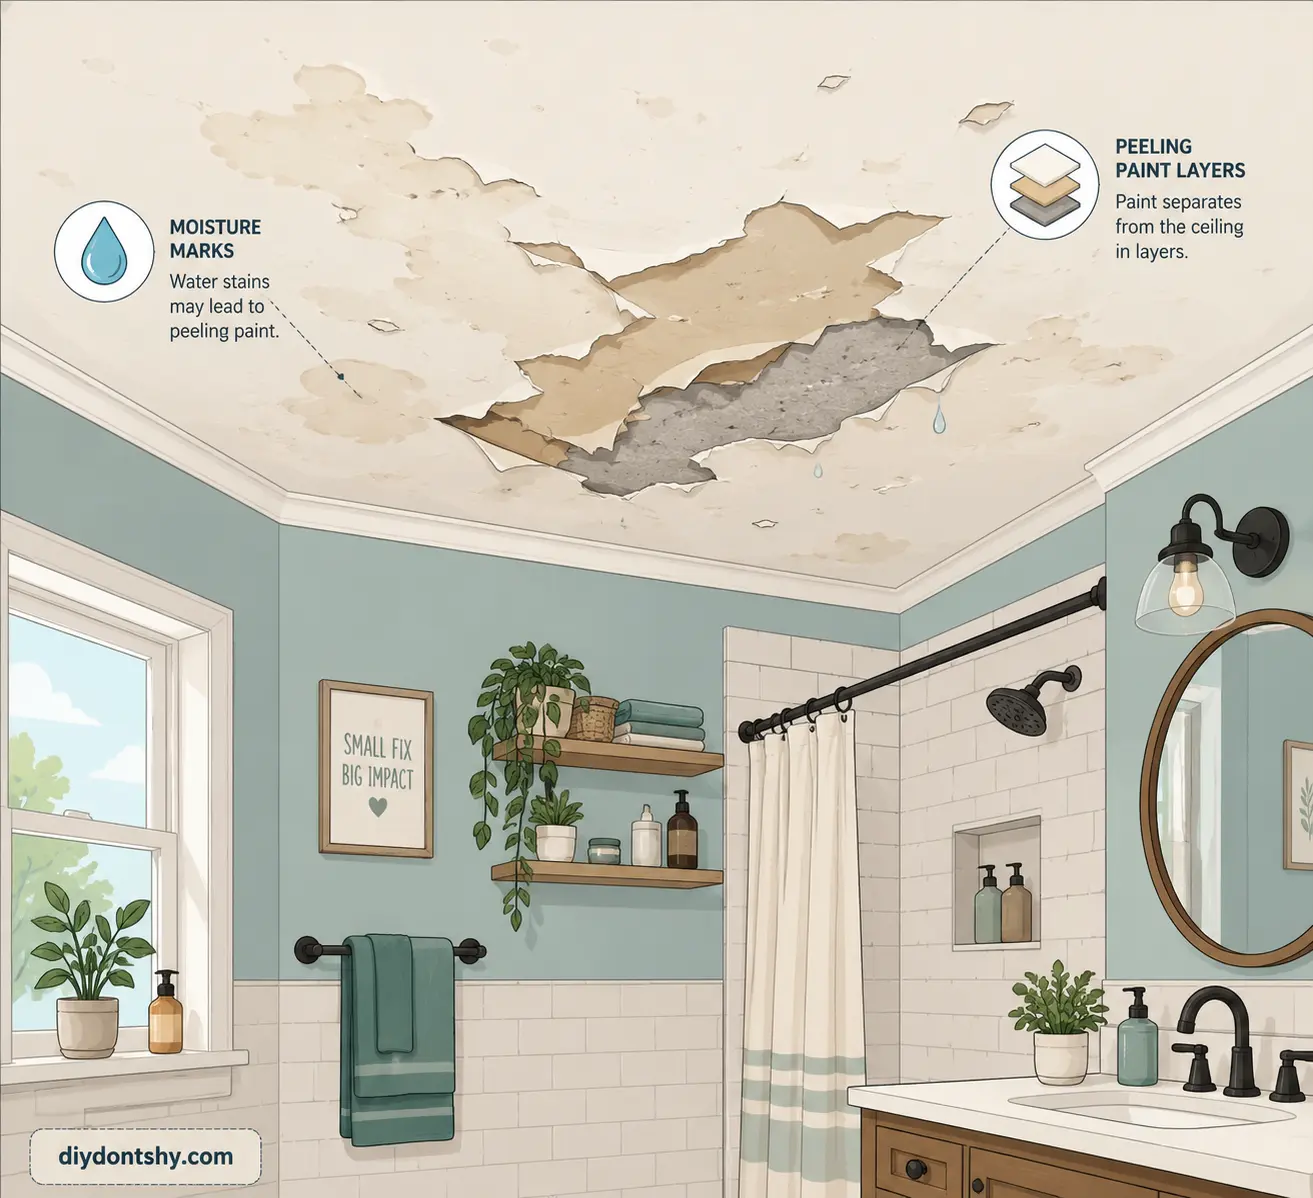
Temperature fluctuations also contribute to peeling. Bathrooms constantly switch between hot, steamy conditions and cooler dry conditions. These repeated expansions and contractions stress the paint layer until weak spots begin separating. In older homes, multiple layers of aging paint can worsen the problem because each layer reacts differently to humidity. The ceiling eventually becomes unstable, almost like stacked layers of tape slowly pulling apart from each other.
What Usually Causes Paint to Peel in Bathrooms
Most bathroom paint failures come down to a handful of predictable causes, and understanding them makes repairs far more effective. The first and most common culprit is simple moisture exposure. Steam from showers and baths saturates the air, and when ventilation is poor, the ceiling absorbs that moisture repeatedly. According to several recent painting guides, moisture intrusion remains the number one cause of peeling paint in wet rooms.
Water leaks are another major issue that homeowners often overlook. A small plumbing leak from an upstairs bathroom or a roof leak above the ceiling can create hidden dampness long before visible stains appear. Paint may start bubbling in isolated areas, especially near corners or light fixtures. If the drywall feels soft or swollen, the problem may extend well beyond surface paint damage. Repainting without fixing the leak is like putting a bandage over a cracked pipe. The symptom disappears temporarily, but the real issue keeps spreading underneath.
The type of paint used also matters more than many people realize. Standard interior paint simply is not designed for constant humidity exposure. Bathroom-specific paints usually contain stronger binders and mildew-resistant additives that help them survive wet conditions. Experts increasingly recommend satin or semi-gloss finishes because they resist moisture better than flat paints. Flat paint tends to absorb moisture instead of repelling it, which makes peeling much more likely.
Poor workmanship during earlier repairs can create long-term problems too. Painting over dirty surfaces, skipping primer, or failing to remove loose paint weakens adhesion from the beginning. Many Reddit homeowners dealing with recurring peeling paint discovered that previous painters ignored sanding and priming completely. Even expensive paint cannot compensate for poor preparation underneath.
Common Bathroom Paint Peeling Causes
| Cause | Effect on Ceiling Paint | Severity |
|---|---|---|
| Poor ventilation | Traps steam and moisture | High |
| Water leaks | Saturates drywall and weakens adhesion | High |
| No primer used | Paint fails to bond properly | Medium |
| Wrong paint finish | Flat paint absorbs moisture | Medium |
| Mold or mildew | Damages paint and drywall | High |
| Painting over dirt or gloss | Creates weak adhesion | Medium |
Identifying Moisture Damage Before Repainting
One of the biggest mistakes homeowners make is repainting before investigating the actual condition of the ceiling underneath. Peeling paint is often just the visible symptom of a larger moisture issue hiding below the surface. If you skip inspection and immediately repaint, the ceiling may begin peeling again within months. That is frustrating, expensive, and completely avoidable.
Start by carefully examining the damaged area. Look for dark spots, yellow stains, bubbling patches, or soft drywall. These are classic signs that moisture has penetrated deeper than the paint itself. Mold and mildew can also appear as gray, black, or green discoloration around peeling sections. Some homeowners mistake mildew for dirt, but it usually signals prolonged humidity exposure. Recent bathroom maintenance reports warn that untreated mold beneath paint can continue growing even after repainting.
Touch matters too. Press lightly against suspicious areas with your fingers. Drywall should feel firm and solid. If the surface feels spongy, crumbly, or swollen, moisture damage may have compromised the ceiling material itself. In severe cases, sections of drywall may need replacement rather than patching. Professional painters often say that soft drywall is like rotten wood on a deck; painting over it only hides the weakness temporarily.
Condensation patterns can also reveal hidden problems. If water droplets regularly collect on the ceiling after showers, ventilation is likely insufficient. Many homeowners assume a bathroom fan automatically solves humidity issues, but an undersized or poorly vented fan may barely remove moisture at all. Experts now recommend bathroom fans rated between 50 and 80 CFM for most average bathrooms. If mirrors stay fogged long after showers end, the room probably retains too much humidity.
Before repainting, the ceiling must be completely dry. This sometimes means waiting several days after repairing leaks or improving ventilation. Painting over damp surfaces traps moisture underneath the new paint layer, almost guaranteeing future peeling. Patience during preparation often determines whether the repair lasts six months or ten years.
Removing Loose Paint Without Damaging the Ceiling
Removing peeling paint can feel intimidating because nobody wants to gouge the drywall or create a bigger mess. The trick is to work methodically instead of aggressively. Think of it less like demolition and more like careful surgery. The goal is to remove every unstable section while preserving the solid surface underneath.
Start with the right tools. A quality paint scraper, putty knife, sanding sponge, drop cloth, safety goggles, and dust mask are essential. Plastic scrapers work well for delicate areas, while metal scrapers remove stubborn sections more effectively. Before scraping, cover the floor because peeling paint tends to fall everywhere. Tiny paint chips have a strange ability to scatter across the room like confetti after a party.
Begin scraping gently at the edges where paint is already lifting. Loose paint usually comes away easily. Do not force sections that remain firmly bonded because aggressive scraping can tear the drywall paper beneath. Recent repair guides emphasize feather-sanding the edges between bare areas and intact paint to create a smooth transition. This prevents visible ridges from showing through the final paint coat later.
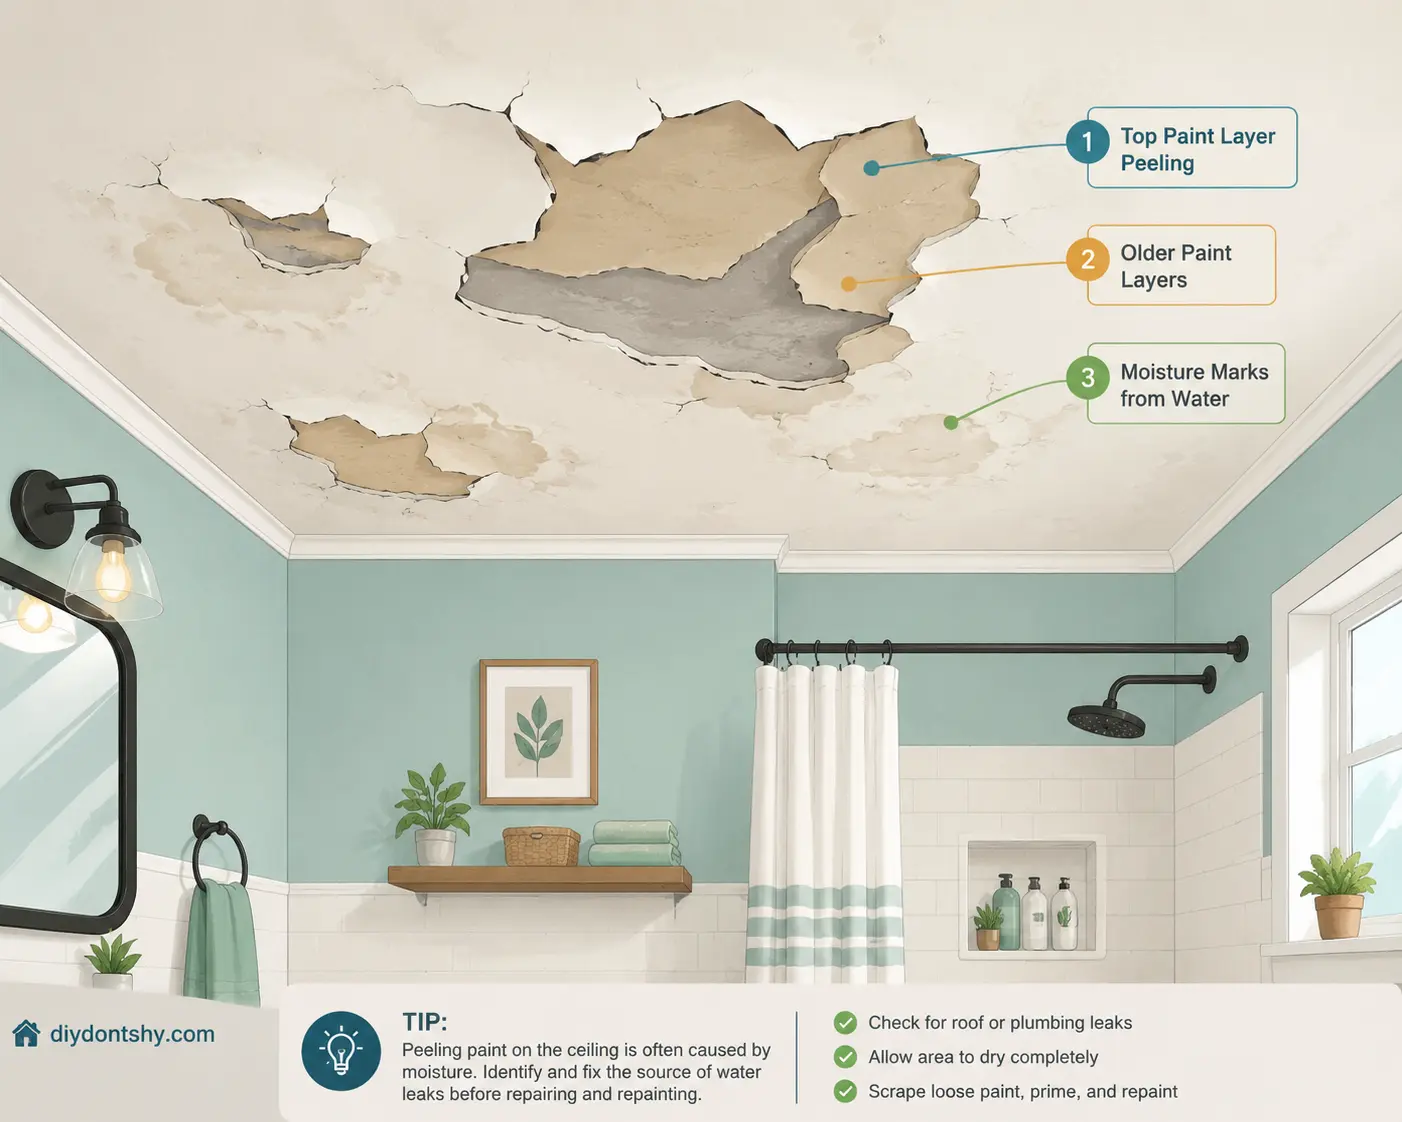
Once loose paint is removed, sand the ceiling carefully to smooth rough edges and dull glossy surfaces. Sanding also improves primer adhesion dramatically. Many peeling paint problems happen because new paint was applied over glossy old paint without proper abrasion. Dust removal matters too. Wipe the ceiling with a damp cloth or vacuum attachment because leftover sanding dust weakens primer bonding.
If mold is present, clean the affected area with an appropriate mildew-killing solution before priming. Never paint directly over mold. That is similar to laying fresh carpet over a wet floor; the problem remains alive underneath. Proper cleaning and drying create the stable foundation every durable paint job depends on.
Repairing Damaged Areas Properly
After scraping and sanding, many ceilings reveal cracks, dents, or uneven patches that need repair before painting begins. Skipping these repairs usually leads to an uneven finish where imperfections remain visible even under fresh paint. Bathroom ceilings are particularly unforgiving because overhead lighting tends to highlight every flaw.
Small cracks and shallow damage can usually be repaired with lightweight joint compound. Apply thin layers rather than thick heavy patches because oversized repairs often shrink or crack while drying. Let each layer dry fully before sanding smooth. This process takes patience, but rushing repairs almost always creates noticeable texture problems later. Think of joint compound like icing on a cake; smooth layers produce the cleanest finish.
For larger damaged sections, mesh drywall tape may be necessary to reinforce weak cracks. Water damage sometimes causes drywall seams to separate slightly, especially in older homes where humidity cycles have stressed the ceiling for years. If tape is needed, embed it carefully beneath joint compound and feather the edges outward so the repair blends naturally into the surrounding surface.
Some ceilings require partial drywall replacement instead of patching. If the drywall crumbles, sags, or remains soft after drying, replacement is usually the smarter long-term solution. Professional repair guides consistently warn against painting over structurally weakened drywall because the moisture damage continues spreading internally. A new drywall patch properly sealed and primed often lasts far longer than repeated cosmetic repairs on damaged material.
Allow repairs to dry completely before priming. Humid bathrooms can extend drying times significantly, especially during rainy weather. Experts suggest controlling room humidity with fans or dehumidifiers while repairs cure. The smoother and drier the repaired surface becomes, the more professional the final paint job will look.
Why Proper Ventilation Matters More Than Expected
Ventilation is the silent hero of every successful bathroom paint job. Most homeowners focus entirely on paint brands and primers while ignoring the real issue creating the damage in the first place. Without proper airflow, even expensive moisture-resistant paint eventually struggles to survive. Bathrooms generate enormous amounts of humidity in a short time, and that moisture must escape somewhere.
Warm steam naturally rises toward the ceiling, where it cools and condenses into water droplets. If the bathroom fan is weak, clogged, or improperly vented, the moisture lingers in the room for hours. Experts repeatedly identify inadequate ventilation as the primary cause of recurring peeling paint problems. Some exhaust fans even vent into attics instead of outside, which simply relocates the moisture problem rather than solving it.
Choosing the correct fan size matters more than many people realize. Bathroom exhaust fans are rated by CFM, which stands for cubic feet per minute. A fan that is too small cannot remove humid air effectively. Recent home maintenance sources recommend fans between 50 and 80 CFM for standard bathrooms, with larger bathrooms needing stronger airflow. Humidity-sensing fans have become especially popular because they automatically continue running until moisture levels drop.
Daily habits also play a surprisingly important role. Leaving the fan running for at least 15 to 20 minutes after showering helps remove lingering humidity before condensation settles onto the ceiling. Opening windows when possible and keeping shower temperatures slightly lower can reduce steam buildup too. Even small adjustments make a noticeable difference over time.
Here is a simple comparison showing how ventilation impacts bathroom ceilings:
| Ventilation Condition | Likely Ceiling Outcome |
|---|---|
| No exhaust fan | Heavy condensation and peeling |
| Weak or clogged fan | Recurring moisture damage |
| Properly sized fan | Reduced humidity and longer paint life |
| Humidity-sensing fan | Consistent moisture control |
| Open windows plus fan | Best overall airflow |
Good ventilation does more than protect paint. It also reduces mold growth, prevents odors, protects drywall, and improves indoor air quality. In many cases, upgrading ventilation solves recurring peeling problems more effectively than repainting alone ever could.
Primers That Help Prevent Future Peeling
Primer is often treated like an optional extra, but in bathrooms it acts more like armor protecting the ceiling from moisture invasion. Skipping primer is one of the most common reasons paint repairs fail prematurely. The primer creates a stable bonding layer between the ceiling surface and the finish paint, especially on repaired drywall or glossy older surfaces.
Moisture-resistant primers designed specifically for bathrooms provide additional protection against humidity penetration. Bonding primers are especially useful when repainting ceilings with old semi-gloss or oil-based coatings because they help modern latex paints adhere properly. Experts frequently recommend high-adhesion primers like stain-blocking or moisture-sealing products for peeling bathroom ceilings.
One of the biggest mistakes homeowners make is applying primer too heavily. Thick coats dry unevenly and can trap moisture beneath the surface. Thin, even coats perform much better. Allow the primer to dry fully according to manufacturer instructions before painting. Bathrooms with poor airflow may require longer drying times than expected. Trying to speed up the process often backfires.
Another common issue involves priming over damp surfaces. Primer cannot seal ongoing moisture problems. If leaks or condensation remain active, the ceiling will eventually peel again regardless of product quality. Some people treat primer like magic, but even the best products still depend on proper conditions underneath. A clean, dry, stable surface remains essential.
Professional painters also emphasize matching the primer to the ceiling condition. Fresh drywall repairs usually need drywall primer, stained ceilings may require stain-blocking primer, and glossy older paint often benefits from bonding primer. Using the right primer is a little like choosing the correct foundation before building a house. Everything above it depends on how solid the base becomes.

Applying Fresh Paint for a Smooth and Durable Finish
Once the ceiling is properly repaired, primed, and dry, painting becomes the rewarding final stage. This is where all the preparation work finally pays off. A smooth, durable bathroom ceiling does not happen because of luck. It happens because every earlier step was handled carefully.
Choosing the right paint matters enormously in humid environments. Bathroom-specific paints formulated with mildew resistance and moisture durability consistently outperform standard interior ceiling paints. Satin and semi-gloss finishes are often recommended because they repel moisture better than flat finishes. While some homeowners dislike ceiling shine, a slightly reflective surface usually survives bathroom conditions much longer.
Apply paint in thin, even coats using a high-quality roller designed for smooth ceilings. Thick coats may look faster initially, but they dry unevenly and can trap moisture. Two lighter coats almost always outperform one heavy coat. Maintain steady strokes and avoid overworking partially drying paint because this can create texture inconsistencies.
Temperature and humidity conditions matter during painting too. Experts warn that painting in excessively humid conditions can interfere with curing and adhesion. If possible, run ventilation fans or dehumidifiers during drying periods. Allow adequate drying time between coats, even if the surface feels dry to the touch. Paint continues curing internally long after it appears finished.
Recommended Paint Features for Bathrooms
| Paint Feature | Why It Matters |
|---|---|
| Mildew resistance | Helps prevent mold growth |
| Satin or semi-gloss finish | Repels moisture better |
| High adhesion formula | Reduces future peeling |
| Bathroom-specific labeling | Designed for humid rooms |
| Washable surface | Easier long-term cleaning |
Fresh paint transforms the bathroom visually, but the real victory is durability. A properly repaired and painted ceiling should remain smooth and intact for years instead of beginning to peel again after one humid season.
Warning Signs That the Problem Goes Beyond Paint
Sometimes peeling paint is not just a paint problem at all. It can signal larger structural or moisture issues hidden inside the home. Knowing when to investigate further can save enormous repair costs later. Think of peeling paint as the smoke that sometimes reveals a fire you cannot yet see.
One major warning sign is recurring peeling in the exact same location despite repeated repainting. If repairs keep failing within months, hidden moisture intrusion is likely continuing behind the surface. Roof leaks, plumbing leaks, or attic condensation may be feeding constant dampness into the ceiling structure. Paint alone cannot overcome active water exposure.
Another red flag is widespread staining or sagging drywall. Yellow or brown water marks often indicate long-term moisture penetration. Soft ceilings that bow downward may signal severe drywall deterioration. In extreme cases, ceiling collapse becomes possible if water damage remains untreated for too long. Professional inspection becomes especially important when the affected area expands rapidly.
Persistent mold odors are another clue that the issue extends beyond cosmetic paint failure. Mold behind ceilings or inside insulation can continue spreading even after repainting. Homeowners sometimes mistake musty smells for normal bathroom odors, but persistent damp smells usually deserve investigation. Recent repair discussions online repeatedly point toward hidden dampness as the root cause of recurring paint failure.
Electrical fixtures near peeling paint also require caution. Water intrusion around ceiling lights or exhaust fans can create safety hazards. If discoloration appears near electrical components, turning off power and consulting a professional may be necessary before repairs continue. Some ceiling issues truly are simple paint failures, but others reveal deeper moisture problems that need immediate attention.
Long-Term Maintenance to Keep the Ceiling Looking Clean
A freshly painted bathroom ceiling can stay beautiful for years with the right maintenance habits. The key is controlling moisture consistently instead of waiting until peeling begins again. Preventive care always costs less than repeated repairs.
Ventilation remains the most important long-term strategy. Run the exhaust fan during every shower and continue using it afterward until humidity drops. Cleaning the fan regularly matters too because dust buildup reduces airflow efficiency over time. Many homeowners never realize their fan performance has declined until peeling returns.
Regular cleaning also helps preserve paint durability. Bathroom ceilings gradually collect soap residue, dust, and moisture particles that encourage mildew growth. Wiping the ceiling occasionally with a mild cleaner removes buildup before it becomes damaging. Gentle maintenance works better than aggressive scrubbing, which can wear down paint finishes unnecessarily.
Watch for early warning signs like small bubbles, tiny cracks, or faint discoloration. Addressing minor issues immediately prevents larger peeling sections later. Small touch-ups and ventilation adjustments are far easier than full ceiling repairs. Humidity monitoring devices can also help homeowners track moisture levels, especially in bathrooms with limited natural airflow.
Seasonal inspections matter more in older homes. Roof leaks, plumbing issues, or attic condensation sometimes appear gradually over time. Catching moisture problems early protects not only the paint but also drywall, insulation, and structural framing. A well-maintained bathroom ceiling should feel solid, look smooth, and remain free from recurring stains or peeling for many years.
Conclusion
Bathroom ceiling paint peeling is rarely just about paint. In most cases, it is the visible result of humidity, poor ventilation, hidden moisture, or improper preparation working together over time. Repainting without fixing those underlying causes usually leads to frustration because the problem eventually returns. The real solution comes from approaching the repair systematically: identify moisture issues, remove damaged paint properly, repair the ceiling surface carefully, use the right primer and paint, and improve ventilation so humidity stops attacking the ceiling every day.
The encouraging part is that peeling bathroom ceilings are absolutely repairable. Once moisture is controlled and the ceiling is prepared correctly, modern bathroom paints and primers can create durable finishes that last for years. A clean, smooth ceiling completely changes how a bathroom feels. Instead of looking worn out and neglected, the room becomes fresh, bright, and properly maintained again.
FAQs
1. Why does bathroom ceiling paint peel even after repainting?
Recurring peeling usually means the underlying moisture problem was never fixed. Poor ventilation, hidden leaks, or painting over damp surfaces often cause the new paint to fail again quickly.
2. What type of paint works best for bathroom ceilings?
Bathroom-specific satin or semi-gloss paints generally perform best because they resist humidity and mildew more effectively than standard flat ceiling paints.
3. Can I paint directly over peeling paint?
No. All loose or bubbling paint should be removed first. Painting over unstable paint layers almost guarantees future peeling.
4. How long should I wait before using the shower after painting?
Most experts recommend waiting at least 24 to 48 hours before exposing fresh bathroom paint to heavy steam, although full curing may take longer depending on humidity levels.
5. When should I replace drywall instead of repainting?
If the drywall feels soft, swollen, crumbly, or sagging after moisture exposure, replacement is usually the better long-term solution instead of cosmetic patching.

Ahmed Elhor is an Egyptian SEO specialist, pharmacist, and copywriter based in Canada. He combines strong research skills with search focused writing to create clear, helpful content that answers real questions and ranks effectively in search engines.
With a passion for practical DIY ideas, homemade solutions, and creative projects, Ahmed focuses on producing easy to follow guides that are simple, affordable, and useful for everyday life. His work blends creativity with structure, helping readers turn basic materials into meaningful results.