How Do You Make Homemade Bouncy Balls with Simple Ingredients

Making homemade bouncy balls feels a little like becoming a scientist and a toy designer at the same time. One moment you are stirring glue and powder in a cup, and the next you are tossing a colorful ball against the floor watching it spring back into your hand. That tiny bounce is powered by chemistry, polymers, elasticity, and the perfect balance of ingredients. The best part? You do not need a fancy laboratory to make it happen. Most recipes use simple household supplies like glue, cornstarch, borax, warm water, and food coloring. Recent science activity guides from educational organizations continue to recommend these easy recipes because they combine fun with hands-on learning.
Contents
Why Homemade Bouncy Balls Are So Popular
Homemade bouncy balls have become one of the most popular DIY science projects because they combine entertainment with genuine scientific learning. It is not every day that a simple kitchen-table activity teaches concepts like polymers, elasticity, viscosity, and molecular bonding while also producing a toy you can actually play with afterward. Educational science organizations and family STEM workshops continue promoting homemade bouncy ball experiments because they give children an easy way to see chemistry in action.
The appeal also comes from the surprise factor. When people first mix glue, borax, and cornstarch together, the ingredients do not look very impressive. It resembles a sticky mess more than a toy. Then something magical happens. The mixture thickens, stretches, firms up, and eventually becomes springy enough to bounce. That transformation feels almost like watching bread dough rise or popcorn explode in a microwave. Science suddenly becomes visible instead of theoretical.
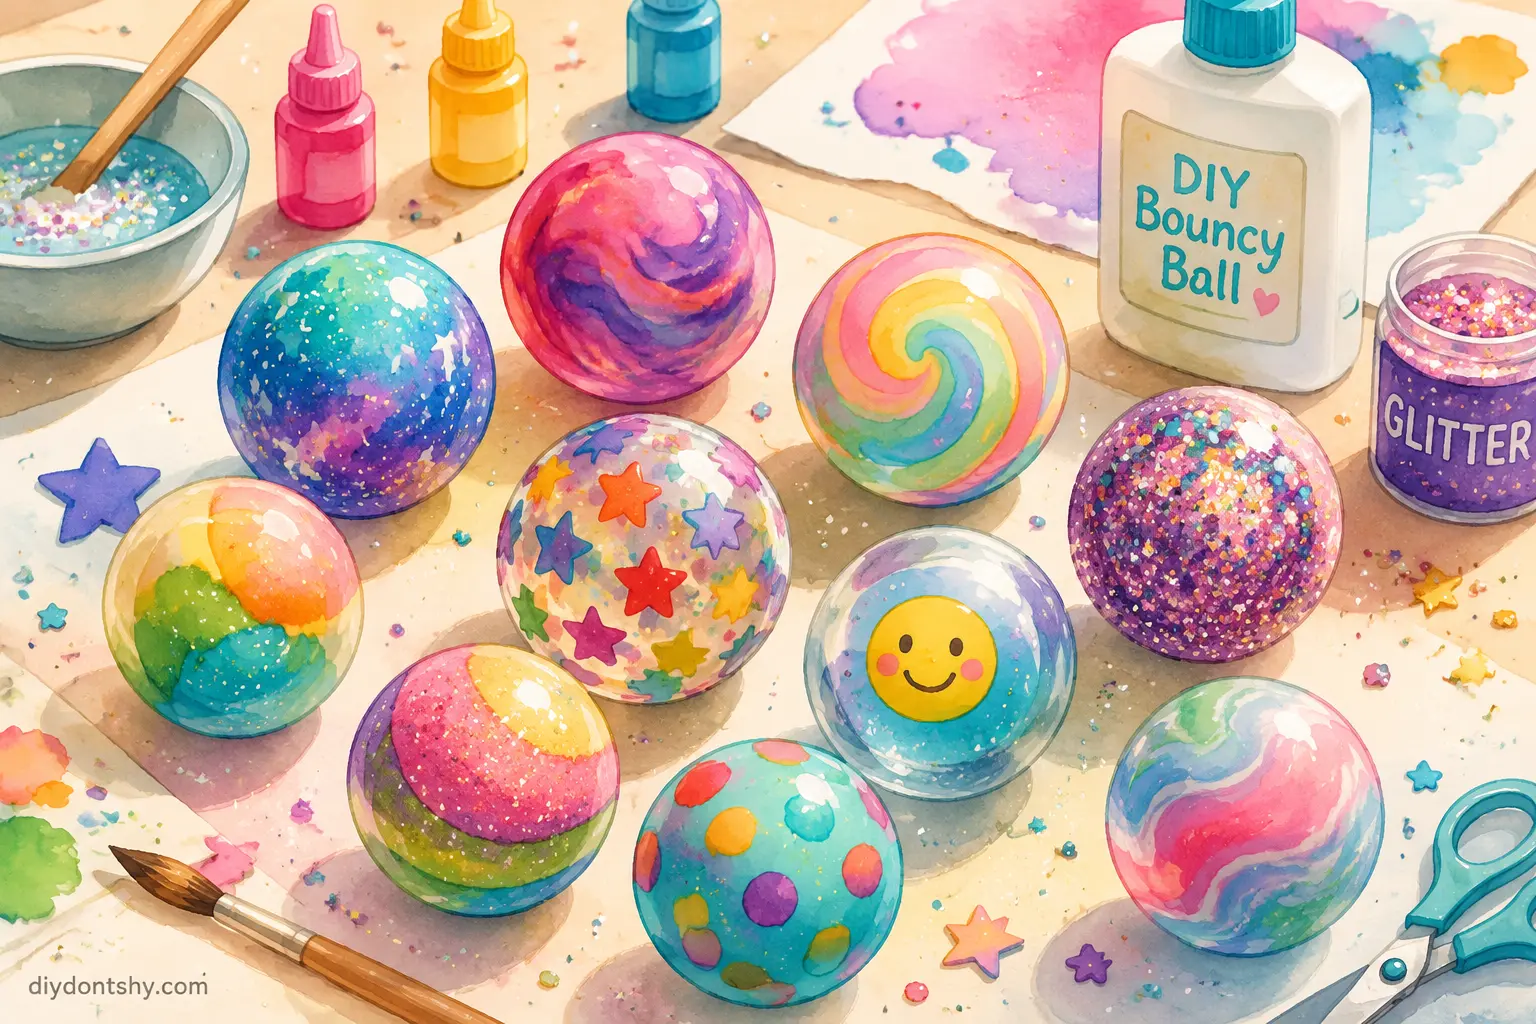
Another reason these projects stay popular is customization. Store-bought bouncy balls may come in a few colors, but homemade versions can become miniature works of art. You can add glitter, glow powder, swirls of neon dye, metallic pigments, or layered colors that look like tiny planets. The project becomes part chemistry lab and part craft studio. Parents love the affordability, teachers love the educational value, and kids love throwing them at the floor repeatedly just to see how high they bounce.
The Basic Ingredients That Create a Bouncy Texture
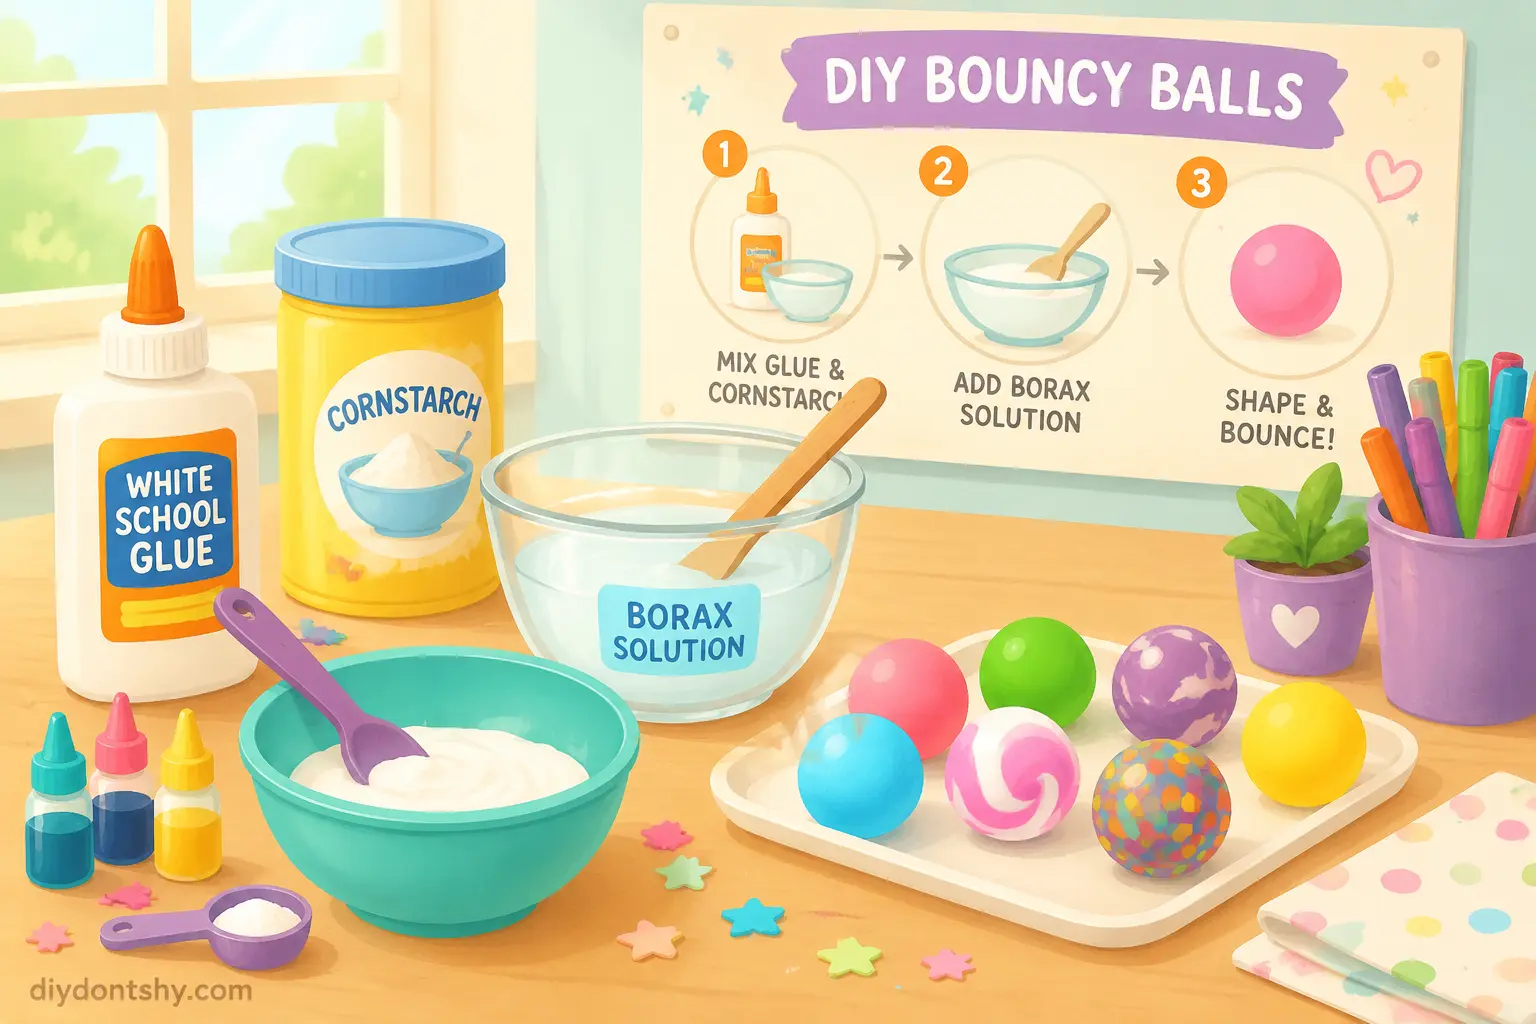
Every homemade bouncy ball recipe depends on a few key ingredients that work together like members of a band. If one instrument is missing, the song falls apart. Glue acts as the polymer foundation, borax creates cross-linking bonds, cornstarch changes the texture and firmness, and water helps the entire reaction occur smoothly. Educational science resources consistently identify these materials as the core components for successful DIY bouncy balls.
How Glue Forms the Polymer Base
White school glue contains polyvinyl acetate, commonly called PVA. This substance is a polymer, meaning it is made from long chains of molecules linked together. Imagine cooked spaghetti floating in a bowl. The strands slide around freely but still remain connected. Glue behaves in a similar way before chemical reactions begin. According to science experiment guides, these long polymer chains provide flexibility and strength to the final ball.
Why Borax Creates Elasticity
Borax acts as the “connector” that links polymer chains together. Chemists often call this process cross-linking. Without borax, glue stays runny and sticky forever. With borax added, the polymer chains grab onto one another and form a stretchy network. A helpful chemistry explanation on Reddit compared borax molecules to tiny hands holding the glue chains together. That visual makes the concept surprisingly easy to understand.
The Role of Cornstarch in Firmness
Cornstarch changes the texture dramatically. It reduces excessive stickiness and helps the ball keep its shape. Science sources explain that cornstarch contributes elasticity while also creating a firmer structure. Too little cornstarch can produce a slimy texture, while too much may create cracking or stiffness.
Warm Water and Its Effect on Mixing
Warm water may seem unimportant, but temperature affects how quickly borax dissolves and reacts. Warm water speeds up the chemical process and creates a smoother mixture. Cold water can leave undissolved particles that interfere with consistency. Think of warm water as the traffic controller making sure all the ingredients move together efficiently.
Step-by-Step Process for Making Homemade Bouncy Balls
Creating a homemade bouncy ball is surprisingly simple when you follow the process carefully. Most science activity guides recommend separating the ingredients into two mixtures before combining them. This helps the chemical reaction happen evenly instead of turning into a lumpy disaster.
Preparing the Borax Solution
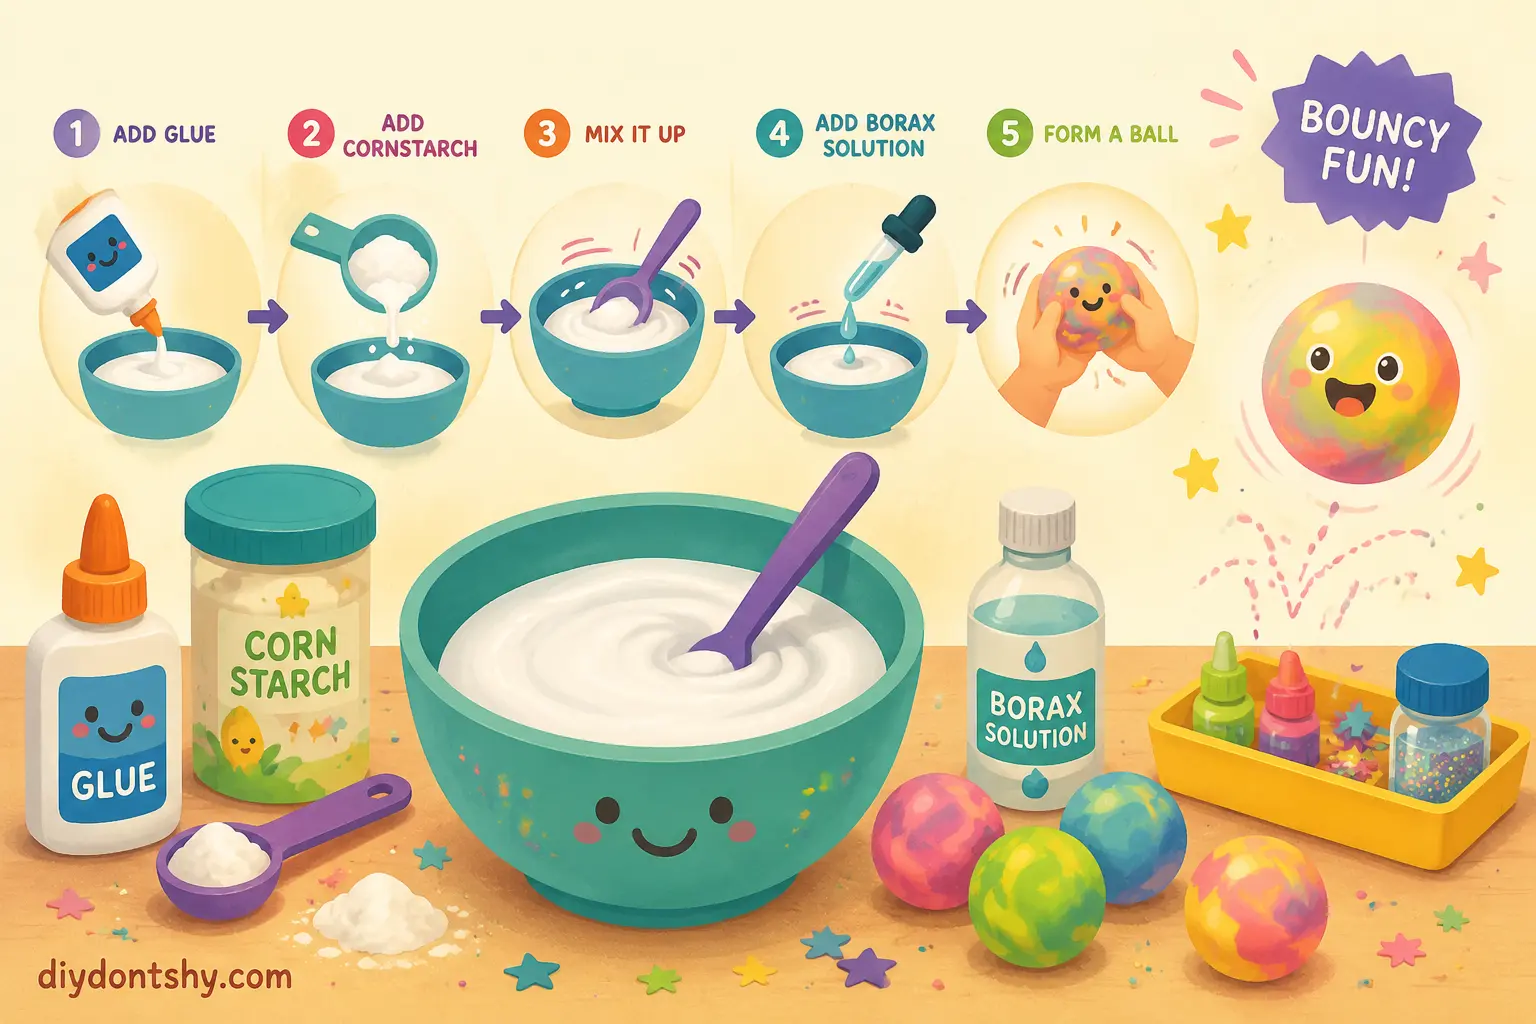
Start by mixing warm water and borax in a small bowl. A common recipe uses about half a teaspoon of borax with several tablespoons of warm water. Stir until most of the powder dissolves. You might still see some residue at the bottom, which is normal. The solution does not need to become perfectly clear.
Combining Glue and Cornstarch
In another container, mix one tablespoon of white school glue with one tablespoon of cornstarch. This is where customization begins. Add food coloring, glitter glue, metallic pigment, or tiny confetti pieces if you want a decorative design. Once the mixture looks smooth, slowly add a small amount of borax solution.
At first, the texture will look strange. The liquid suddenly thickens and begins clumping together. This is the exact moment the polymers start cross-linking. Educational science workshops often describe this as the “magic moment” because the transformation happens quickly.
Rolling and Shaping the Ball
Take the sticky clump out and begin rolling it between your palms. It will feel wet and slimy initially, but continuous rolling helps distribute moisture and strengthen the structure. Press firmly while shaping. This removes trapped air and smooths the outer layer.
The ball may not bounce perfectly during the first few minutes. Give it time. As it rests, the polymers settle into a firmer network. The process resembles baking cookies. Fresh cookies are soft and fragile straight out of the oven, but cooling changes their structure completely.
Mixing Ratios That Affect Firmness and Elasticity
One of the most fascinating parts of homemade bouncy balls is how small recipe changes dramatically affect performance. Altering ingredient ratios changes the ball’s flexibility, softness, bounce height, and durability. Science educators often encourage experimentation because students can directly observe how chemistry influences physical behavior.
| Ingredient Change | Result |
|---|---|
| More borax | Firmer, bouncier, less stretchy |
| More glue | Softer, stretchier, less bounce |
| More cornstarch | Dense texture, reduced stickiness |
| Less water | Faster hardening |
| Extra water | Softer consistency |
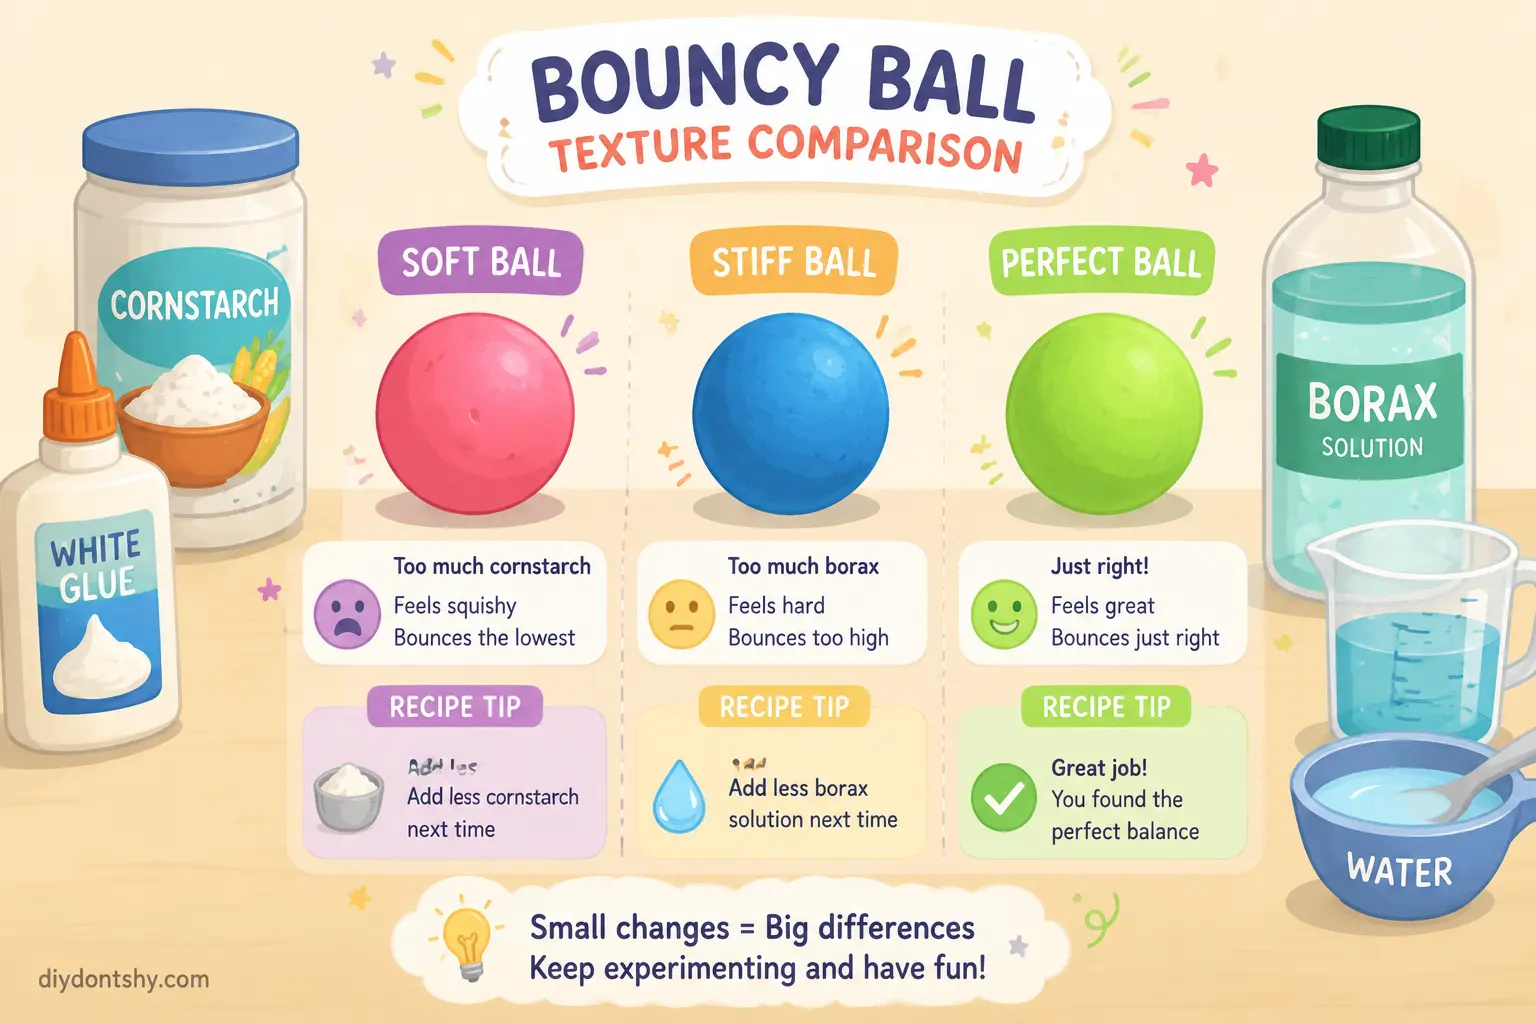
What Happens With Too Much Borax
Adding excessive borax creates a stiff and rubbery texture. The ball may bounce well initially, but it often becomes brittle over time. Too many polymer connections reduce flexibility, almost like over-tightening a net until it loses movement. Cracks become more common because the material cannot stretch properly anymore.
What Happens With Too Much Glue
Excess glue produces a softer and gooier ball. It may stretch impressively but fail to bounce effectively. Some people accidentally create slime instead of a bouncy ball because the glue-to-borax ratio remains unbalanced. Reddit users discussing failed DIY attempts often mention overly sticky mixtures caused by insufficient borax.
Finding the Perfect Balance
The ideal recipe usually sits somewhere in the middle. Enough borax is needed to hold the shape together, but enough glue must remain for flexibility. Think of it like tuning a guitar string. Too tight and it snaps. Too loose and it produces no sound. Balance creates performance.
Why Some Homemade Bouncy Balls Crack or Flatten
Few things feel more disappointing than creating a perfect-looking bouncy ball only to discover it cracked overnight or flattened like a pancake. This happens frequently because homemade balls are sensitive to moisture balance, drying conditions, and ingredient ratios. Even professional polymer experiments encounter similar structural problems.
Common Drying Mistakes
One major mistake involves leaving the ball exposed to air for too long immediately after shaping. Fast moisture loss creates uneven hardening. The outside dries while the center remains soft, eventually leading to cracks. Science guides often recommend letting the ball rest gradually instead of placing it directly under fans or sunlight.
Problems Caused by Overmixing
Overmixing can weaken elasticity. Stirring aggressively after the reaction starts may break apart forming polymer networks. The result becomes crumbly instead of smooth. Some people assume more mixing equals better blending, but the chemistry does not work that way.
Environmental Factors Like Heat and Humidity
Temperature and humidity also matter. High heat speeds evaporation and causes brittleness. Humid environments keep the ball overly soft. Homemade bouncy balls behave almost like living things because they continuously react to their surroundings. A dry climate can shrink them, while moisture can soften them again.
Coloring and Decorating Ideas for Custom Designs
One reason homemade bouncy balls remain endlessly entertaining is customization. A plain white ball works fine, but adding color transforms the experiment into something memorable. The design possibilities are nearly limitless, especially when combining pigments, glitter, and layered textures.
Using Food Coloring and Glitter
Food coloring remains the easiest option because it mixes smoothly into glue. Neon colors create vivid results, while pastel shades produce softer appearances. Glitter glue adds sparkle without extra steps because the glitter is already suspended evenly. Educational craft workshops frequently recommend glitter glue for children since it reduces mess during decorating.
You can also create striped or marble effects by partially mixing multiple colors together. Imagine swirling blue and white like ocean waves or combining red and yellow into fiery streaks. Each bounce becomes visually exciting because the colors shift under movement.
Glow-in-the-Dark and Marble Effects
Glow-in-the-dark powder creates especially dramatic results. After exposure to light, the ball glows during nighttime bouncing sessions. Metallic pigments create futuristic appearances, while tiny confetti pieces produce party-themed designs.
Some advanced DIY creators even embed miniature objects inside transparent glue mixtures. Tiny stars, beads, or sequins create a floating effect inside the polymer structure. It resembles a snow globe trapped inside rubber.
Drying Time That Helps the Ball Hold Its Shape
Patience matters when making homemade bouncy balls. People often expect instant perfection, but the structure needs time to stabilize. According to multiple science activity guides, allowing the ball to rest improves firmness and bounce quality significantly.
How Long Homemade Bouncy Balls Should Rest
Most recipes recommend letting the ball dry for several minutes before heavy bouncing. Larger balls may require an hour or more to fully stabilize. During this period, excess moisture evaporates while polymer chains continue strengthening internally.
The waiting period resembles setting concrete. Fresh concrete looks solid immediately, but deeper curing takes longer. Homemade bouncy balls experience a smaller-scale version of the same process.
Best Containers for Shaping While Drying
Rounded containers help preserve shape during drying. Some guides specifically recommend placing the ball in a rounded cup or small container while it firms up. This prevents flattening caused by gravity while the center remains soft.
Plastic egg holders, bottle caps, and silicone molds all work surprisingly well. These supports keep the ball symmetrical while reducing pressure points that may create dents.
Safe Storage Methods That Extend Longevity
Homemade bouncy balls do not last forever, but proper storage dramatically extends their lifespan. Without protection, they dry out, crack, flatten, or collect dust quickly. Science project resources consistently recommend airtight storage solutions.
Airtight Containers and Zip Bags
The easiest storage method involves using resealable plastic bags or airtight containers. This slows moisture loss and prevents brittleness. Some people even add a tiny damp paper towel nearby to maintain humidity balance, although direct contact should be avoided.
Storage containers also keep the balls clean. Homemade polymers tend to attract lint, hair, and dust like magnets. Once debris sticks to the surface, removing it becomes difficult.
Keeping Homemade Bouncy Balls Away From Heat
Avoid leaving homemade balls near sunlight, heaters, or hot cars. Heat accelerates drying and weakens elasticity. Cold temperatures can also stiffen the material temporarily. Room temperature storage usually provides the best results.
Think of homemade bouncy balls like bread dough or clay. Environmental conditions constantly affect texture and performance.
Fun Experiments That Change the Bounce Effect
The most exciting part of DIY bouncy balls might be experimentation. Once you understand the basics, every batch becomes an opportunity to test hypotheses and compare outcomes. Science teachers love these projects because they naturally encourage curiosity.
Testing Different Ingredient Ratios
Try creating multiple balls using different amounts of borax, glue, or cornstarch. Then compare bounce height, flexibility, firmness, and durability. Educational chemistry labs often perform similar comparative experiments to study material properties.
For example:
- Ball A: Extra borax
- Ball B: Extra glue
- Ball C: Extra cornstarch
- Ball D: Balanced recipe
Bounce each ball from the same height and record results. Which rebounds highest? Which survives repeated impacts longer? Suddenly, your kitchen becomes a miniature materials science laboratory.
Measuring Bounce Height Like a Scientist
You can turn bouncing into a real experiment by measuring rebound height with a ruler or smartphone slow-motion video. Some chemistry experiments specifically recommend dropping balls from fixed distances and recording bounce performance.
Environmental tests also create interesting discoveries. What happens when the ball sits in the refrigerator? What if you leave it outside briefly? Does humidity change elasticity? Questions like these transform a simple craft into hands-on scientific exploration.
Conclusion
Homemade bouncy balls are far more than colorful toys. They represent chemistry you can touch, stretch, throw, and experiment with using simple household ingredients. Glue provides the polymer foundation, borax creates cross-linked elasticity, and cornstarch helps shape firmness and structure. Tiny adjustments in ratios dramatically affect performance, which is why some balls bounce beautifully while others crack or flatten.
The real magic comes from experimentation and creativity. One batch might glow in the dark, another may contain glitter swirls, while a third becomes the highest-bouncing version yet. Every recipe variation teaches something new about materials, elasticity, and balance. That combination of science and creativity explains why homemade bouncy balls continue fascinating kids, parents, teachers, and hobbyists alike.
FAQs
1. What ingredients are needed to make homemade bouncy balls?
Most recipes use white school glue, borax, cornstarch, warm water, and optional food coloring or glitter. These ingredients work together to create an elastic polymer structure.
2. Why does borax make bouncy balls bounce?
Borax creates chemical links between glue polymers. This cross-linking forms a flexible network that allows the ball to compress and spring back into shape.
3. How long do homemade bouncy balls last?
With airtight storage, homemade bouncy balls can last several days or even weeks. Exposure to air and heat shortens their lifespan by causing drying and cracking.
4. Can you make homemade bouncy balls without borax?
Yes, borax-free recipes exist using alternative cross-linking agents like certain contact lens solutions or baking soda combinations, though results may vary.
5. Why is my homemade bouncy ball too sticky?
Sticky texture usually means there is too much glue or not enough borax solution. Adding a small amount of additional borax mixture and rolling the ball longer often improves consistency.

Kareem Sallam is an Egyptian special writer based in Australia, with a strong interest in practical ideas and creative content that focuses on everyday solutions. He writes clear, engaging articles designed to be easy to follow and useful for a wide range of readers.
His work centers on DIY projects, handmade ideas, simple crafts, and home based creativity. Kareem aims to deliver content that is practical, inspiring, and accessible, helping readers turn simple materials into smart and enjoyable projects.