How to Sew a Cuff Onto a Sleeve for a Clean Professional Finish
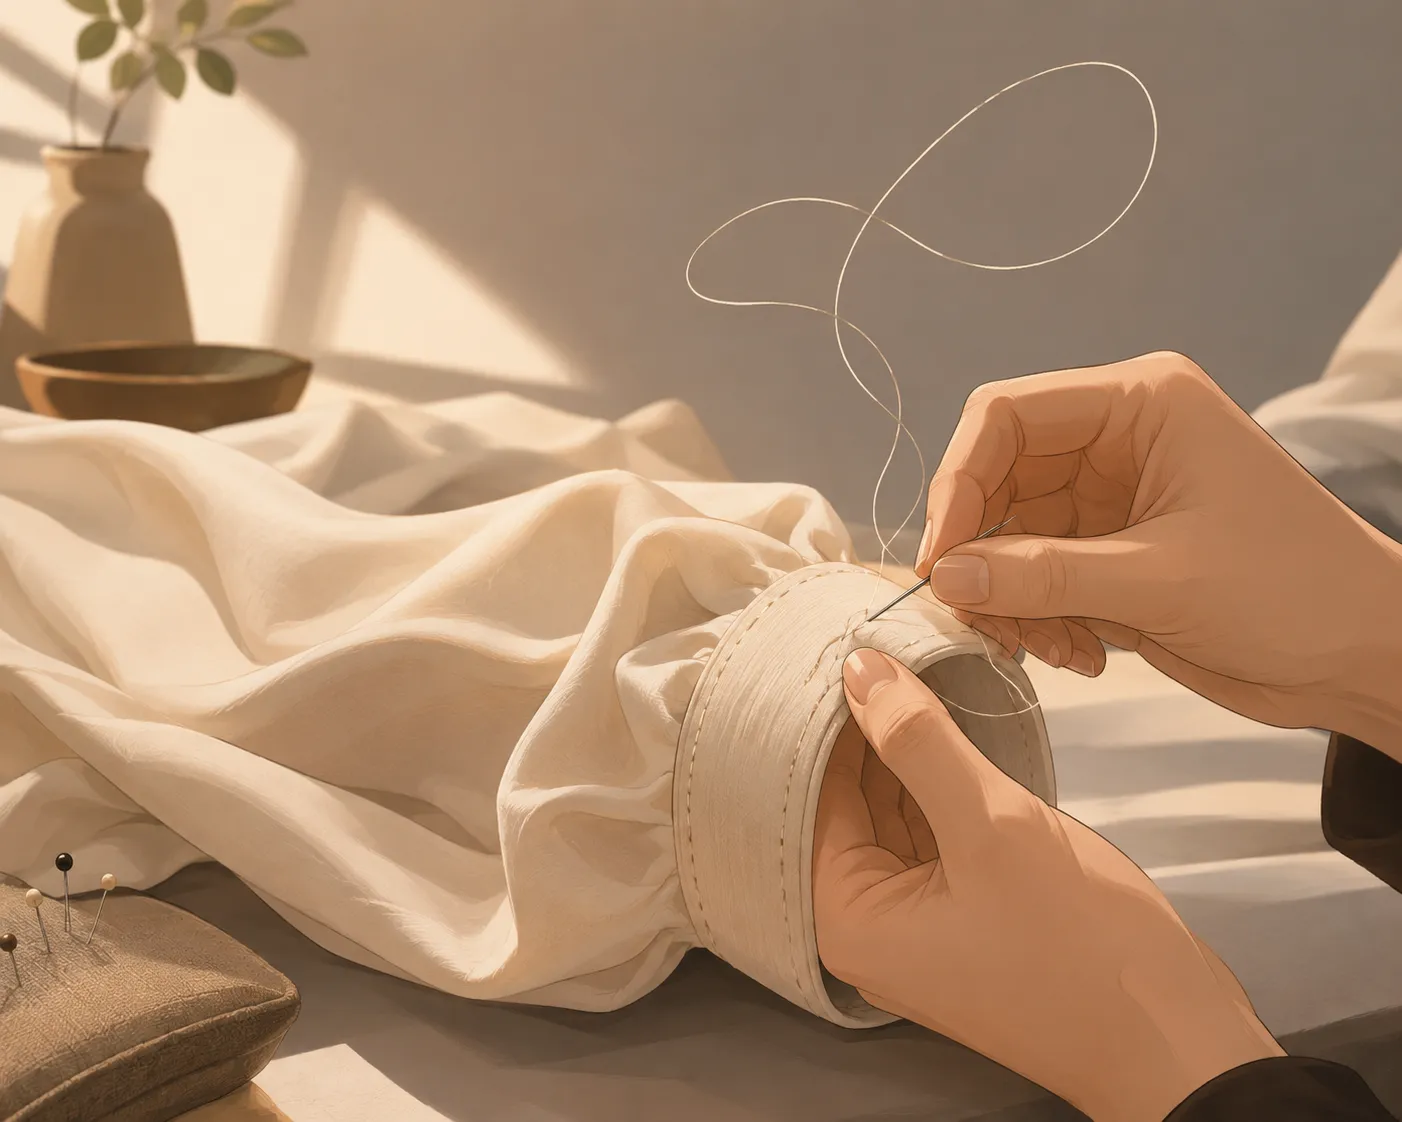
Sewing a cuff onto a sleeve sounds simple at first glance. Then you sit down at your machine, pin everything together, and suddenly the fabric twists, bunches, or refuses to line up properly. If you have ever stared at a sleeve opening wondering why one side looks bulky while the other side puckers like a wrinkled paper bag, you are definitely not alone.
The truth is, cuffs are one of those sewing details that instantly separate homemade-looking garments from professionally finished pieces. A clean cuff can transform an ordinary shirt, blouse, dress, or jacket into something polished and stylish. Fashion trends in 2026 are leaning heavily toward statement sleeves, sculpted tailoring, and exaggerated cuff details, making this sewing skill more valuable than ever.
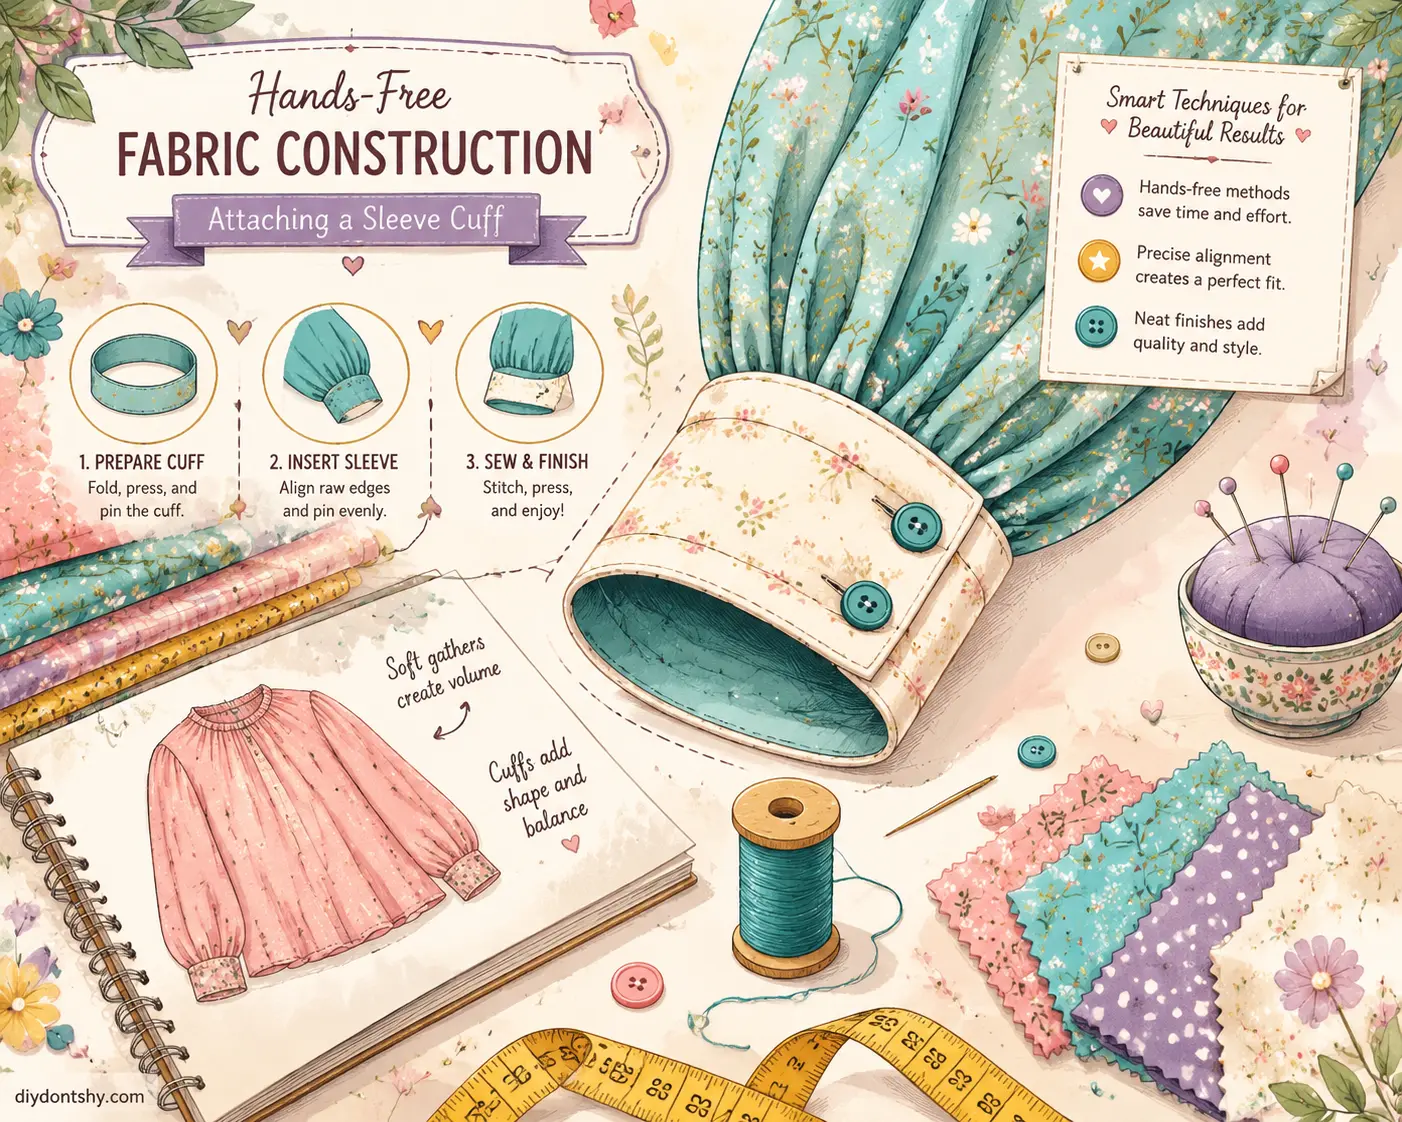
Whether you are making a classic button cuff, a gathered cuff, or a dramatic oversized design, learning how to attach cuffs properly gives your garments structure and personality. This guide walks you through everything step by step, from choosing the right cuff style to sewing techniques that help you avoid uneven seams and bulky finishes.
Contents
Why Sleeve Cuffs Matter in Garment Construction
A sleeve cuff does more than finish the edge of a sleeve. It controls the opening, helps shape the garment, and provides an important opportunity to add structure or visual interest. A well-constructed cuff can make a shirt, blouse, dress, or jacket look deliberately tailored rather than loosely assembled.
The cuff also influences how the sleeve hangs and how comfortably the garment moves with the arm. A narrow opening can feel restrictive, while an oversized opening may lose its intended shape. The right cuff balances fit, movement, and proportion so the sleeve looks polished without sacrificing comfort.
Cuffs are especially useful for defining a garment’s style. A crisp button cuff suits tailored shirts and polished blouses, while gathered or elastic finishes create a softer, more relaxed effect. Oversized and sculptural cuffs can turn a simple sleeve into a statement feature without requiring major changes to the rest of the garment.
Durability matters as well. Sleeve ends experience repeated bending, friction, laundering, and handling, so weak seams can quickly lead to fraying, distortion, or loose stitching. Accurate measurements, suitable interfacing, controlled fullness, and thorough pressing help the cuff retain its shape through regular wear.
Choosing the Right Cuff Style for Your Sleeve
The cuff style should match both the fabric and the character of the garment. Before cutting, consider how much structure, movement, and wrist ease the sleeve needs. Choosing the construction method first makes the later sewing steps much more predictable.
Button Cuffs for Structured Garments
Button cuffs create a crisp, tailored finish and are especially suitable for woven fabrics such as cotton shirting, poplin, linen, chambray, and lightweight denim. Interfacing gives the cuff additional body, helping it keep a clean shape after pressing and repeated washing.
This style works particularly well for dress shirts, tailored blouses, formal dresses, and lightweight jackets. Accurate measurements are important because the cuff must close comfortably while keeping the sleeve opening neat and balanced.
Elastic and Gathered Cuffs for Comfort
Elastic cuffs are a practical choice for beginners because they provide flexibility and are less dependent on exact wrist measurements. They work well on casual tops, pajama garments, peasant blouses, and relaxed dresses, particularly when the sleeve is made from a soft, fluid fabric.
Gathered cuffs can provide a similar relaxed effect without relying entirely on elastic. They are especially effective with lightweight rayon, voile, and chiffon because the gathered fullness adds volume while preserving the fabric’s natural movement.
French Cuffs and Statement Designs
French cuffs offer a more formal finish and are typically folded back and secured with cufflinks. They require careful construction and sufficient interfacing, but the result is distinctive and refined.
For a more contemporary look, statement cuffs can use oversized proportions, contrasting fabrics, embroidery, or sculptural shapes. These details can make the sleeve the focal point of a garment while keeping the rest of the design relatively simple. The best choice is the one that supports the garment’s overall silhouette rather than competing with it.
| Cuff Style | Best For | Difficulty Level | Fabric Type |
|---|---|---|---|
| Button Cuff | Dress shirts and blouses | Medium | Cotton, linen |
| Elastic Cuff | Casual garments | Easy | Rayon, voile |
| French Cuff | Formal wear | Advanced | Fine shirting fabric |
| Statement Cuff | Fashion pieces | Medium-Advanced | Structured woven fabrics |
Fabric and Supplies That Make the Job Easier
The difference between a frustrating sewing experience and a smooth one often comes down to preparation. Using the right fabric and tools makes attaching cuffs dramatically easier. Many beginners blame themselves for uneven results when the real issue is unsuitable materials.
Stable woven fabrics are the easiest choice for cuffs. Cotton shirting fabric is especially beginner-friendly because it presses well, holds shape, and feeds smoothly through the machine. Linen also works beautifully, though it wrinkles more easily. Lightweight denim and chambray provide extra durability and create a crisp, structured look.
Stretch fabrics can be more difficult because they shift while sewing. If you use knit fabric for cuffs, stabilizing tape or interfacing becomes extremely important. Without support, the cuff may stretch out unevenly during construction.
Interfacing deserves special attention because it completely changes how cuffs behave. A cuff without interfacing often collapses or wrinkles after wear. Fusible interfacing adds stability and creates sharper edges. Tailors frequently debate different interfacing methods, especially between traditional sewn-in interfacing and modern fusible options. For most home sewists, lightweight fusible interfacing offers the easiest balance between structure and convenience.
Essential supplies include:
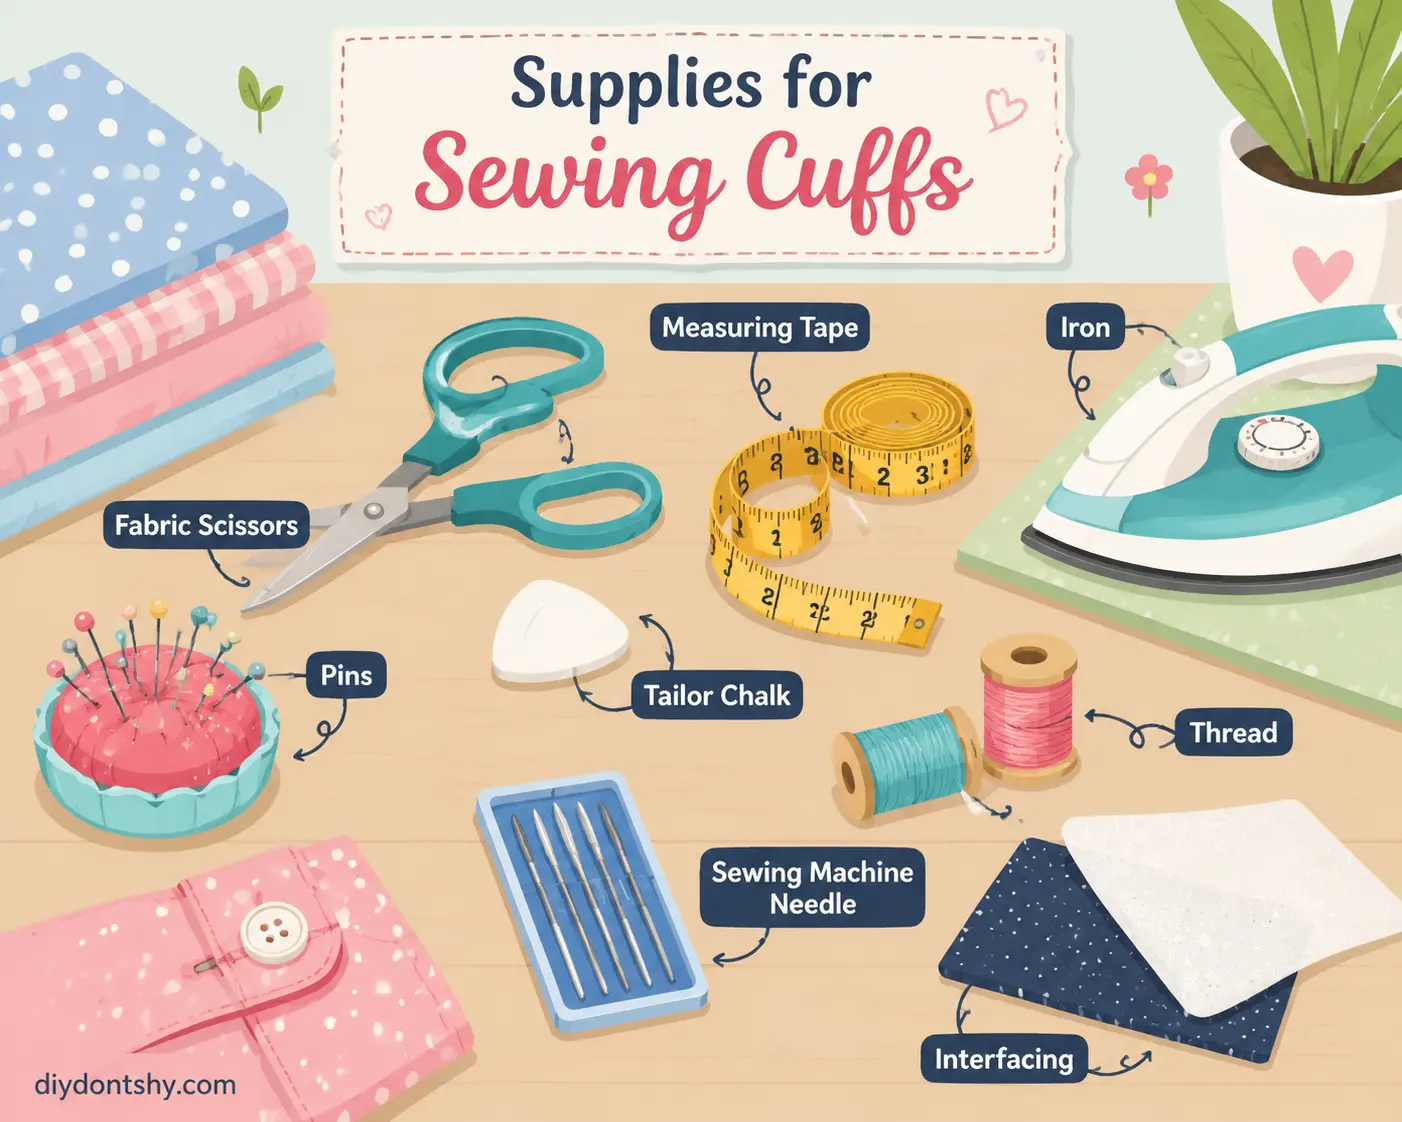
Sharp fabric scissors
- Pins or sewing clips
- Tailor’s chalk
- Measuring tape
- Iron and pressing cloth
- Universal sewing machine needle
- Matching thread
- Interfacing
Choosing the correct sewing machine needle also matters more than many people realize. Sewing communities frequently recommend universal size 80 needles for general woven fabrics because they handle most cuff fabrics effectively without skipped stitches.
Pressing tools are another game changer. An iron helps flatten seam allowances and creates clean folds before stitching. Professional-looking cuffs rarely happen without frequent pressing during every construction stage.
Preparing the Sleeve Before Attaching the Cuff
One of the biggest mistakes beginners make is rushing straight into attaching the cuff without
Preparing the Sleeve Before Attaching the Cuff
Careful sleeve preparation is essential because the cuff cannot correct an uneven or poorly controlled sleeve opening. Before attaching anything permanently, confirm the sleeve circumference, establish the fullness, and make sure the fabric is flat and accurately marked.
Begin by measuring the sleeve opening after any intended pleats or gathers have been created. The finished opening should correspond to the cuff measurement, including the planned seam allowance. Measuring before cutting helps prevent a cuff that is too short, too loose, or unnecessarily difficult to ease into place.
If the sleeve requires pleats, mark their positions clearly and fold each one consistently. Basting the pleats temporarily keeps them from shifting while the cuff is attached. For gathered sleeves, sew two rows of long basting stitches and draw up the bobbin threads gradually, distributing the fullness rather than pulling it into one concentrated area.
Press the sleeve opening before assembly. A quick, controlled press can flatten the seam area, establish accurate folds, and make matching the sleeve to the cuff considerably easier. Avoid stretching the fabric while pressing, especially with lightweight or bias-cut sections.
Finally, check the sleeve for comfortable movement before committing to the cuff. The finished opening should support the intended design without creating unnecessary tension around the wrist or forearm. Good preparation makes the actual attachment stage faster, cleaner, and easier to control.
Matching the Cuff Size Without Creating Bulk
A successful cuff should look structured without feeling thick or crowded at the seam. Excess sleeve fullness, heavy interfacing, and untrimmed seam allowances can all create a bulky transition that becomes especially noticeable around the wrist.
Start by matching the cuff measurement to the finished sleeve opening, not to the raw sleeve edge before pleats or gathers are formed. If the cuff is too short, the sleeve will be forced into excessive fullness; if it is too long, the opening may sit loosely and lose its intended shape.
Control the seam allowance after stitching by trimming and grading the layers. Grading means trimming one seam allowance narrower than another so the layers overlap without creating a thick ridge. For heavier fabrics, use lighter interfacing and reduce unnecessary fullness whenever the pattern allows it.
When gathers are required, distribute them evenly between the marked points instead of pushing most of the fullness toward one section. This creates a smoother transition and prevents visible lumps beneath the cuff.
Topstitching can further stabilize the finished edge and encourage the layers to lie flat. Keep the stitching distance consistent and press the cuff before topstitching so the fabric is already sitting in its intended position.
The goal is a cuff that has enough body to hold its shape while remaining comfortable against the wrist. When the layers are accurately measured, properly trimmed, and evenly distributed, the finished cuff should feel almost invisible when worn.
The Best Way to Pin and Align the Fabric
Pinning might seem like a small step, but it often determines whether the final cuff looks balanced or crooked. Good alignment prevents twisting, uneven edges, and accidental puckers during stitching.
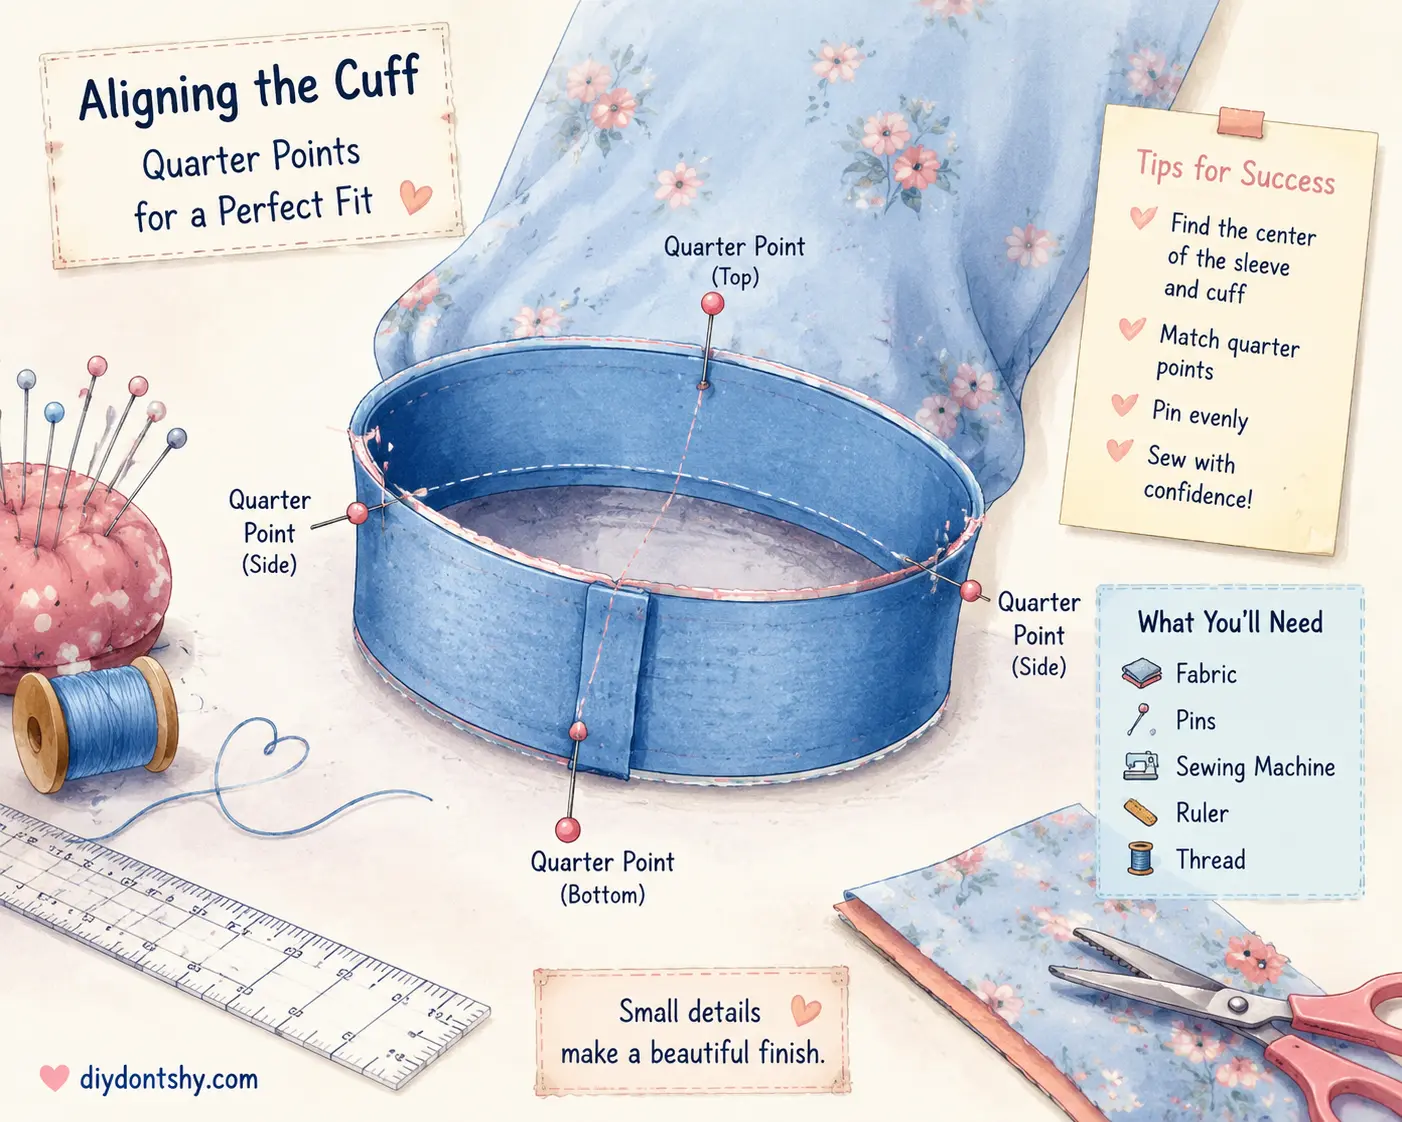
One of the best methods involves quarter marking. Divide both the cuff and sleeve opening into equal sections using pins or chalk marks. Match these points together before pinning the remaining fabric. This technique distributes fullness evenly and prevents one side from stretching more than the other.
Pin placement matters too. Insert pins perpendicular to the seam line so they can be removed easily while sewing. Some sewists prefer clips instead of pins, especially for thicker fabrics where pin holes may remain visible.
Fabric shifting is another common issue. Lightweight fabrics tend to slide against each other during stitching, causing misalignment. To prevent this, hand baste the cuff temporarily before machine sewing. Although it takes extra time, basting dramatically improves precision.
Many experienced sewists also recommend sewing slowly around cuff edges. Speed increases the likelihood of fabric movement and crooked seams. A steady pace provides better control and cleaner stitching.
The presser foot can influence alignment as well. Sewing discussions online frequently highlight the importance of using the correct foot for the machine and fabric type. A walking foot, for example, can help feed multiple layers evenly when working with thick fabrics or layered cuffs.
Think of alignment like building a house foundation. If the base shifts even slightly, every layer above it becomes harder to control. Careful pinning creates stability that carries through the entire sewing process.
Sewing Techniques That Keep the Cuff Even
Once the sleeve and cuff are aligned, controlled stitching is what turns careful preparation into a professional finish. Work slowly, keep the seam allowance consistent, and let the machine feed the fabric naturally rather than pulling or stretching it.
For most woven cuffs, a regular straight stitch with a moderate stitch length provides a strong, flexible seam. Follow the machine’s seam guide and check the fabric frequently so the seam does not gradually drift away from the intended allowance.
Pay particular attention when turning corners. Before turning the cuff right side out, trim excess fabric from the corner area without cutting through the stitching. This reduces accumulated thickness and allows the corner to form a cleaner point.
Pressing between construction stages is one of the simplest ways to improve accuracy. Stitch the seam, press it, turn or fold the cuff, press again, and then complete the final topstitching. Pressing sets the shape and makes subsequent stitching much easier to control.
For button cuffs, check the cuff around the actual wrist area before marking button positions. The closure should sit comfortably without twisting the cuff or pulling the sleeve out of alignment. Mark the button and buttonhole positions only after confirming the fit.
A steady sewing speed, accurate seam allowance, and regular pressing will usually produce a cleaner result than trying to correct errors after the cuff has been fully assembled. If the fabric begins shifting, stop and realign it rather than sewing through the problem.
Clean Finishing Touches for a Professional Look
The final finishing details separate amateur sewing from professional garment construction. Even if the cuff is attached correctly, messy finishing can ruin the overall appearance.
Start by trimming loose threads immediately. Tiny hanging threads may seem harmless, but they make garments look unfinished. Next, inspect seam allowances for excess bulk and trim where necessary.
Grading seams helps the cuff sit flatter against the wrist. This technique reduces visible ridges inside the cuff and improves comfort during wear. Professional tailors use grading constantly because it creates smoother transitions between layers.
Edge finishing is another important step. Raw fabric edges inside the cuff should be enclosed or finished to prevent fraying. Options include:
- Zigzag stitching
- Overlocking
- Bias binding
- French seams
- Turned-under seam finishes
Pressing remains the final secret weapon. A thorough final press shapes the cuff permanently and gives the garment a crisp, polished appearance. Steam pressing works especially well for structured woven fabrics.
Modern tailoring trends continue emphasizing soft structure and refined finishes rather than rigid stiffness. That means today’s best cuffs combine clean construction with comfort and flexibility. The goal is not just visual perfection but wearability too.
Well-finished cuffs feel satisfying in a way that only sewing enthusiasts truly understand. They frame the hands beautifully, elevate the garment, and create that subtle sense of craftsmanship people notice instantly, even if they cannot explain why.
Conclusion
Learning how to sew a cuff onto a sleeve is one of the most valuable sewing skills you can develop. It combines precision, creativity, and technical construction all in one small but powerful garment detail. From selecting the right cuff style to mastering seam grading and topstitching, every step contributes to a cleaner, more professional result.
The best part is that cuff sewing becomes easier with practice. Your first cuff may not look runway-ready, and that is completely normal. Sewing is a craft built through repetition and patience. Each project teaches your hands how fabric behaves, how seams respond to pressing, and how tiny adjustments improve the final finish.
Modern fashion trends are putting sleeve details and cuffs firmly in the spotlight, making this skill more relevant than ever. Whether you prefer classic tailored cuffs or dramatic statement designs, mastering this technique opens the door to more advanced garment construction and greater sewing confidence.
A beautifully sewn cuff is like the perfect handshake. It quietly communicates quality, care, and attention to detail without saying a word.
FAQs
1. What is the easiest cuff style for beginners to sew?
Elastic cuffs are usually the easiest because they are forgiving and do not require precise button placement or complicated interfacing. They also hide small sewing imperfections better than structured cuffs.
2. Do I always need interfacing in cuffs?
Not always, but interfacing is highly recommended for button cuffs and structured designs. It helps the cuff maintain shape, prevents wrinkling, and improves durability after washing.
3. How do I stop my cuff from twisting after sewing?
Twisting usually happens because the cuff and sleeve were not aligned correctly. Use quarter marks, even seam allowances, and careful pressing during construction to prevent this issue.
4. Should I use gathers or pleats in sleeve cuffs?
Pleats work better for tailored garments because they reduce bulk and create crisp lines. Gathers create softness and volume, making them ideal for relaxed or romantic sleeve styles.
5. Why does my cuff look bulky at the seam?
Bulk often comes from thick seam allowances or too much gathered fabric. Trimming and grading seam allowances, along with distributing gathers evenly, helps create a smoother finish.

Ahmed Elhor is an Egyptian SEO specialist, pharmacist, and copywriter based in Canada. He combines strong research skills with search focused writing to create clear, helpful content that answers real questions and ranks effectively in search engines.
With a passion for practical DIY ideas, homemade solutions, and creative projects, Ahmed focuses on producing easy to follow guides that are simple, affordable, and useful for everyday life. His work blends creativity with structure, helping readers turn basic materials into meaningful results.