How to Paint a Fence with a Paint Sprayer Without Uneven Coverage
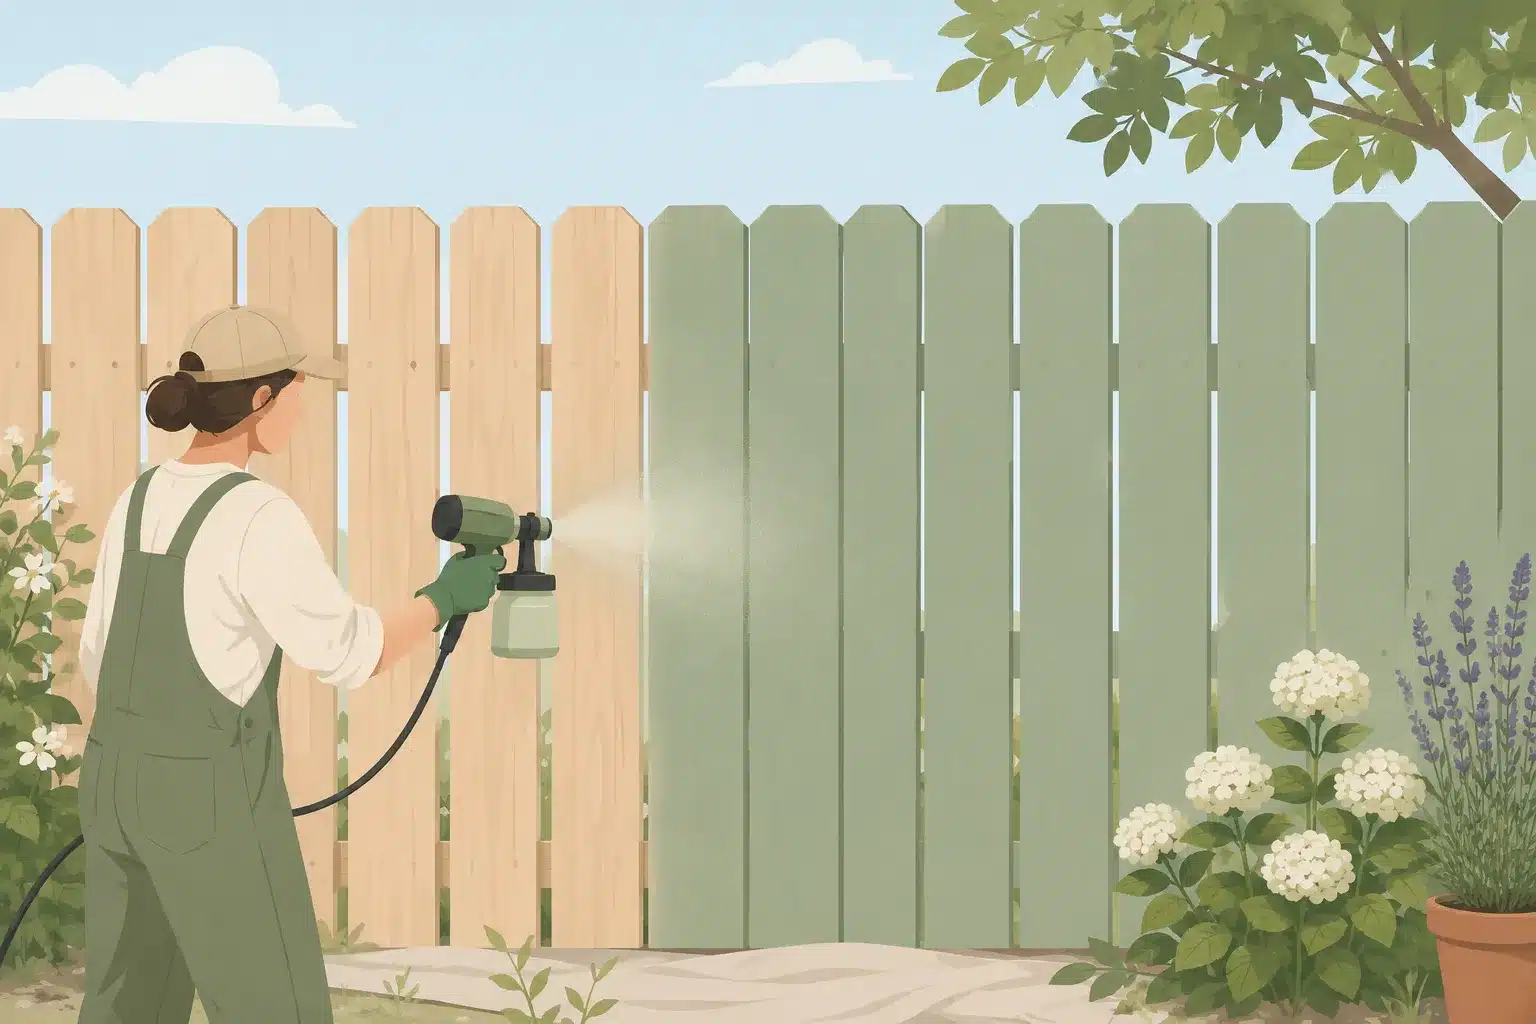
Painting a fence by hand can feel like trying to mow an entire football field with scissors. It takes forever, your arms burn halfway through the project, and the finish often ends up uneven no matter how careful you are. That is exactly why more homeowners are switching to paint sprayers for fence projects. A good sprayer can transform a full weekend of exhausting labor into a surprisingly smooth and efficient afternoon job. It is faster, cleaner, and capable of producing a professional-looking finish that brushes and rollers struggle to match.
The secret, though, is not simply buying a sprayer and pulling the trigger. Fence spraying is all about preparation, technique, and understanding how the equipment works. The difference between a smooth, beautiful finish and a drippy disaster usually comes down to a few small details. Surface preparation, paint thickness, spray pattern control, and overspray prevention all play a massive role in the final outcome. According to recent professional painting guides, airless sprayers remain the preferred choice for large fences because they handle unthinned latex paints quickly, while HVLP sprayers are valued for their precision and lower overspray.
If you have never used a paint sprayer before, do not worry. This guide walks through every major step, from prepping the fence surface to cleaning the machine afterward. By the end, you will know exactly how to paint a fence with a paint sprayer while avoiding the most common beginner mistakes.
Contents
Why a Paint Sprayer Is the Fastest Way to Paint a Fence
A fence contains hundreds of awkward angles, narrow slats, cracks, and edges. Brushes struggle to reach deep gaps evenly, while rollers miss corners and leave inconsistent texture behind. A paint sprayer solves those problems because it atomizes paint into a fine mist that coats surfaces evenly from multiple directions at once. Instead of physically pushing paint into every crevice, the sprayer allows the coating to flow naturally into difficult spaces.
The speed difference is dramatic. Many homeowners report finishing large fence sections in under an hour with an airless sprayer, while the same project might take an entire day with traditional methods. Community discussions among DIY painters consistently point to airless sprayers as the fastest solution for long fences and large outdoor projects. The consistency is another huge benefit. Sprayers eliminate roller lines, heavy brush strokes, and uneven buildup that often make fences look patchy.
Still, spraying is not magic. Beginners often underestimate overspray and preparation time. Tiny paint particles can drift surprisingly far, especially outdoors. Professional painters stress that masking and protection are just as important as the spraying itself. Without proper setup, nearby plants, patios, windows, and even your neighbor’s car can end up wearing your fence color too.
That is why patience during preparation pays off massively later. Think of the setup process as building the foundation before pouring concrete. If the foundation is weak, everything built on top becomes unstable. Fence spraying works exactly the same way.
Getting the Fence Surface Ready Before Spraying
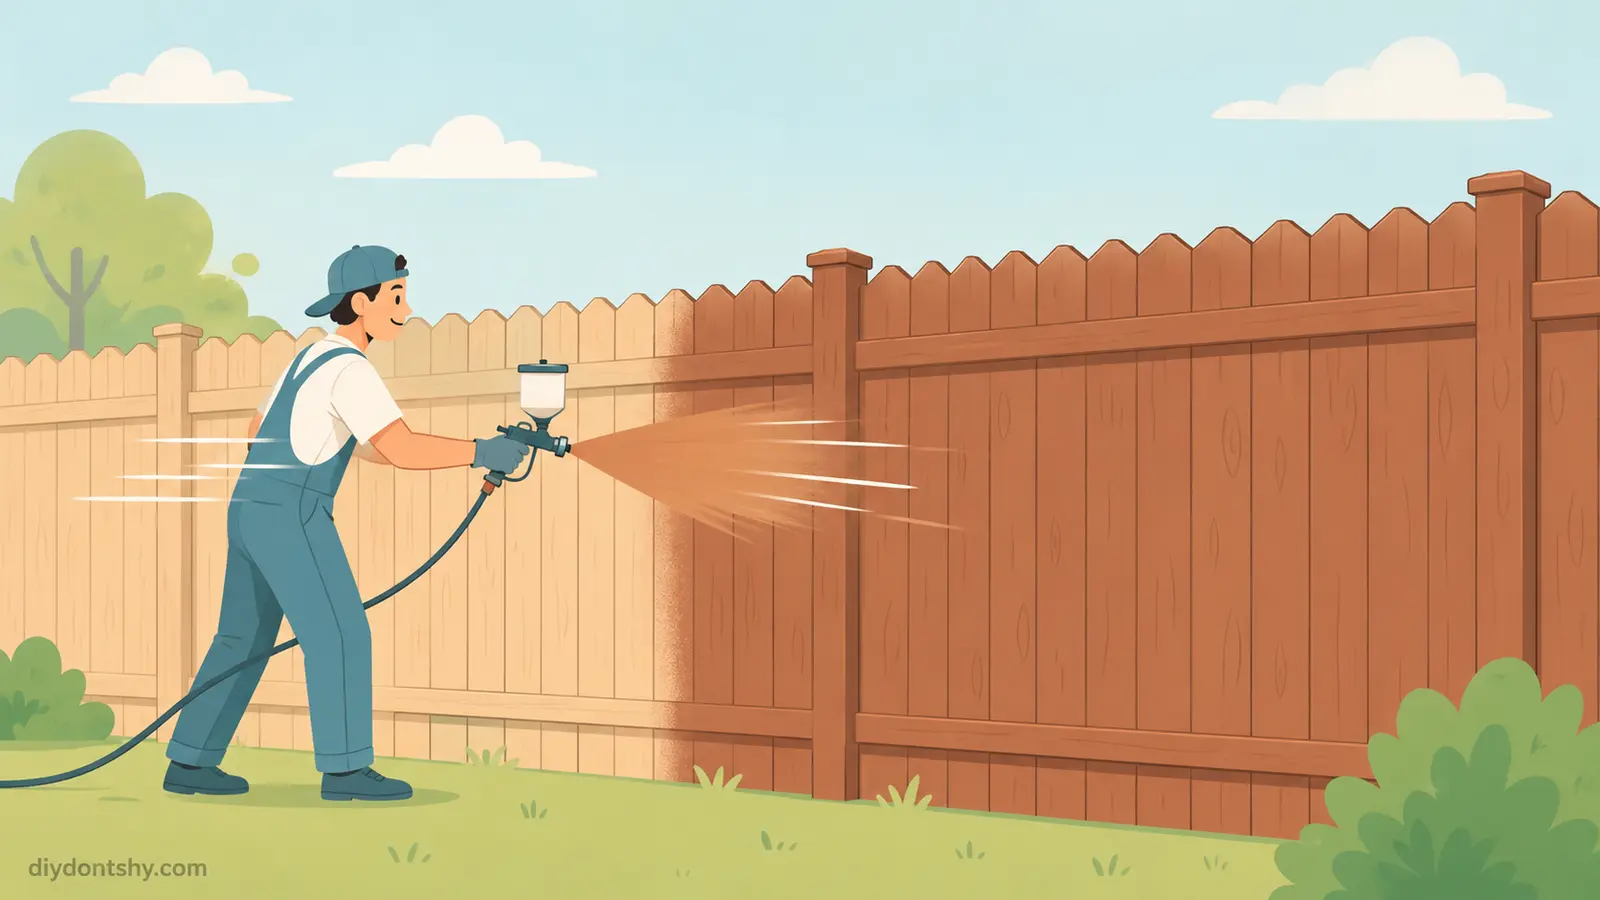
Preparation is where professional-looking fence projects are truly won or lost. You can own the best sprayer on the market, buy premium exterior paint, and still end up with terrible results if the fence surface is dirty or damaged. Paint sticks best to surfaces that are clean, dry, and smooth enough for proper adhesion.
Start by thoroughly cleaning the fence. Dirt, mildew, algae, and loose debris act like barriers between the paint and the wood. Pressure washing is often the fastest solution because it removes grime deep inside the grain. Many professional fence painting guides recommend allowing the wood to dry completely after washing before applying any coating. If moisture remains trapped inside the boards, the paint may blister or peel later.
Next comes sanding. You do not necessarily need to sand every square inch aggressively, but rough spots, peeling paint, and splintered areas should be smoothed carefully. Sanding creates a more even surface and helps new paint grip properly. Pay special attention to fence sections exposed to direct sunlight because those areas usually weather faster than shaded sections.
Damaged boards should also be repaired before spraying. Cracks, loose nails, and rotted wood weaken the overall structure and become more noticeable after fresh paint highlights them. Replace broken boards whenever possible rather than trying to paint over damage. A fresh coat of paint can improve appearance, but it cannot hide structural problems forever.
One commonly overlooked step is removing nearby obstacles. Hanging planters, decorations, hooks, and garden accessories should come down before spraying begins. Professional sprayer manufacturers specifically recommend clearing the workspace completely to avoid interruptions and accidental overspray damage. A clutter-free work zone makes movement easier and improves spray consistency.
Choosing the Right Sprayer and Paint Type
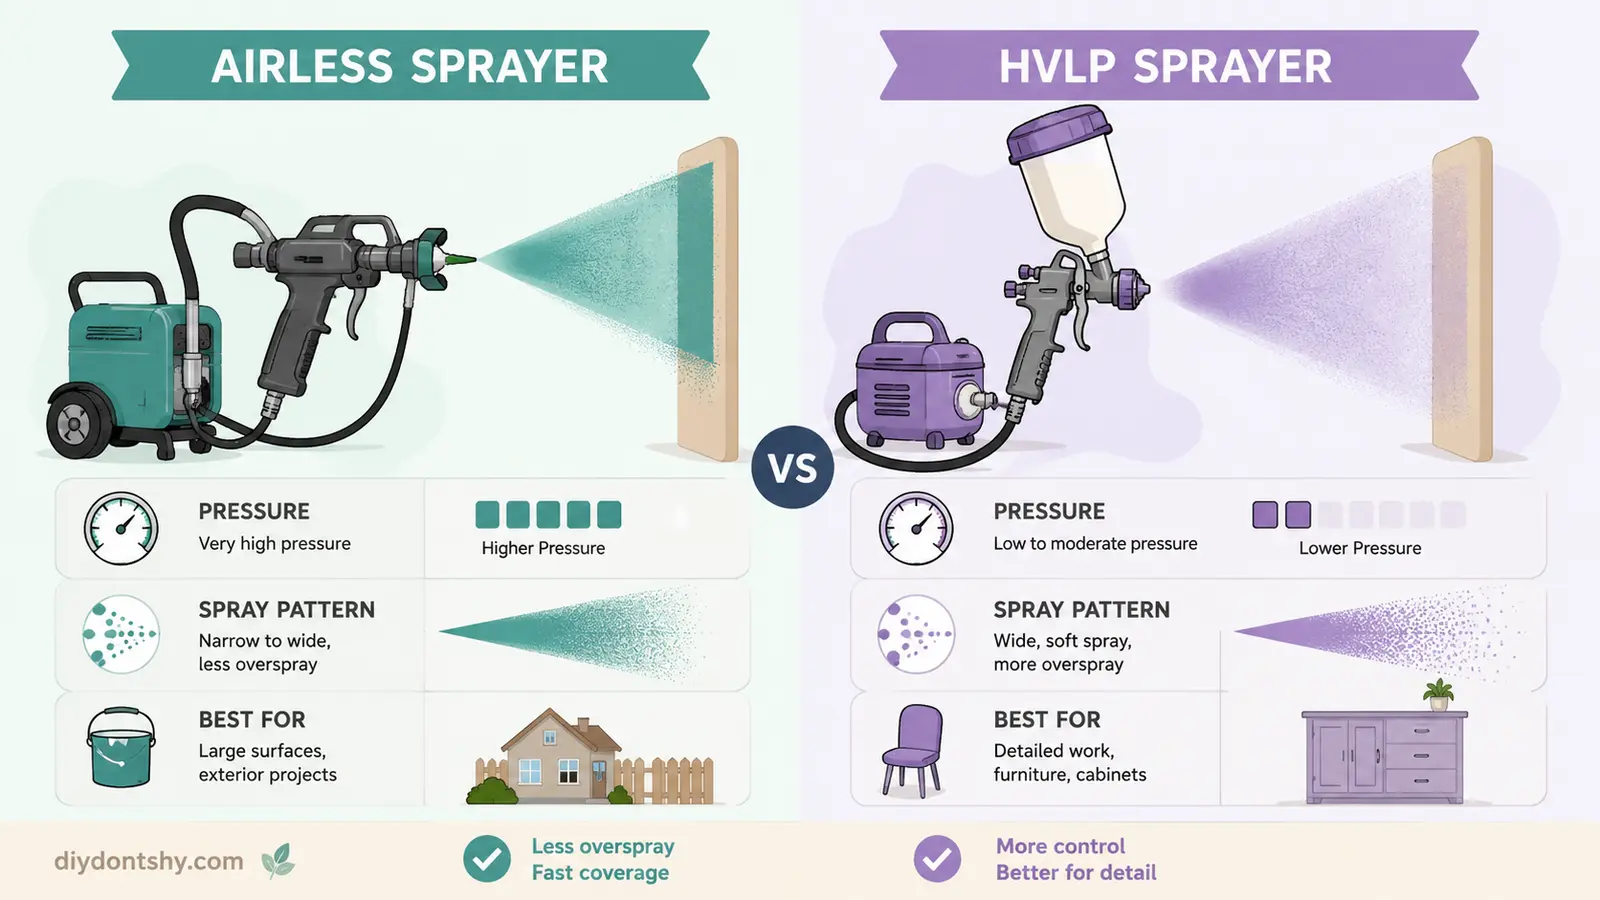
Not all paint sprayers behave the same way. Picking the wrong sprayer is a little like bringing a bicycle to a car race. It might technically work, but you will struggle much harder than necessary. The two most common fence-painting sprayers are airless sprayers and HVLP sprayers.
Airless sprayers use high pressure to force paint through a tiny opening, creating a powerful fan pattern. They are designed for speed and are widely considered the best option for fences, decks, siding, and other large surfaces. Airless systems can usually spray unthinned latex paint directly from the container, which saves preparation time and increases productivity. The tradeoff is increased overspray and slightly less control.
HVLP, or High Volume Low Pressure sprayers, operate differently. They produce finer finishes with less overspray, making them excellent for cabinets, furniture, and trim work. Some homeowners still use them successfully for fences, especially smaller decorative fences where precision matters more than speed. The downside is that many HVLP systems require thinning thicker paints, which adds extra preparation work.
Here is a quick comparison table:
| Feature | Airless Sprayer | HVLP Sprayer |
|---|---|---|
| Best For | Large fences and exterior projects | Detailed and precision work |
| Speed | Very fast | Moderate |
| Overspray | Higher | Lower |
| Paint Thinning | Usually unnecessary | Often required |
| Finish Quality | Smooth | Ultra smooth |
| Beginner Friendliness | Moderate | Easier control |
Choosing the right paint matters just as much as choosing the sprayer. Exterior acrylic latex paints remain popular because they resist moisture, UV rays, and cracking. Stains are another common option, especially for natural wood fences where homeowners want visible grain patterns. Water-based stains are easier to clean and maintain, while oil-based versions tend to penetrate deeper.
Spray tip selection is equally important. Smaller tips work better for stains and thinner coatings, while larger tips handle thicker paints more effectively. Professional guides often recommend narrower fan widths for fence control because they reduce wasted paint and overspray.
Protecting Nearby Areas from Overspray
Overspray is the sneaky villain of fence spraying. At first glance, the paint seems to land exactly where you want it. Then you notice tiny paint particles drifting through the air like dust in sunlight. Suddenly, the driveway, shrubs, patio furniture, and nearby windows are wearing a faint layer of fence paint.
That is why protecting surrounding areas is non-negotiable. Plastic sheeting, drop cloths, masking film, and painter’s tape should become your best friends before spraying begins. Cover anything remotely close to the fence, including plants, air conditioning units, outdoor grills, pathways, and neighboring property. Multiple professional sources emphasize that overspray travels much farther than most beginners expect.
Wind conditions matter enormously outdoors. Even a mild breeze can redirect atomized paint several feet away from the target surface. Ideally, fence spraying should happen during calm weather with moderate temperatures. Extremely hot weather can dry paint too quickly, causing rough texture and uneven coverage. High humidity can slow drying and create adhesion problems.
Timing also matters more than many people realize. Early morning or late afternoon often provides the best conditions because sunlight is softer and winds tend to calm down. Spraying under direct midday sun may cause the paint to flash-dry before it levels properly.
A simple cardboard shield can also help control overspray around tight areas. Many experienced painters use portable shields near corners, gates, and decorative sections. It acts almost like a movable wall that keeps the spray focused exactly where it belongs.
Think of overspray prevention like using sunscreen at the beach. You might not notice the damage immediately, but skipping protection almost always comes back to haunt you later.
Spray Patterns That Give More Even Coverage
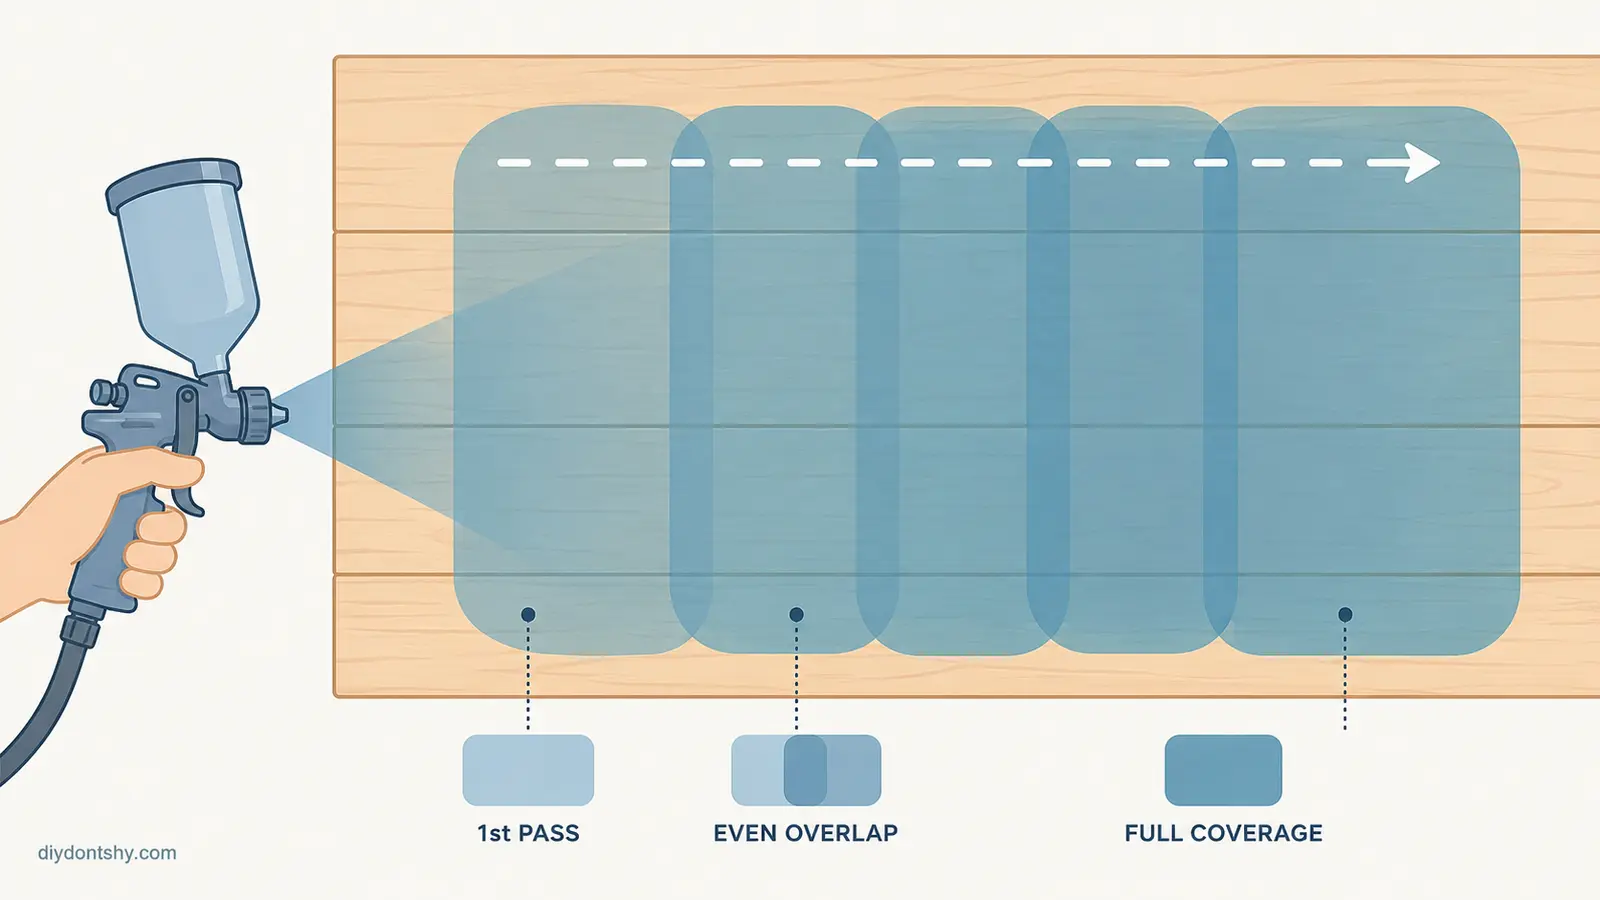
A smooth finish depends heavily on understanding spray patterns. Many beginners accidentally create stripes, heavy patches, or uneven color because they move the sprayer inconsistently. Fence spraying should feel smooth and rhythmic, almost like mowing a lawn in straight, overlapping passes.
Most sprayers allow you to adjust the spray fan vertically or horizontally. Horizontal patterns work well for tall fence boards because they cover wider areas quickly. Vertical patterns are often better for narrow pickets and tight sections where precision matters more. Professional sprayer guides emphasize adjusting patterns based on the shape of the surface instead of using one setting for everything.
Overlapping each pass is critical for even coverage. A common recommendation is overlapping each spray path by roughly 50 percent. This prevents thin lines from appearing between passes. Imagine coloring with a marker. If you barely touch the edges together, streaks appear. Proper overlap eliminates those gaps.
Consistency matters more than speed alone. New users sometimes panic and move too quickly because they fear drips. Others move too slowly and flood the surface with excess paint. The key is maintaining a steady pace while keeping the sprayer perpendicular to the fence. Tilting the gun creates uneven paint distribution because one side of the spray fan deposits more paint than the other.
Testing on scrap wood before starting the actual fence is incredibly helpful. It gives you time to adjust pressure, pattern width, and movement speed without risking visible mistakes. Many experienced DIY painters strongly recommend practicing first, especially when using airless systems for the first time.
One trick professionals often use is beginning movement before pulling the trigger and releasing the trigger before stopping movement. This prevents heavy paint buildup at the start and end of each stroke.
The Best Distance and Speed for Smooth Results
Distance and movement speed are where fence spraying starts feeling almost like an art form. Tiny adjustments can dramatically change the final finish. Hold the sprayer too close, and the paint floods the surface with runs and drips. Hold it too far away, and the coating becomes dry, dusty, or uneven.
Most fence painting guides recommend maintaining approximately 10 to 12 inches between the spray tip and the surface. Some stain sprayers may work slightly farther away, around 12 inches or more, depending on pressure settings and fan width. Consistency matters more than chasing an exact measurement every second. The goal is maintaining a stable distance throughout each pass.
Movement speed should feel controlled rather than rushed. If paint begins sagging or dripping, you are likely moving too slowly or applying too much pressure. If the surface looks thin and patchy, you may be moving too quickly. The sweet spot usually comes after a few minutes of practice.
A helpful mental image is imagining the spray fan as a flashlight beam. You want the light to glide smoothly across the surface without stopping in one area too long. Jerky arm movements create uneven thickness, while smooth arm motion produces professional-looking results.
Pressure settings also affect finish quality significantly. Experts recommend using the lowest pressure that still creates a clean spray fan because excessive pressure increases overspray and wasted paint. Lower pressure often improves control and reduces bounce-back from the fence surface.
Thin coats are always safer than one heavy coat. Many beginners try covering everything in a single pass, but that usually leads to drips and uneven drying. Two lighter coats nearly always look cleaner and last longer than one thick application.
Handling Corners, Gaps, and Hard-to-Reach Sections
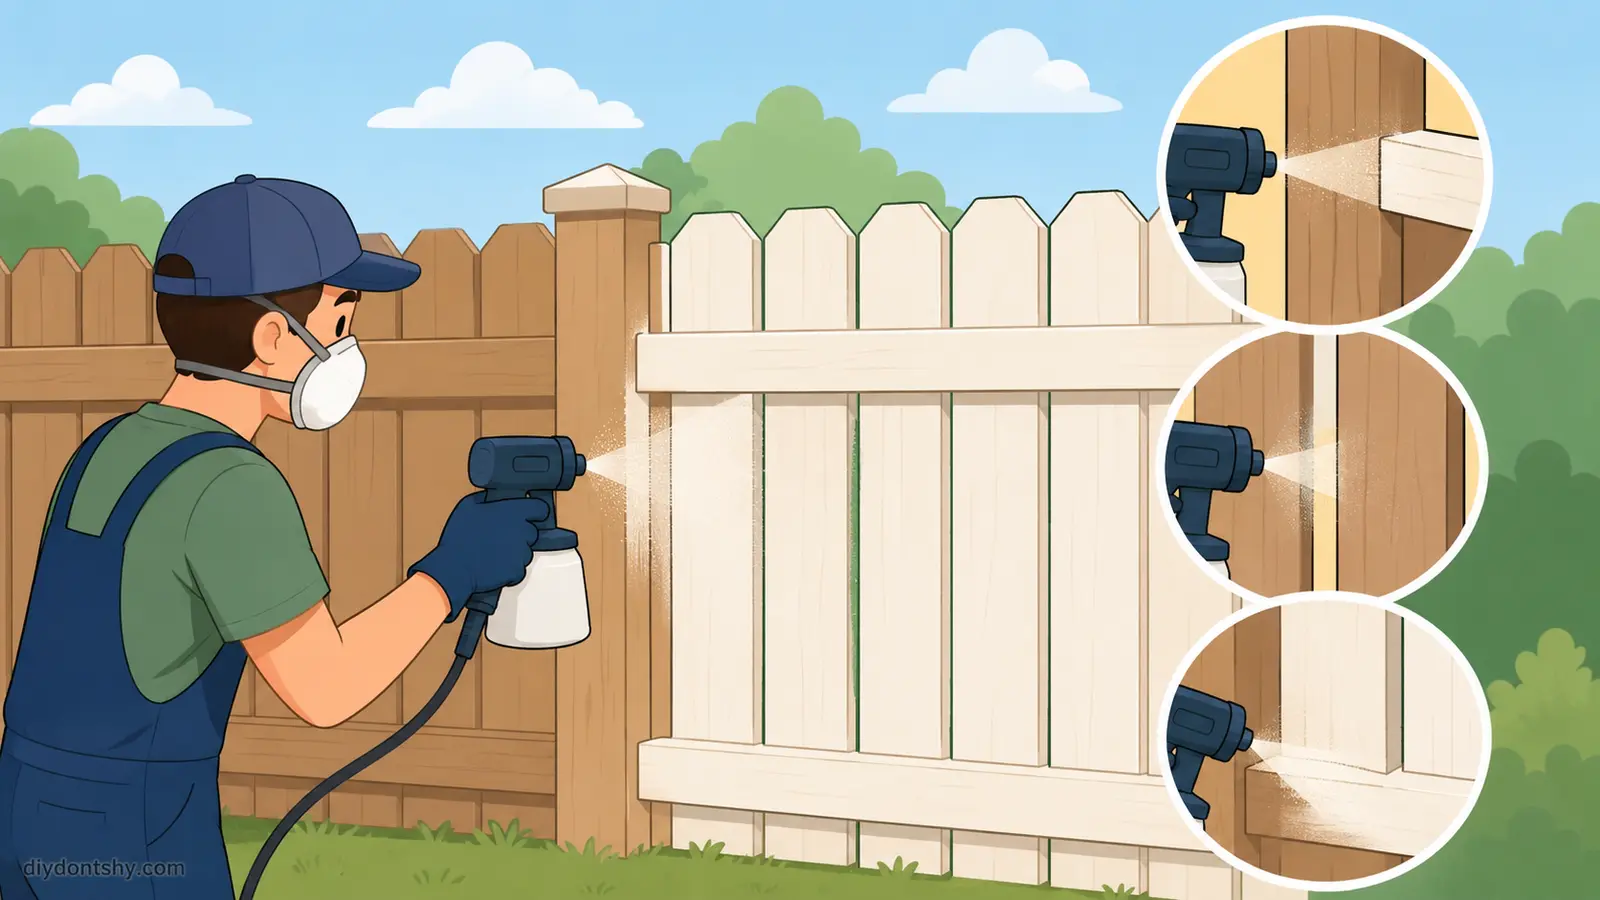
Fence spraying becomes slightly trickier around corners, decorative sections, gates, and narrow gaps between boards. These areas tend to create shadows where spray coverage becomes inconsistent. The solution is adjusting your angle and slowing down slightly around difficult sections rather than trying to blast through quickly.
Corners should usually be sprayed first before coating larger flat areas. This ensures edges receive enough coverage without needing excessive overlap later. Aim the spray directly into gaps and corners using short controlled bursts. Trying to coat deep crevices from a sharp side angle often leaves visible missed spots.
Back-brushing is another useful technique, especially for rough or aged wood fences. After spraying a section, lightly brushing the wet coating helps push paint deeper into the grain while smoothing excess buildup. Some professionals use back-brushing specifically when applying stain because it improves penetration and durability. Community discussions among experienced DIY users frequently mention this technique for achieving more even absorption.
Hard-to-reach sections sometimes require reducing fan width or switching nozzle orientation temporarily. Decorative lattice sections, for example, often benefit from narrower spray patterns that reduce bounce-back and overspray. Gates with hinges and hardware may need careful masking or touch-up brushing afterward.
One overlooked challenge is fence gaps allowing paint mist to pass through to the opposite side. If possible, spray both sides separately rather than trying to force paint through gaps aggressively. Overspraying through slats often wastes material and increases mess behind the fence.
Patience becomes incredibly important in these detailed sections. Large flat panels may move quickly, but corners and edges reward slower, more deliberate work.
Cleaning the Sprayer Properly After the Job
Cleaning a paint sprayer is nobody’s favorite part of the project, but skipping proper cleanup is the fastest way to destroy expensive equipment. Dried paint inside hoses, filters, and nozzles can clog the entire system and ruin spray performance the next time you use it.
Start by emptying remaining paint back into the original container if it is still clean. Then flush the sprayer thoroughly with the correct cleaning solution. Water-based paints typically require clean water, while oil-based coatings need mineral spirits or manufacturer-approved solvents. Continue flushing until the liquid spraying out becomes completely clear.
Disassemble removable parts carefully, including tips, guards, filters, and intake tubes. Many experienced sprayer users recommend soaking smaller components immediately after use to prevent dried buildup from hardening inside narrow openings. Even tiny clogs can distort spray patterns dramatically during future projects.
Filters deserve special attention because they trap debris before it reaches the nozzle. Dirty filters reduce pressure consistency and create sputtering. Inspect them carefully and replace worn filters when necessary.
Proper storage extends sprayer life significantly. Store hoses loosely coiled instead of tightly kinked. Keep the machine in a dry location protected from freezing temperatures. Some manufacturers also recommend running pump protectant fluid through the system before long-term storage to prevent corrosion and seal damage.
Cleaning might feel tedious after a long painting day, but it is the difference between owning a reliable sprayer for years and replacing a clogged machine after one season.
Conclusion
Learning how to paint a fence with a paint sprayer can completely change the way you approach outdoor painting projects. What once felt like an exhausting weekend chore suddenly becomes faster, smoother, and far more professional-looking. The key is understanding that successful spraying depends just as much on preparation and technique as it does on the machine itself.
A properly cleaned and repaired fence surface creates the foundation for long-lasting paint adhesion. Choosing the correct sprayer type, spray tip, and paint formula improves both efficiency and finish quality. Careful masking prevents overspray disasters, while smooth overlapping passes create even coverage across the entire fence. Mastering distance, movement speed, and pressure control helps eliminate drips, streaks, and patchiness.
The learning curve may feel intimidating at first, but most homeowners quickly gain confidence after practicing on a small section. Before long, the rhythmic motion of spraying starts feeling natural. The final result is a cleaner finish achieved in a fraction of the time compared to traditional brushing or rolling.
FAQs
1. Is an airless sprayer better than an HVLP sprayer for fences?
Yes, in most cases. Airless sprayers are usually faster and better suited for large fence projects because they handle thicker paints and cover wide surfaces quickly. HVLP sprayers offer better precision and lower overspray but generally work slower.
2. Do I need to thin fence paint before spraying?
It depends on the sprayer type and paint thickness. Many airless sprayers can spray unthinned latex paint directly, while HVLP sprayers often require thinning for proper atomization. Always follow the paint manufacturer’s instructions.
3. How many coats of paint should a fence have?
Most fences benefit from two thin coats rather than one heavy coat. Thin coats dry more evenly, reduce drips, and improve long-term durability.
4. What weather is best for spraying a fence?
Calm, dry weather with mild temperatures is ideal. Avoid strong wind, rain, high humidity, and extremely hot sunlight because these conditions can affect drying and overspray control.
5. How long does it take to paint a fence with a sprayer?
The spraying itself may only take one to three hours for an average fence, depending on size. Preparation, masking, and cleanup usually take longer than the actual painting.

Ahmed Elhor is an Egyptian SEO specialist, pharmacist, and copywriter based in Canada. He combines strong research skills with search focused writing to create clear, helpful content that answers real questions and ranks effectively in search engines.
With a passion for practical DIY ideas, homemade solutions, and creative projects, Ahmed focuses on producing easy to follow guides that are simple, affordable, and useful for everyday life. His work blends creativity with structure, helping readers turn basic materials into meaningful results.