How to Paint Spindles on a Staircase Like a Professional
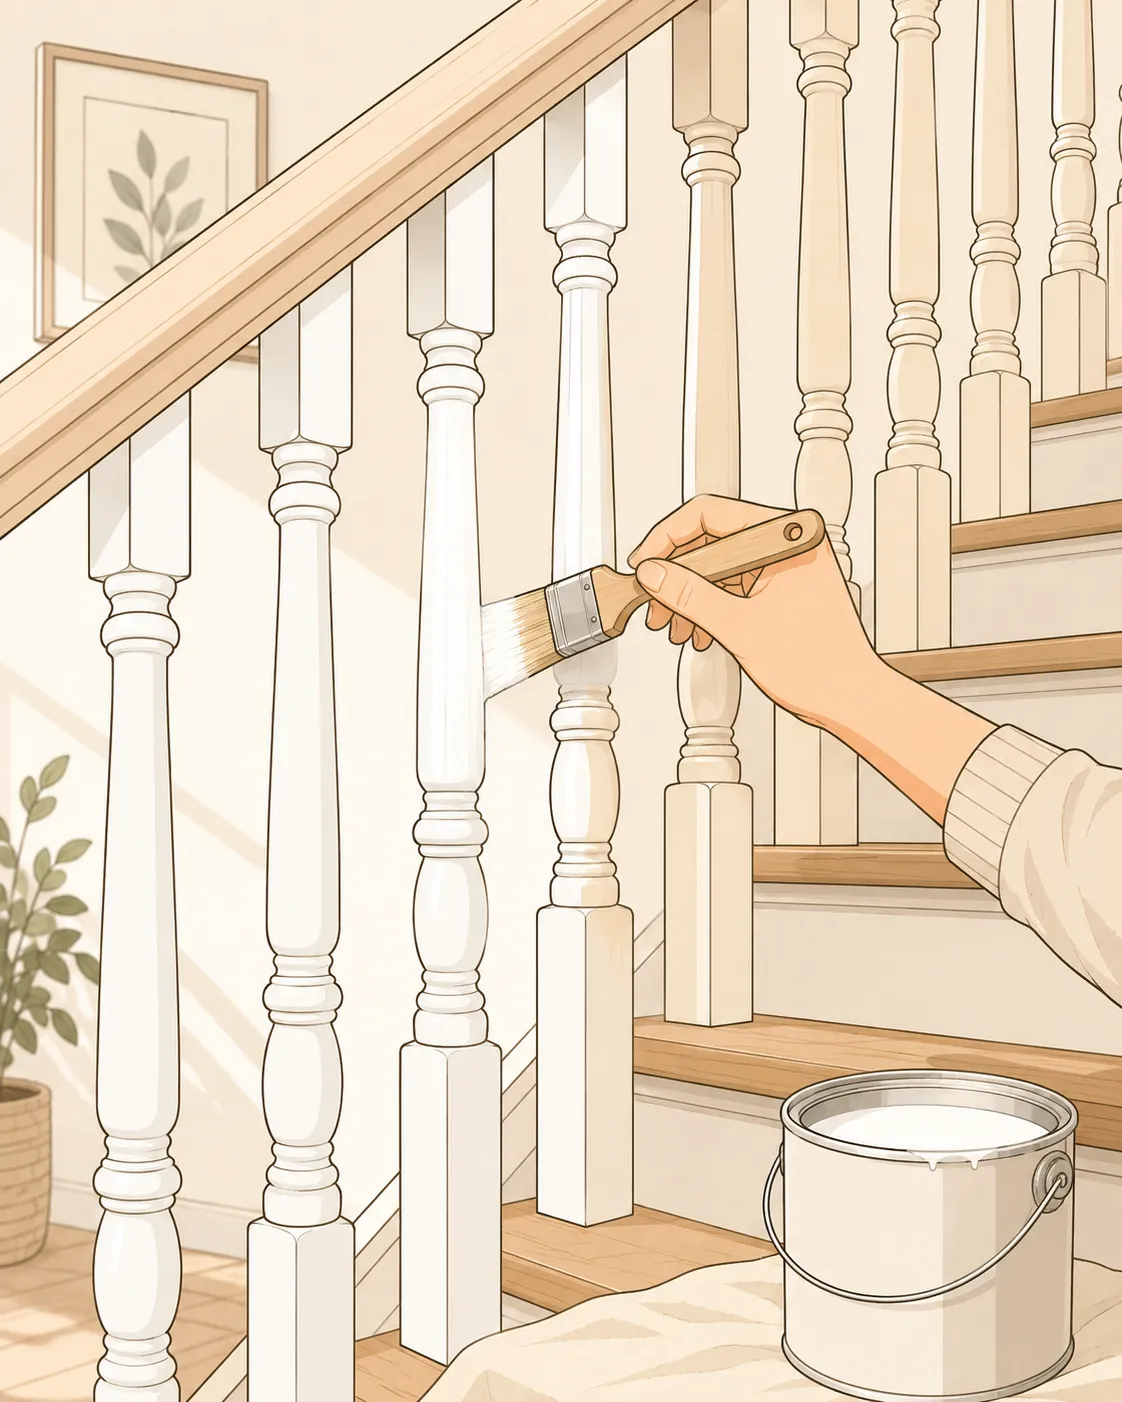
Painting staircase spindles can completely transform the look of a home. A dated oak staircase suddenly feels modern, brighter, and cleaner with the right paint finish. Yet anyone who has ever attempted the project knows it can quickly turn into a frustrating battle against drips, cramped corners, sticky drying times, and aching hands. Spindles are awkward. They twist, curve, hide corners, and seem designed specifically to test your patience.
The good news is that painting staircase spindles does not have to feel like a never-ending DIY punishment. With proper preparation, the right tools, and a smart painting order, the process becomes much smoother and the final finish looks professionally done. Real-world painting experts consistently recommend thin coats, proper ventilation, and careful prep work to prevent peeling and uneven finishes.
Before diving into the detailed process, it helps to understand one important truth: most staircase paint failures happen before the brush even touches the spindle. Preparation determines whether your staircase looks smooth and durable or chipped and streaky within months. Think of prep work like laying railroad tracks. If the tracks are crooked, the train ride will be rough no matter how beautiful the train itself looks.
Contents
Why Painting Staircase Spindles Requires a Different Approach
Painting walls is straightforward. You roll large flat sections, move quickly, and finish within hours. Stair spindles are a completely different creature. Every spindle has curves, edges, shadowed corners, and narrow gaps between neighboring pieces. That means every brush movement becomes visible. One overloaded brush stroke can leave a drip hanging like a frozen raindrop down the side of the spindle.
Another challenge comes from lighting. Staircases naturally attract light from windows, chandeliers, and overhead fixtures. That light highlights every imperfection. Tiny brush streaks that seem invisible during painting suddenly appear the next morning like scratches on a shiny car hood. This is why professional painters often say staircase work demands patience more than speed.
DIY painters also underestimate how physically awkward the job can be. You twist your wrist around railings, crouch on stairs, and lean into tight corners. Fatigue leads to rushed strokes and sloppy coverage. According to recent homeowner discussions online, many painters found mini rollers and fine-finish brushes dramatically reduced frustration during spindle projects.
One of the smartest mindset shifts is understanding that staircase painting is closer to furniture finishing than wall painting. You are creating a durable decorative surface that people notice every single day. Treating it carefully pays off long after the paint dries.
Preparing the Staircase Before Any Paint Goes On
Preparation is where great staircase finishes begin. Skipping prep is like planting flowers in concrete and hoping they bloom anyway. Paint needs a clean, stable surface to grip properly. Dirt, oils from hands, leftover polish, and glossy varnish all weaken adhesion.
Start by cleaning every spindle thoroughly using warm water mixed with mild soap or a degreasing cleaner. Staircases collect invisible grime from years of hands brushing across railings and dust settling into corners. If grease remains underneath the paint, the finish may peel or bubble later.
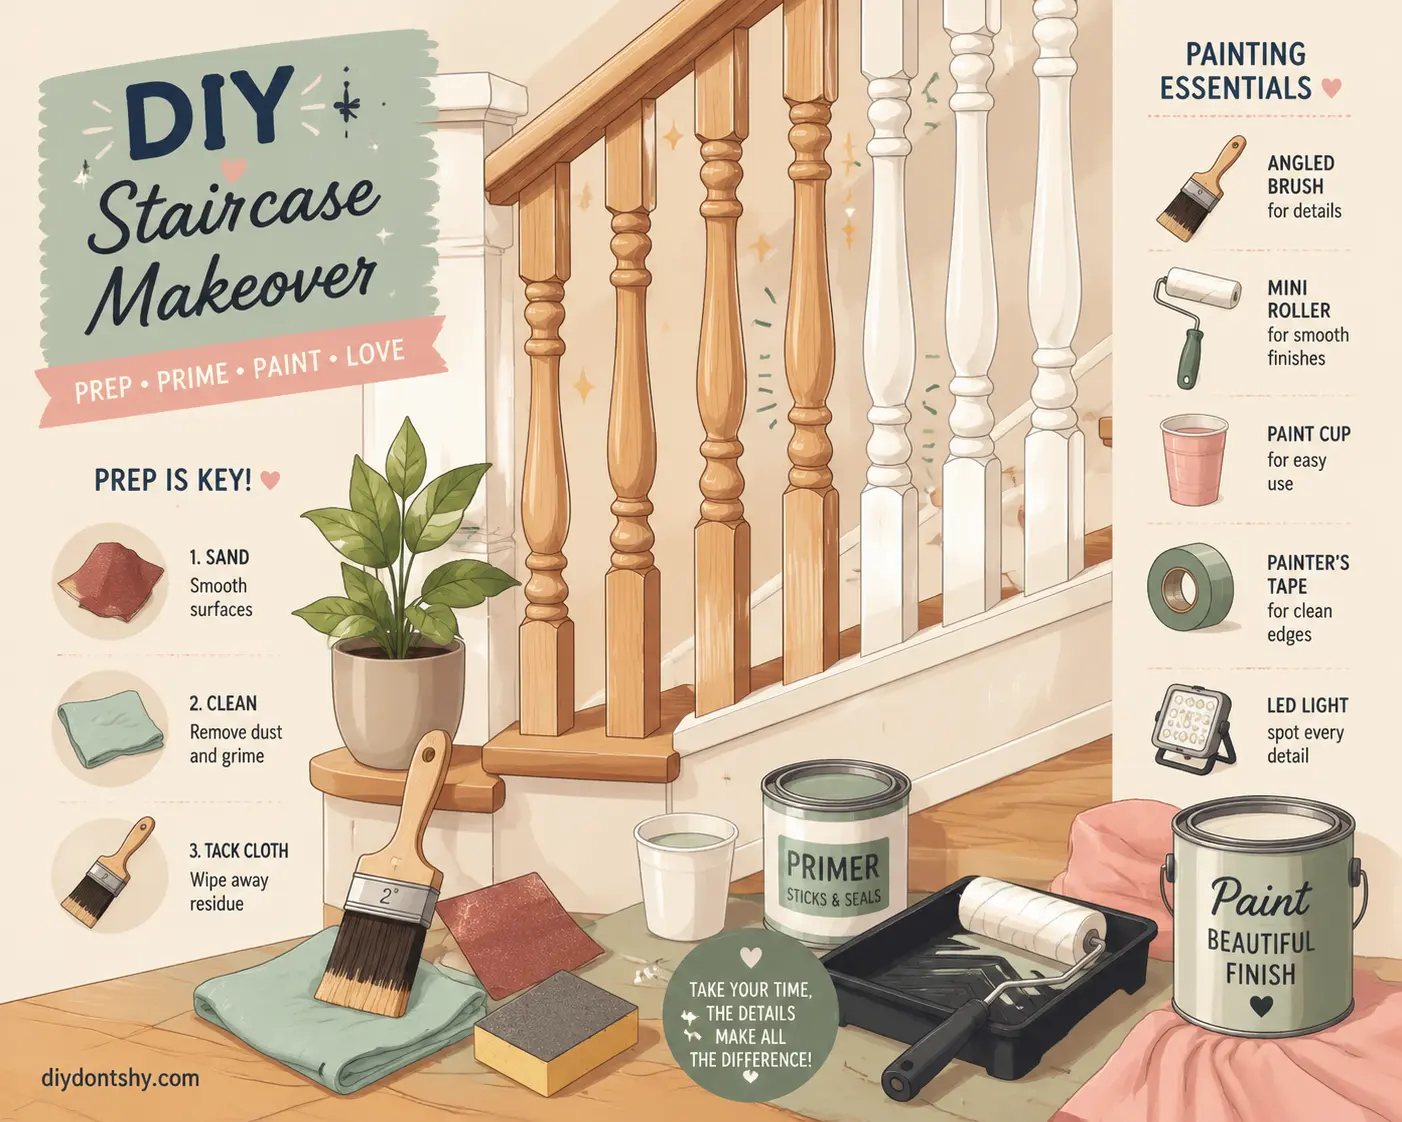
Sanding comes next, and this step scares many homeowners because spindles contain delicate details. The goal is not aggressive wood removal. Instead, lightly scuff the existing finish so primer can bond properly. A medium or fine-grit sanding sponge works especially well because it flexes around curves and grooves. Online DIY painters repeatedly stress that skipping sanding often leads to disappointing adhesion later.
After sanding, vacuum every spindle carefully and wipe with a damp microfiber cloth. Dust hiding in corners can ruin an otherwise smooth finish. Once dry, inspect the staircase for dents, nail holes, or cracks. Fill imperfections with wood filler, allow it to dry, and sand smooth.
Taping is another underrated part of preparation. Use painter’s tape around the base rail, tread edges, walls, and handrails. Good tape work saves enormous cleanup time later. Professionals recommend painting from top to bottom so drips fall onto areas not yet completed.
Think of prep as building armor beneath the paint. It may feel time-consuming, but it protects your work from chipping, peeling, and uneven wear.
Choosing the Right Paint and Primer
Not all paint performs equally on stair spindles. Staircases experience constant traffic, accidental bumps, hand contact, and cleaning. Choosing the wrong product almost guarantees premature wear.
Primer is essential, especially when covering stained wood or glossy finishes. Primer seals porous surfaces, improves adhesion, and prevents uneven color absorption. Experts consistently recommend priming before applying finish coats because skipping primer often causes patchy results and additional coats later.
For most modern staircase projects, water-based acrylic trim paint is the preferred choice. It dries faster, produces lower fumes indoors, and resists yellowing over time. Oil-based paints remain durable, but they require longer drying periods and stronger ventilation. Recent painting guides note that water-based trim paints are particularly effective for faster staircase refresh projects.
The finish also matters. Here is a quick comparison:
| Paint Finish | Appearance | Durability | Best Use |
|---|---|---|---|
| Satin | Soft sheen | Good | Family homes |
| Semi-gloss | Noticeable shine | Excellent | High-traffic staircases |
| Gloss | Very shiny | Very high | Modern dramatic finishes |
Semi-gloss is often the sweet spot. It reflects light beautifully while remaining easier to clean than flatter finishes. Staircases naturally attract fingerprints and scuffs, so washable paint is valuable.
Color choice affects the perception of space too. White spindles brighten dark staircases and create a classic modern contrast against wood handrails. Black spindles add drama and sophistication. Home design communities frequently recommend contrasting rail and spindle colors for updated visual appeal.
Tools That Make Painting Spindles Less Frustrating
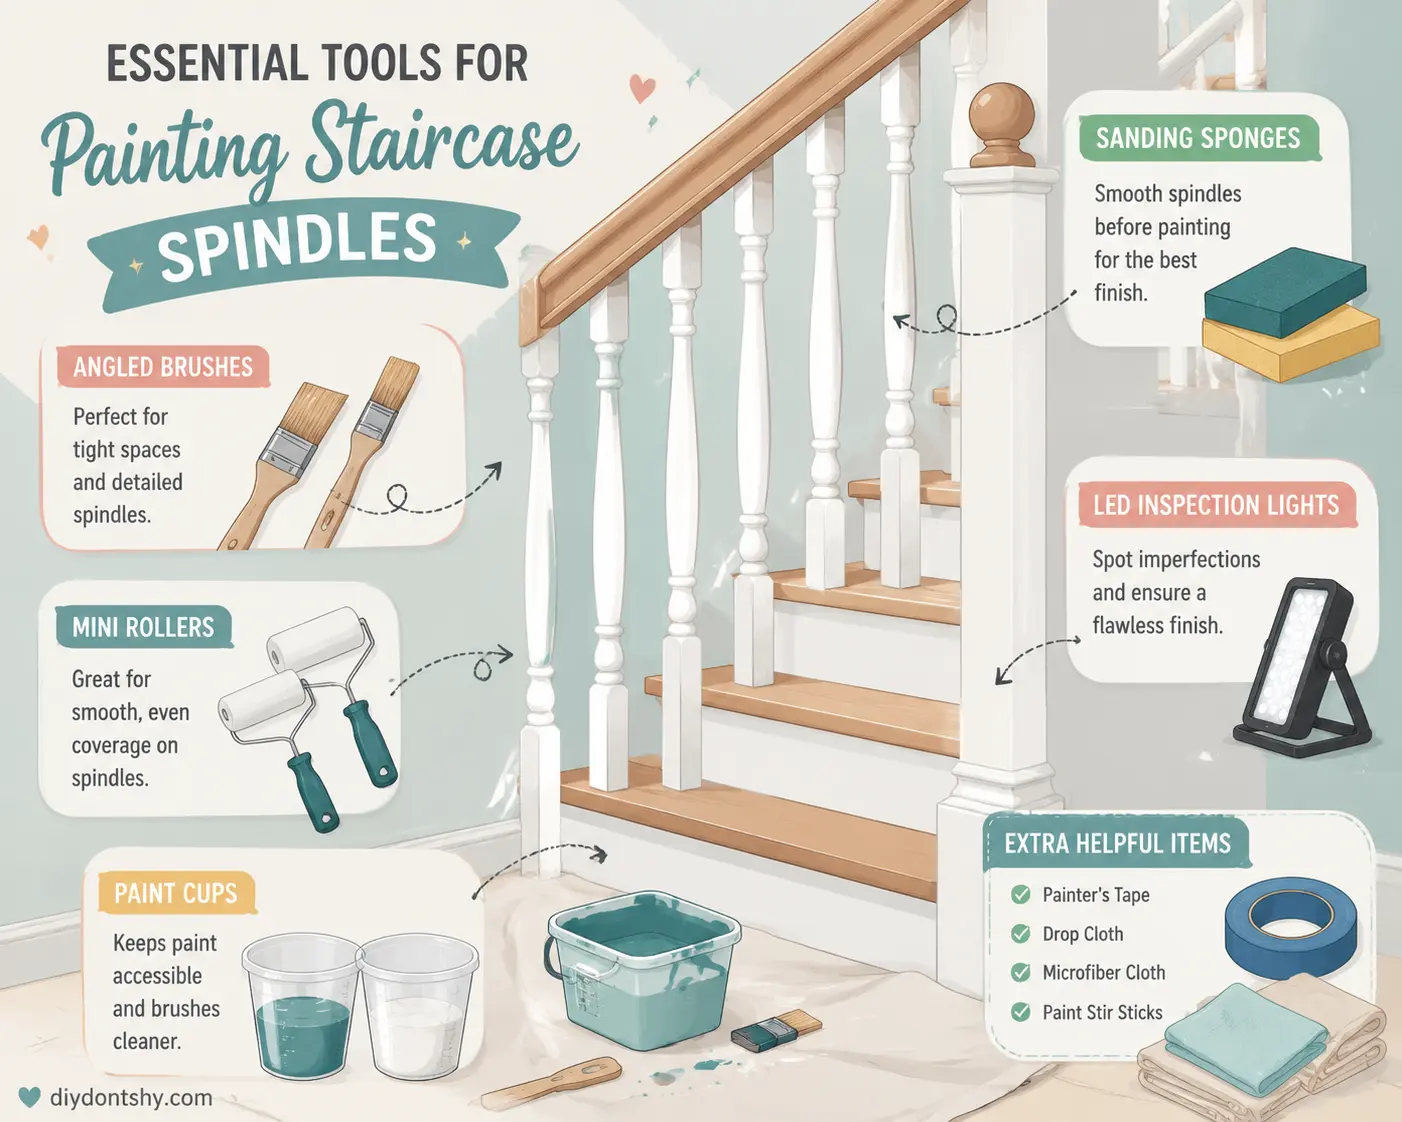
The wrong tools can turn spindle painting into a miserable experience. Cheap brushes shed bristles, oversized rollers create puddles, and stiff applicators leave visible ridges. Investing in better tools often saves more time than any shortcut technique.
A high-quality angled brush is essential for cutting around detailed edges and tight corners. Brushes between 1.5 and 2 inches wide typically provide the best balance between control and coverage. Soft synthetic bristles work especially well with modern water-based trim paints.
Mini microfiber rollers are another game changer. Experienced painters online repeatedly mention that fine-finish mini rollers dramatically improve smoothness on spindles. These rollers distribute paint evenly while reducing visible brush marks. Many painters use rollers for larger spindle surfaces and brushes only for corners or decorative grooves.
Foam applicators can also help with unusually intricate spindle designs. They press gently into grooves without flooding details with excess paint. Some DIY painters even improvise using dense makeup sponges for tight cutouts.
Paint sprayers create the smoothest finish but require significant preparation. Overspray can spread throughout the house like invisible mist settling on furniture and walls. Sprayers make sense for large staircase renovations or empty homes but are often excessive for quick refresh jobs.
Helpful accessory tools include:
- Sanding sponges
- Tack cloths
- Painter’s pyramids
- Disposable paint cups
- LED inspection lights
- Small detail artist brushes
The biggest frustration reducer, though, is simply having a damp cloth nearby. Professionals recommend wiping drips immediately instead of hoping they disappear on their own.
The Best Order to Paint Around Tight Spaces
Painting order matters more than many people realize. Without a clear sequence, you risk leaning against wet paint, trapping yourself upstairs, or creating overlapping streaks that become obvious after drying.
The safest and most efficient approach is working from top to bottom. Gravity is unavoidable, so drips naturally travel downward. Starting high means accidental drips land on unfinished areas rather than completed surfaces. Several staircase painting experts specifically recommend this approach for cleaner results.
Begin with the handrail if it will be painted. Then move to the upper portions of each spindle before working downward toward the base rail. Completing one spindle fully before moving to the next helps maintain consistent coverage and reduces missed spots.
Tight spaces between spindles require patience. Avoid overloading the brush because excess paint accumulates in narrow corners. Instead, apply lighter coats and revisit areas if necessary. Think of painting like frosting a cake. Too much icing at once creates sagging and uneven texture.
One effective technique involves rotating your body position rather than twisting the brush awkwardly. Walk around the staircase whenever possible to maintain smoother brush angles. It feels slower initially but produces cleaner results.
For stair treads and risers, many painters use the “every-other-step” method to maintain staircase access during drying. While this technique applies mostly to steps rather than spindles, it demonstrates how planning the painting order prevents logistical headaches later.
The final inspection should always happen under different lighting conditions. Shadows often hide missed edges until daylight reveals them dramatically.
Brush Techniques That Reduce Drips and Streaks
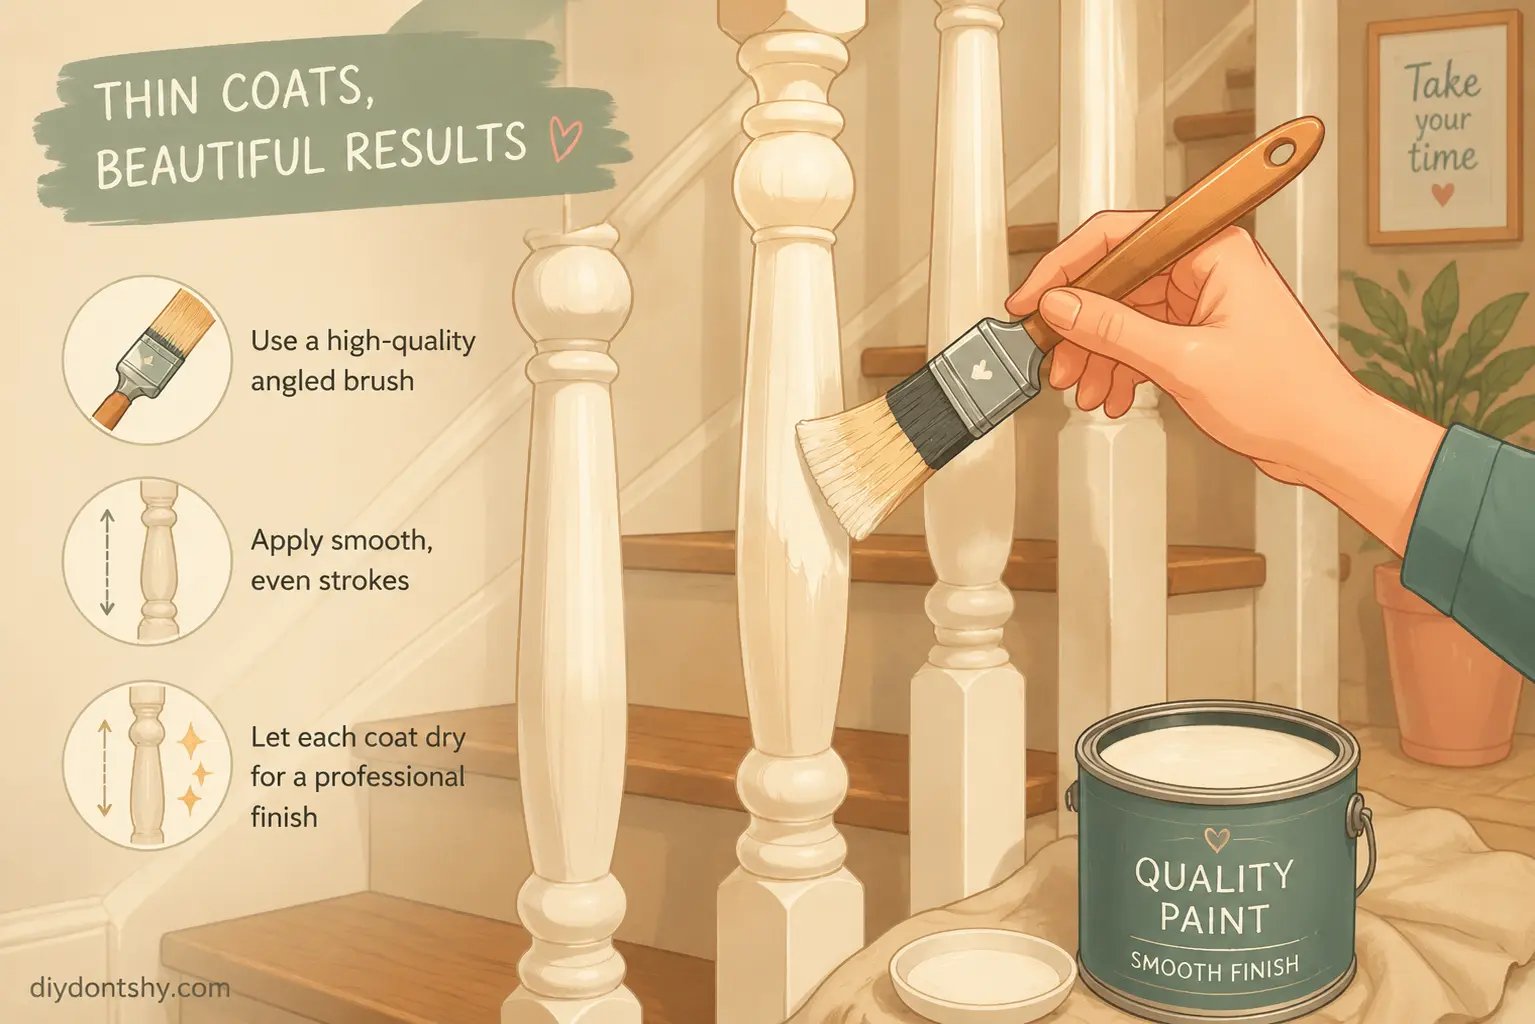
Technique separates amateur-looking staircases from professional-looking finishes. The most common mistake is applying too much paint at once. Thick coats feel efficient initially but almost always create drips, sags, and uneven curing.
Professional painters consistently recommend multiple thin coats instead of one heavy coat. Thin coats level more smoothly and dry more evenly. They also reduce visible brush texture.
Load only the lower third of the brush with paint and tap off excess before applying it to the spindle. Avoid dunking the entire brush into the paint can. Too much paint on the bristles creates immediate dripping problems.
Vertical brush strokes generally work best for spindles. Start near the middle of the spindle and spread paint upward and downward gradually. This controls buildup and helps maintain even coverage.
Another important technique involves “laying off” the paint. After applying paint, lightly drag the brush in one continuous direction using minimal pressure. This smooths ridges and distributes paint evenly before it begins drying.
Temperature and humidity also affect brush performance. High heat can cause paint to dry too quickly, locking brush marks into place permanently. Experts recommend maintaining moderate indoor temperatures and proper airflow for smoother leveling.
Here is a simple comparison of common painting mistakes:
| Mistake | Result |
|---|---|
| Thick paint coats | Drips and sagging |
| Rushing recoats | Peeling and uneven sheen |
| Cheap brushes | Bristle marks and streaks |
| Poor lighting | Missed spots |
| Excess humidity | Slow drying and tackiness |
Tiny adjustments in technique create surprisingly dramatic improvements. Sometimes the difference between an average finish and a beautiful one is simply slowing down and using less paint.
Handling Detailed Areas Without Missing Spots
Decorative spindles can feel like miniature obstacle courses for paintbrushes. Grooves, carved rings, and recessed corners easily hide bare patches that only become obvious after drying.
The best approach is breaking each spindle mentally into sections. Instead of randomly brushing around the shape, focus on completing one area thoroughly before moving on. Start with detailed grooves and recessed areas first because those spots are hardest to reach once surrounding surfaces are wet.
Small artist brushes help tremendously for intricate corners. Foam applicators also work well for textured spindle details because they press paint gently into recessed shapes without flooding them.
Lighting is absolutely critical during this stage. Many professionals use portable LED work lights because overhead lighting alone creates deceptive shadows. Rotate your viewing angle frequently. What appears fully coated from one side may reveal untouched wood from another.
Online DIY painters repeatedly emphasize the importance of applying very light coats around decorative details to avoid buildup in crevices. Excess paint tends to pool in grooves and later hardens into ugly drips.
One useful trick involves lightly running a nearly dry brush around detailed rings and curves after painting them. This removes pooled paint before it dries and preserves the crisp definition of the spindle design.
Patience matters enormously here. Decorative spindles reward slow, careful work. Trying to rush detailed areas almost guarantees uneven coverage that catches light later.
Drying Time and Ventilation That Matter Indoors
Indoor painting conditions directly affect how well staircase paint cures. Many people judge paint only by whether it feels dry to the touch, but curing continues long after the surface stops feeling sticky.
Recent paint drying guides explain that humidity, airflow, and temperature dramatically influence drying speed and final durability. High humidity slows evaporation and can leave paint tacky for extended periods. Poor ventilation traps moisture and fumes indoors.
Experts generally recommend indoor temperatures between 65°F and 75°F for optimal painting conditions. Air circulation also matters greatly. Fans placed nearby help move air gently across the room, accelerating evaporation without blasting dust directly onto wet surfaces.
Typical drying guidelines include:
| Paint Type | Recoat Time | Full Cure |
|---|---|---|
| Water-based trim paint | 2–4 hours | Up to 30 days |
| Oil-based paint | 24 hours | 7–14 days |
Even when paint feels dry, it remains vulnerable to scratches and pressure until fully cured. High-traffic staircases especially require patience. Several staircase painting experts recommend minimizing use for at least 24 to 48 hours after final coats.
Ventilation also affects indoor air quality. Opening windows and using fans reduces paint fumes and accelerates drying simultaneously. Water-based low-VOC paints are particularly useful for occupied homes because they produce fewer lingering odors.
Think of curing like concrete hardening beneath the surface. It may look finished quickly, but real strength develops gradually over time.
Keeping the Finish Durable in High-Traffic Areas
A staircase is one of the hardest-working features inside a home. Children grab railings, pets brush against balusters, furniture bumps corners during moves, and daily cleaning introduces wear over time. Durability matters just as much as appearance.
The strongest finishes usually come from combining proper prep, quality primer, and multiple thin topcoats. Skipping any of those steps weakens the paint system. Professionals often compare paint layers to armor plating. Thin, properly bonded layers outperform one thick brittle layer every time.
Semi-gloss and gloss finishes resist cleaning damage better than flat paints because they create denser protective surfaces. Water-based enamel trim paints are especially popular for staircase projects because they cure into hard, washable finishes.
Routine maintenance also extends paint life significantly. Dust spindles regularly using soft microfiber cloths instead of abrasive scrubbers. Harsh cleaning pads can gradually dull or scratch the finish.
Touch-ups become easier when leftover paint is stored properly. Experts recommend lightly sanding chipped spots before repainting small damaged sections. Attempting touch-ups without sanding often leaves raised edges visible.
One often-overlooked durability factor is allowing sufficient cure time before heavy use. Many staircase paint problems begin because homeowners resume full traffic too soon. Paint may feel dry, but pressure and friction can still leave dents or marks beneath the surface.
Durability ultimately comes down to patience. The staircase that still looks beautiful years later is usually the one where the painter resisted rushing every stage of the process.
Conclusion
Painting staircase spindles is one of those projects that looks deceptively simple from a distance. A brush, a can of paint, and a free weekend seem like enough at first glance. Once the work begins, though, the true challenge appears in every tight corner, decorative groove, and hidden drip.
The secret to a beautiful staircase finish is not magical talent. It comes from careful preparation, smart tool choices, thin paint layers, and patience during drying and curing. Real-world painters consistently agree on the fundamentals: sand properly, use thin coats, maintain good airflow, and avoid rushing recoats.
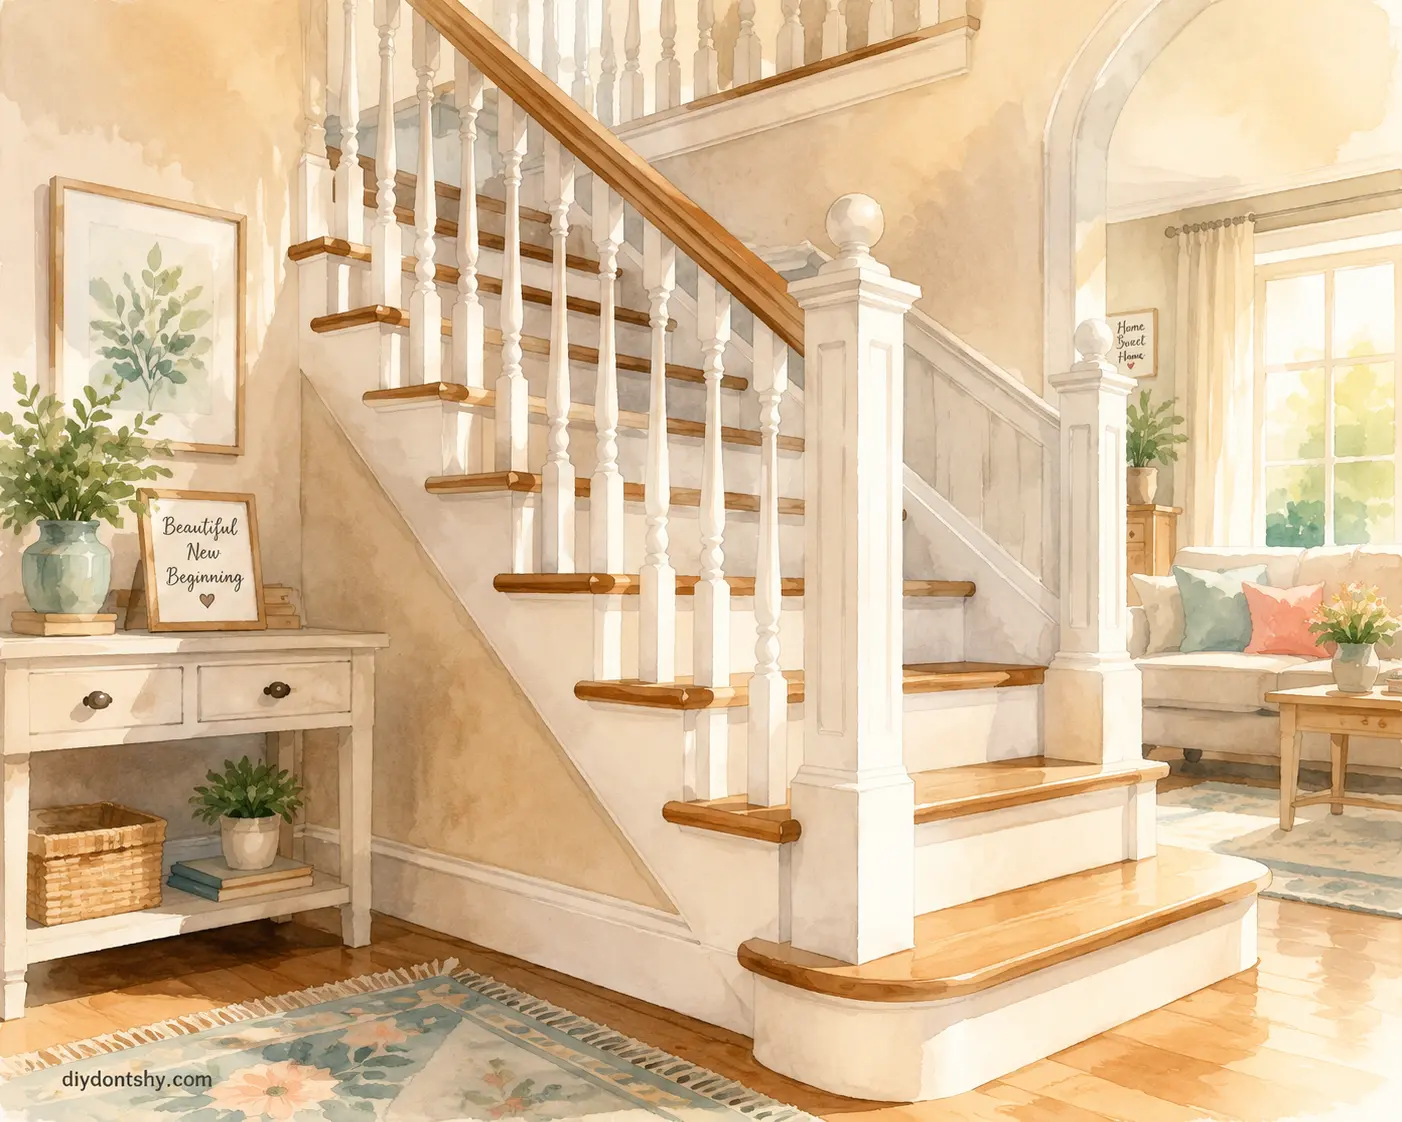
A freshly painted staircase transforms more than woodwork. It changes how an entryway feels. Bright white spindles can make older homes feel fresh and modern. Dark dramatic finishes can create striking architectural contrast. Even subtle updates make staircases feel cleaner and more intentional.
Most importantly, a carefully painted staircase holds up better over time. Durable finishes withstand busy family life, constant hand contact, and daily wear without quickly chipping or peeling. Like many worthwhile DIY projects, the reward comes not just from saving money but from walking past the finished result every day knowing you created it yourself.
FAQs
How long does it take to paint staircase spindles?
Most staircase spindle projects take two to three days because drying time matters as much as painting itself. Sanding and prep usually happen on day one, primer and first coats on day two, and finishing coats plus curing time afterward.
Should I sand spindles before painting?
Yes. Light sanding improves paint adhesion and helps create a smoother finish. Even previously painted spindles benefit from scuff sanding because glossy surfaces resist new paint bonding properly.
What is the best paint finish for staircase spindles?
Semi-gloss is typically the best choice because it balances durability, washability, and appearance. It resists fingerprints and scuffs better than matte finishes while avoiding the overly reflective look of full gloss.
How do I avoid brush marks on spindles?
Use high-quality brushes, apply thin coats, and lightly smooth the paint with long vertical strokes before it dries. Mini microfiber rollers also help create smoother finishes with fewer visible streaks.
Can I paint staircase spindles without primer?
You technically can, but results are usually weaker and less even. Primer improves adhesion, blocks stains, and helps topcoats cure more evenly, especially over stained wood or glossy surfaces.

Ahmed Elhor is an Egyptian SEO specialist, pharmacist, and copywriter based in Canada. He combines strong research skills with search focused writing to create clear, helpful content that answers real questions and ranks effectively in search engines.
With a passion for practical DIY ideas, homemade solutions, and creative projects, Ahmed focuses on producing easy to follow guides that are simple, affordable, and useful for everyday life. His work blends creativity with structure, helping readers turn basic materials into meaningful results.