
How to Tape a Wall for Painting Without Damaging the Surface
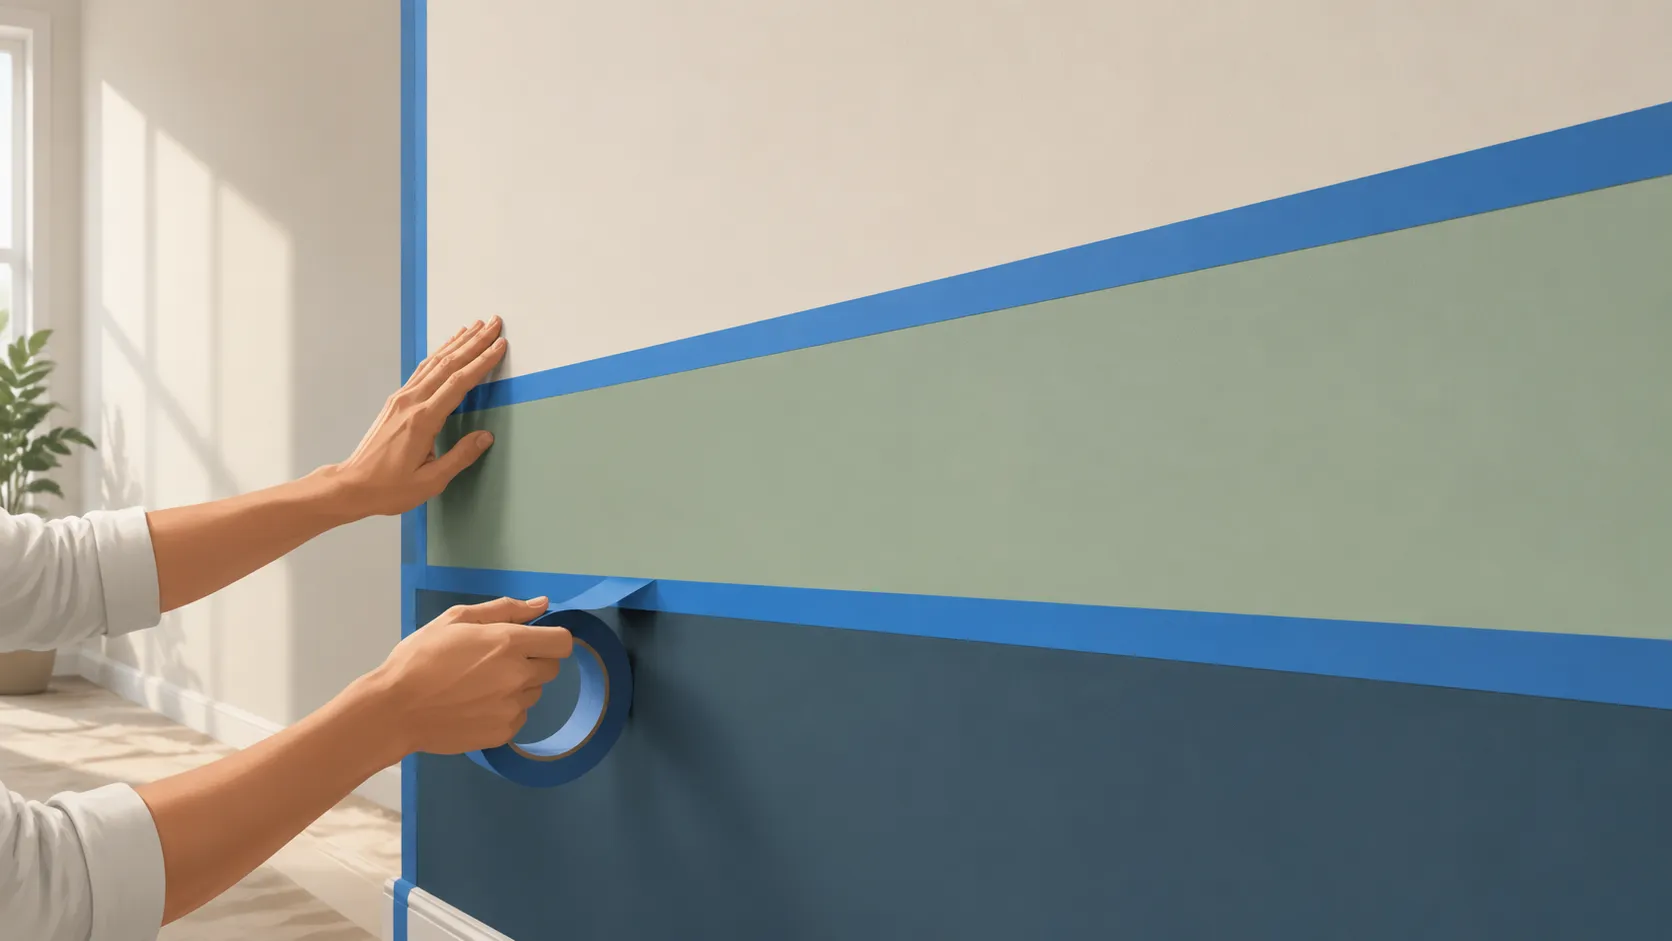
Painting a wall sounds simple until you pull the tape away and discover crooked lines, smeared corners, or paint bleeding under the edges like water escaping a cracked dam. That single moment can turn an exciting DIY project into a frustrating cleanup mission. The truth is, professional-looking paint jobs rarely happen because someone paints perfectly. They happen because the prep work is done correctly before the brush even touches the wall.
Painter’s tape acts like the silent bodyguard of your paint project. It protects trim, ceilings, corners, and surfaces from accidental strokes and uneven edges. But using it properly is a skill most homeowners never fully learn. Choosing the wrong tape, sticking it onto dusty walls, or removing it too late can ruin hours of work in seconds.
Recent product testing from painting experts found that high-quality painter’s tapes designed for specific surface types dramatically reduce paint bleed and edge failure. Many professional painters now prefer surface-matched tapes such as delicate-surface or textured-wall tapes instead of generic masking tape because they produce sharper results with less cleanup.
This guide walks through every critical step so you can achieve crisp lines, smooth transitions, and a polished finish without the headaches that usually come with wall taping.
Contents
Why Proper Wall Taping Matters Before Painting
Painting is a little like cooking a complicated meal. Everyone notices the final result, but the hidden preparation determines whether everything comes together beautifully or falls apart halfway through. Wall taping falls squarely into that preparation stage. It is the difference between razor-sharp paint lines and messy edges that look rushed and uneven. People often underestimate how much visual impact a clean edge has until they compare a professional paint job to a sloppy DIY attempt.
Painter’s tape creates boundaries that help paint stay where it belongs. Without those barriers, even experienced painters can accidentally roll onto trim, ceilings, or adjacent walls. Small drips and feathered lines become incredibly obvious once the paint dries because paint naturally draws attention to flaws under lighting. Crisp edges, on the other hand, create a finished appearance that makes the entire room feel cleaner and more expensive.
Testing by painting experts found that quality painter’s tape dramatically improves edge sharpness while reducing paint seepage beneath taped areas. Products specifically designed for multi-surface applications or delicate finishes consistently outperformed cheap generic masking tapes during controlled tests.
Another reason taping matters is speed. Ironically, spending extra time taping often makes the actual painting process much faster. Instead of nervously maneuvering a brush around trim or ceiling lines, you can paint more confidently and efficiently. The tape absorbs minor mistakes, allowing you to focus on even paint coverage instead of constant correction work. In many cases, homeowners who skip proper taping spend more total time fixing errors than they would have spent preparing correctly from the start.
Picking Painter’s Tape That Matches the Surface Type
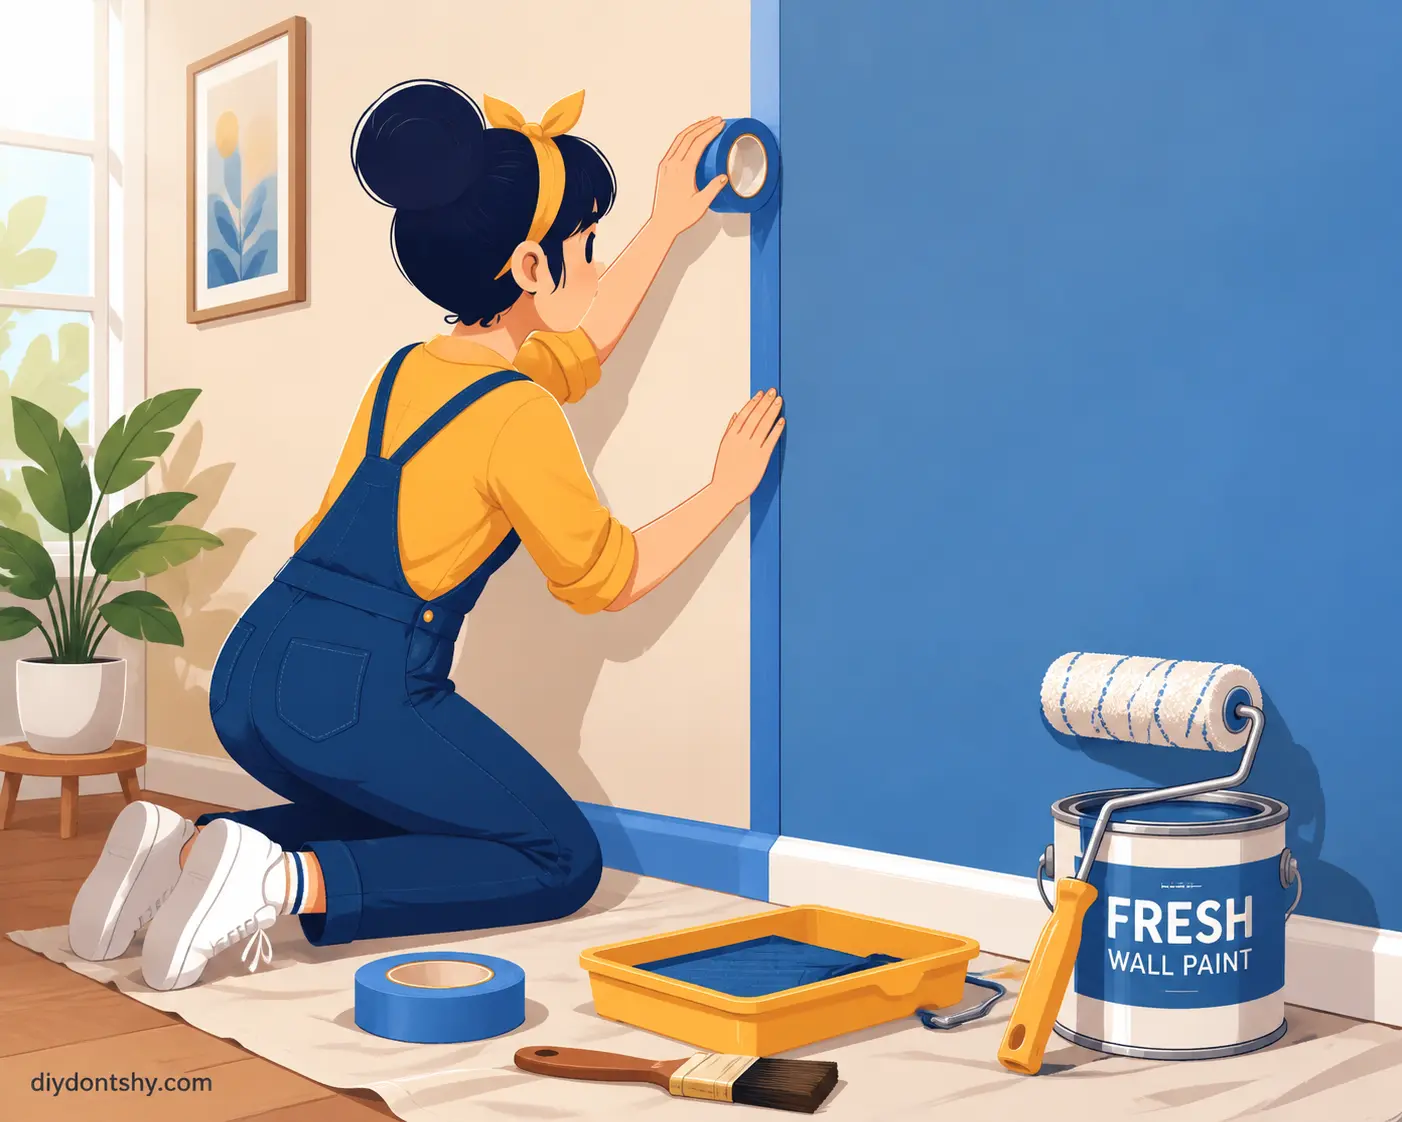
Choosing painter’s tape is not as simple as grabbing the first blue roll you see at the hardware store. Different surfaces demand different adhesive strengths, and the wrong tape can either fail to stick properly or cling so aggressively that it damages the paint underneath. Think of painter’s tape like choosing the right shoes for a specific sport. Running shoes work for jogging, but they are terrible for mountain climbing. Tape works the same way.
Smooth drywall and fully cured painted walls typically respond best to medium-adhesion multi-surface tape. These tapes provide enough grip to block paint bleed without pulling away existing finishes. Many painting professionals favor multi-surface products because they balance adhesion and clean removal effectively across common indoor surfaces.
Fresh paint and delicate surfaces require extra caution. Low-tack yellow or gold painter’s tape is specifically engineered for wallpaper, veneer, decorative finishes, and recently painted walls. Standard tapes may seem fine initially, but they can tear fresh paint away during removal like ripping a bandage off sensitive skin. Delicate-surface tapes reduce that risk significantly.
Textured walls introduce another challenge entirely. Rough surfaces create tiny gaps beneath the tape where paint can seep through. High-adhesion green painter’s tape often performs better on textured drywall, stucco, or brick because it conforms more effectively to uneven surfaces. Experts testing painter’s tapes on rough walls found textured-surface tapes created noticeably cleaner results than standard low-adhesion options.
Here is a quick comparison table:
| Surface Type | Recommended Tape | Adhesion Level |
|---|---|---|
| Smooth drywall | Multi-surface blue tape | Medium |
| Fresh paint | Delicate surface yellow tape | Low |
| Wallpaper | Delicate surface tape | Low |
| Textured walls | Rough surface green tape | High |
| Exterior surfaces | UV-resistant outdoor tape | Medium-High |
| Wood trim | Precision edge tape | Medium |
The tape itself becomes part of the paint system. Using the wrong type can sabotage the entire project before painting even begins.
Cleaning the Walls Before Applying Tape
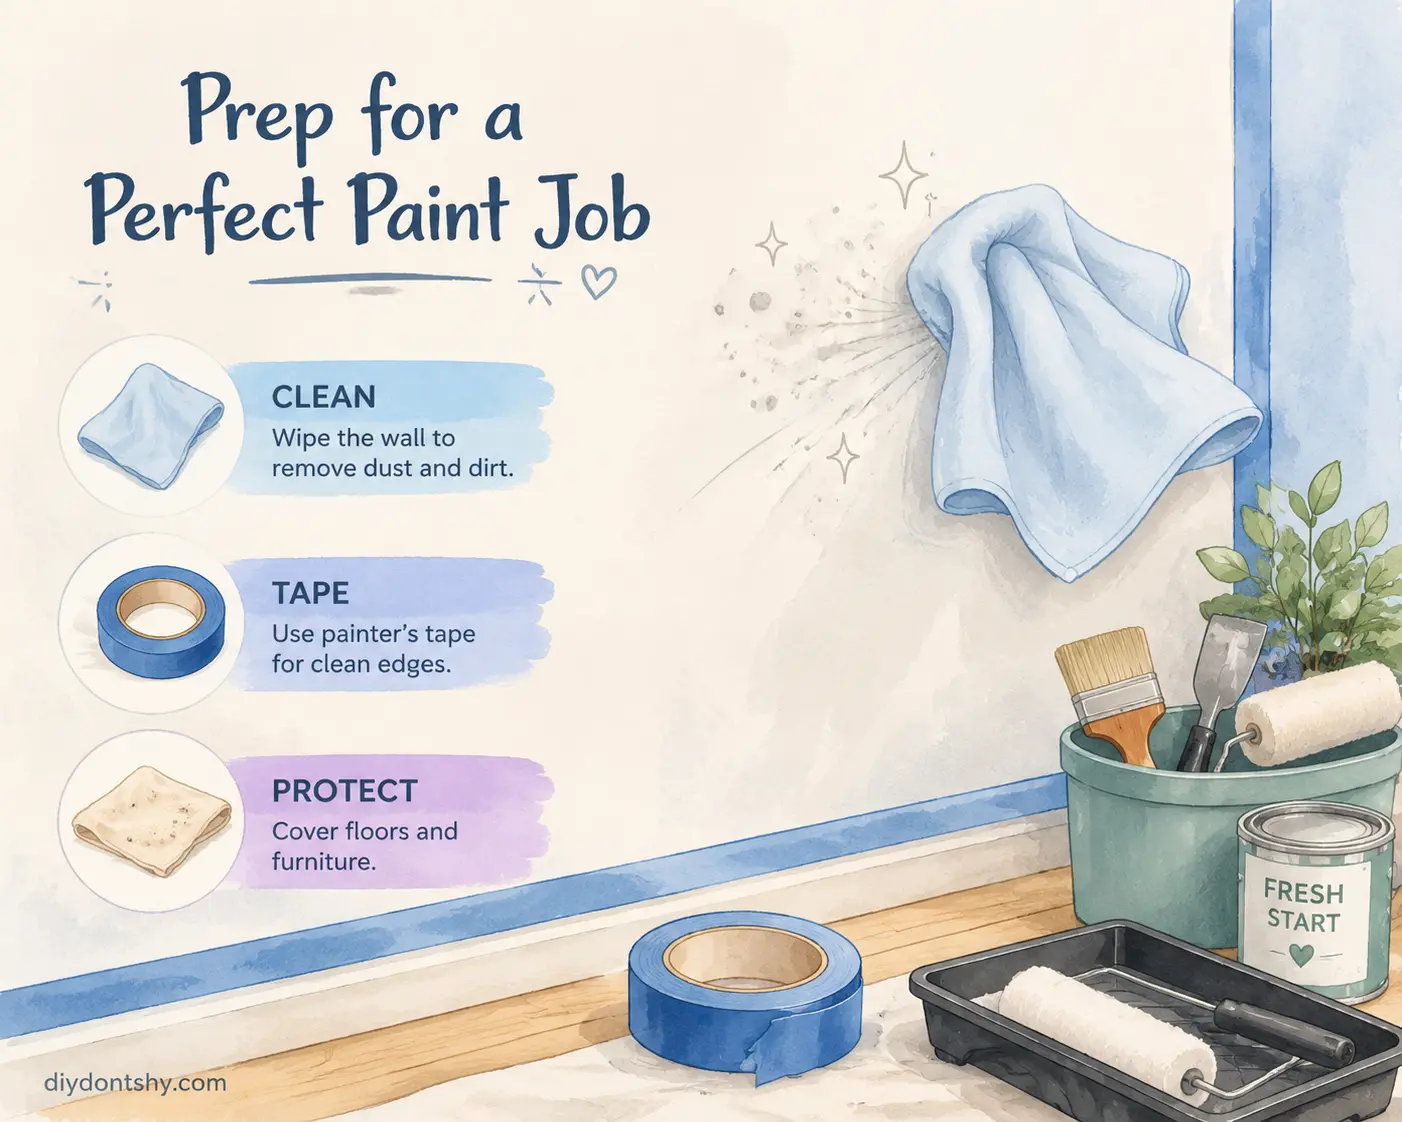
One of the biggest reasons painter’s tape fails has nothing to do with the tape itself. Dirt is usually the real villain. Walls collect invisible layers of dust, oils, pet hair, smoke residue, and cooking grease over time. Even a surface that looks perfectly clean can prevent tape from sealing properly. Imagine trying to stick a bandage onto oily skin. It peels up almost immediately. Painter’s tape behaves exactly the same way.
Dust creates tiny channels beneath the tape edge where paint can sneak through. This is one of the most common causes of fuzzy or bleeding paint lines. Professional painters rarely skip wall cleaning because they know adhesion depends on direct contact between the tape adhesive and the actual wall surface. Cleaning the wall is not glamorous work, but it dramatically improves results.
The best approach is surprisingly simple. Start by wiping walls with a microfiber cloth or vacuum brush attachment to remove loose dust. After that, use a lightly damp cloth with warm water and mild dish soap to clean greasy or dirty areas. Kitchens and bathrooms especially benefit from deeper cleaning because humidity and airborne oils tend to accumulate there more aggressively.
After washing, let the walls dry completely before applying tape. Moisture trapped beneath the adhesive weakens the bond and increases the chance of tape lifting during painting. This is particularly important in humid rooms where surfaces may feel dry but still retain microscopic moisture.
Some painters also lightly rub the tape edges after application using a plastic putty knife or fingertip. This process, called burnishing, helps seal the adhesive tightly against the wall. According to both professional painters and DIY communities, firmly sealing the tape edge is one of the most effective ways to prevent paint bleeding.
Straight Line Techniques That Prevent Paint Bleeding
Perfect paint lines rarely happen by accident. They come from a combination of careful tape placement, edge sealing, and controlled painting technique. Many people think the tape alone creates sharp lines, but the real magic happens in the details of how the tape is applied and how paint interacts with it afterward.
Start by applying tape in long, continuous strips whenever possible. Short overlapping pieces create seams where paint can leak underneath. Pull the tape steadily without stretching it too tightly. Overstretched tape tends to shrink slightly after placement, creating gaps along the edges. Press the tape down gradually as you move across the wall rather than sticking large sections all at once.
The next step is edge sealing. Once the tape is in place, firmly press along the edge using a putty knife, credit card, or fingertip. This step closes tiny air pockets that paint could otherwise invade. Many professional painters consider edge sealing more important than the tape brand itself.
One advanced trick involves painting a very thin layer of the original wall color along the tape edge before applying the new paint color. This seals any microscopic gaps with matching paint so that if seepage occurs, it becomes invisible. Some painters call this the “sacrificial seal” method, and it has become increasingly popular among DIY communities.
Using the Dry Brush Technique
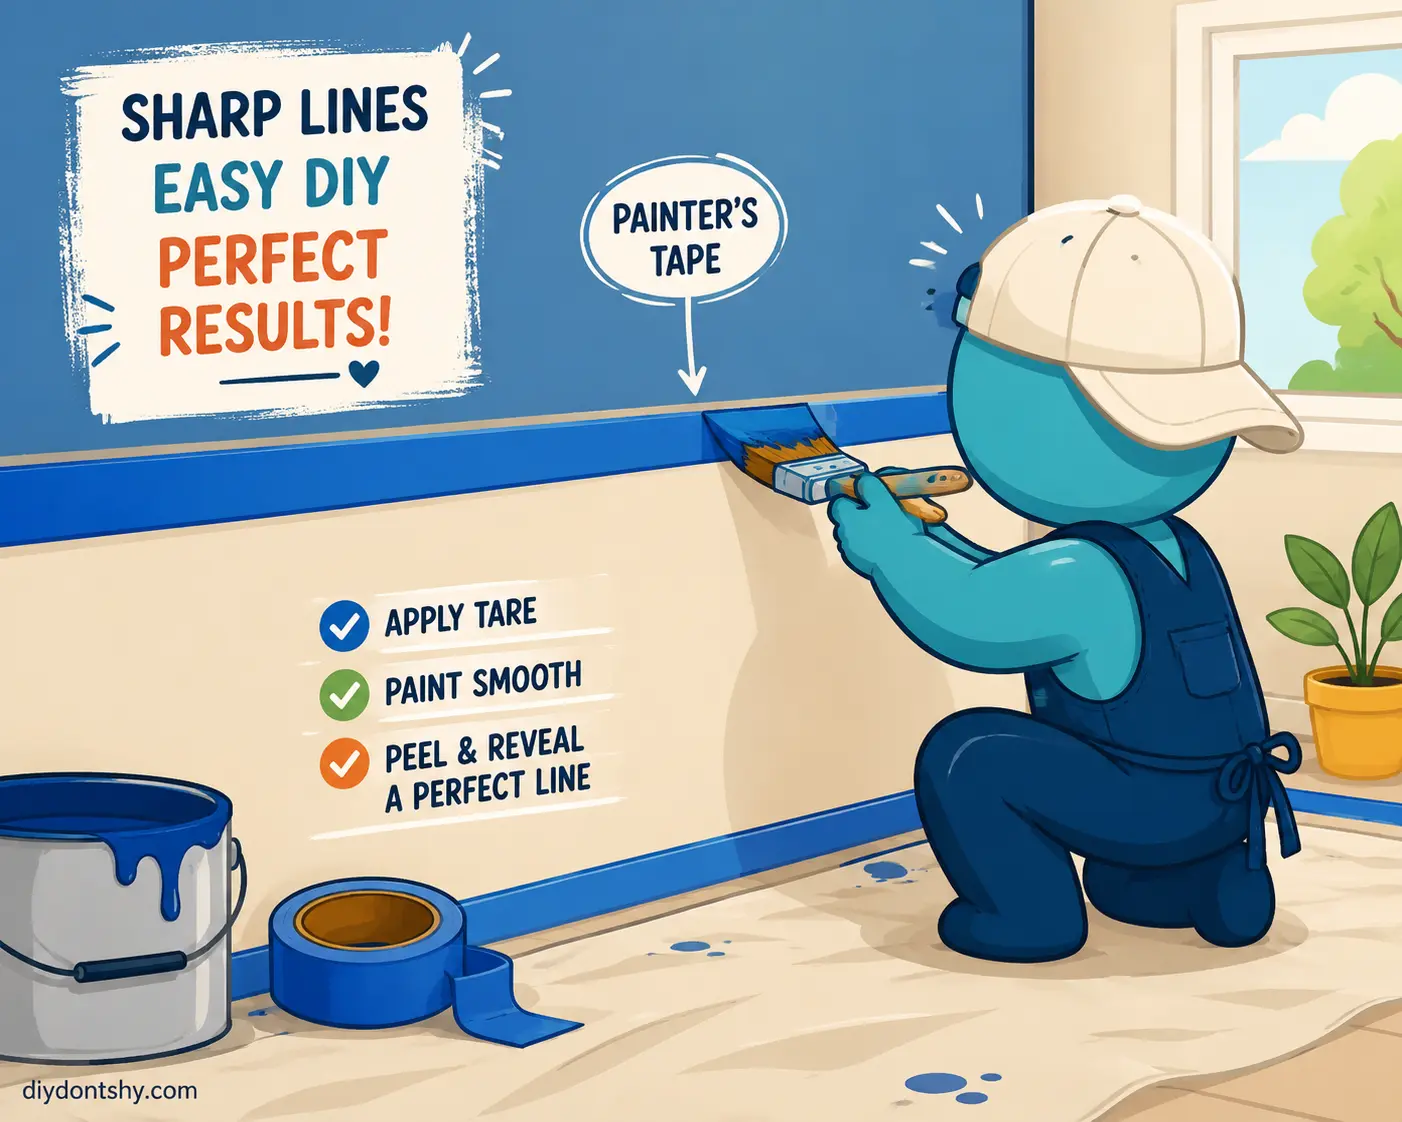
The dry brush method also helps prevent bleeding. Instead of loading the brush heavily with paint near taped edges, use very light initial strokes with minimal paint. Thick wet paint is far more likely to seep under the tape edge than thin controlled coats.
Professional painters often build color gradually near tape lines instead of flooding the area immediately. Think of it like watering a plant slowly rather than dumping an entire bucket at once. Controlled paint application keeps the edge crisp and clean.
Patience matters here. Rushing usually creates the exact imperfections the tape was supposed to prevent.
Protecting Trim, Ceilings, and Corners Efficiently
Trim, ceilings, and corners are where most paint disasters happen. These tight transitions demand precision because even tiny mistakes become highly visible under room lighting. Clean edges around trim can make a room feel luxurious, while messy borders instantly make fresh paint look amateurish.
Baseboards should be taped with wide strips that slightly overlap onto the floor if possible. This protects against roller splatter while also creating a visual guide for straight painting. Crown molding deserves similar attention because uneven ceiling lines are surprisingly noticeable once paint dries.
Corners present a unique challenge because tape naturally wants to wrinkle or lift in tight angles. The best approach is using shorter tape segments around sharp turns instead of forcing one long piece to bend unnaturally. Overlapping small sections creates smoother adhesion and minimizes gaps.
Many professionals also use wider tape near ceilings because rollers naturally drift upward during painting. A broader protective barrier catches accidental brush contact and paint mist more effectively than narrow strips. According to painter testing guides, tape widths between 1.41 and 1.88 inches are among the most versatile sizes for trim and molding protection.
Another efficient method involves combining painter’s tape with lightweight plastic sheeting or rosin paper for larger protected areas. This is especially useful when painting ceilings or spraying paint because overspray travels farther than most homeowners expect.
Efficiency matters because tedious prep work can quickly become exhausting. Organizing tools beforehand, pre-cutting tape sections, and working systematically around the room helps maintain momentum without sacrificing accuracy.
How Long Tape Should Stay on the Wall
Timing is one of the most misunderstood parts of painter’s tape usage. Leave tape on too briefly and wet paint may smear during removal. Leave it too long and the adhesive may bond aggressively to the wall surface, increasing the risk of peeling paint or leaving sticky residue behind.
Most painter’s tape manufacturers provide recommended removal windows based on adhesive strength. Some delicate tapes can remain safely in place for weeks, while stronger exterior tapes may need removal within a few days. Multi-surface tapes often recommend removal within one to two weeks for optimal performance.
The actual timing also depends heavily on the paint condition. Many painters prefer removing tape while the paint is slightly tacky rather than fully hardened. This reduces the chance of dried paint bridging across the tape edge and tearing during removal.
There is ongoing debate among painters about whether wet or dry removal works best. Some professionals remove tape almost immediately after painting, while others wait several hours for partial drying. Community discussions show both methods can work depending on paint thickness, humidity, and tape type.
Humidity and temperature also affect removal timing. Paint cures more slowly in humid conditions, meaning tape may need earlier removal to avoid bonding issues. In dry climates, paint skins over faster and may require scoring before tape removal.
The safest general rule is this: do not leave painter’s tape sitting unnecessarily long after the paint job is complete. Tape is a temporary tool, not a permanent fixture.
Removing Tape Without Peeling Fresh Paint
Tape removal feels satisfying when done correctly and heartbreaking when done wrong. Peeling away fresh paint along with the tape can instantly ruin hours of effort. This problem is surprisingly common, especially when painting over poorly adhered old paint or recently primed surfaces.
The best removal method involves pulling the tape slowly at roughly a 45-degree angle away from the painted edge. Fast aggressive pulling increases tension on the paint film and raises the likelihood of tearing. Professional painters often describe tape removal as a slow controlled motion rather than a ripping action.
If the paint has dried completely, lightly scoring along the tape edge with a utility knife helps break the paint bond cleanly. This technique prevents large paint sections from lifting as the tape separates from the wall. Experts frequently recommend scoring whenever paint feels thick, rubbery, or fully cured.
Another important factor is wall condition. Tape sometimes pulls away underlying paint layers because the original paint never bonded properly in the first place. DIY forums are filled with examples where painter’s tape exposed hidden adhesion problems beneath seemingly solid walls.
Temperature can also affect removal. Cold paint becomes more brittle, increasing the chance of cracking during tape removal. Slightly warming the room before peeling tape can make the process smoother and safer.
The key is patience. Removing tape should feel controlled and deliberate rather than rushed.
Common Taping Mistakes That Ruin Clean Edges
Most bad paint lines trace back to a handful of surprisingly common mistakes. The first is using cheap masking tape instead of genuine painter’s tape. Standard masking tape often leaves residue, tears unevenly, and lacks the specialized edge technology designed to block paint seepage.
Another major mistake is stretching the tape too tightly during application. Tape naturally shrinks slightly after stretching, which can lift the edges and create microscopic channels underneath. Paint immediately finds those openings like water leaking through cracked pavement.
Dirty walls are another silent problem. Even premium tape struggles to adhere properly on dusty or greasy surfaces. Skipping cleaning steps almost guarantees weaker adhesion and higher bleed risk.
Applying thick coats of paint near the tape edge also creates problems. Heavy paint buildup forms a skin that bridges between the wall and tape. When removed, the dried paint may peel away in jagged strips instead of forming crisp lines.
Poor timing causes countless issues as well. Tape left on too long can harden against the wall surface, while removing it too early may smear wet paint. The sweet spot depends on paint type, humidity, and tape quality.
Online DIY communities consistently mention improper edge sealing as one of the biggest reasons tape fails. Many users discover that even expensive tapes bleed if the edges are not firmly pressed down before painting begins.
Avoiding these mistakes does not require professional training. It simply requires patience and attention to detail.
Small Prep Steps That Improve the Entire Paint Job
Tiny preparation habits often separate average paint jobs from exceptional ones. These details may seem insignificant individually, but together they create smoother workflows, cleaner edges, and fewer frustrations during painting.
Room temperature matters more than many people realize. Paint and adhesive both perform best within moderate temperature ranges. Extremely cold rooms make adhesives brittle, while excessive heat softens tape glue and increases residue risk. Maintaining stable indoor temperatures helps both paint and tape behave predictably.
Humidity also plays a major role. High moisture levels slow paint curing and weaken tape adhesion. Running fans or dehumidifiers in humid spaces can improve both drying consistency and tape performance.
Lighting is another underrated factor. Good lighting reveals tape gaps, lifted edges, and paint drips before they become permanent problems. Many professional painters use portable work lights specifically to inspect taped edges before painting begins.
Organizing tools beforehand saves enormous time later. Keep brushes, rollers, extension poles, trays, and extra tape within easy reach. Constantly stopping to search for supplies disrupts momentum and increases the chance of sloppy work.
Some painters even lightly de-tack tape by pressing it against clean fabric before using it on delicate surfaces. This reduces adhesive strength slightly and lowers the risk of paint peeling during removal.
Professional-quality results rarely come from one magical technique. They come from dozens of small thoughtful decisions layered together throughout the process.
Conclusion
Learning how to tape a wall for painting is really about learning how to control the details. Clean lines, protected trim, sharp corners, and smooth edges all begin long before the paint roller touches the wall. Choosing the right painter’s tape for the surface, cleaning walls thoroughly, sealing edges carefully, and removing tape correctly transforms an ordinary DIY paint job into something that genuinely looks professional.
The difference between frustrating touch-ups and flawless results often comes down to patience during preparation. Tape is not just a protective strip of paper. It is a precision tool that shapes the final appearance of the entire room.
When used correctly, painter’s tape creates the kind of crisp visual contrast that makes walls, ceilings, and trim feel intentionally designed rather than casually painted. That extra attention to detail is what turns a freshly painted room into a finished space people immediately notice and admire.
FAQs
1. Can I use regular masking tape instead of painter’s tape?
Regular masking tape is usually not recommended for wall painting because it often leaves adhesive residue and may tear paint during removal. Painter’s tape is specifically designed for clean removal and sharper paint lines.
2. How long should I wait before taping over fresh paint?
Most professionals recommend waiting at least 24 hours before applying delicate-surface painter’s tape over newly painted walls. Some paints may require longer curing times depending on humidity and temperature.
3. Why does paint bleed under painter’s tape?
Paint bleeding usually happens because the tape edges were not sealed properly, the wall surface was dusty, or too much paint was applied near the tape edge.
4. Should painter’s tape be removed while the paint is wet?
Many painters remove tape when the paint is slightly tacky rather than fully dry. This can help reduce tearing and create cleaner edges, although timing varies depending on paint type and humidity.
5. What is the best painter’s tape for textured walls?
High-adhesion tapes designed for rough or textured surfaces generally work best because they conform more tightly to uneven areas and reduce paint seepage.

Ahmed Elhor is an Egyptian SEO specialist, pharmacist, and copywriter based in Canada. He combines strong research skills with search focused writing to create clear, helpful content that answers real questions and ranks effectively in search engines.
With a passion for practical DIY ideas, homemade solutions, and creative projects, Ahmed focuses on producing easy to follow guides that are simple, affordable, and useful for everyday life. His work blends creativity with structure, helping readers turn basic materials into meaningful results.


