Why Is Your Crochet Circle Not Flat During Stitching
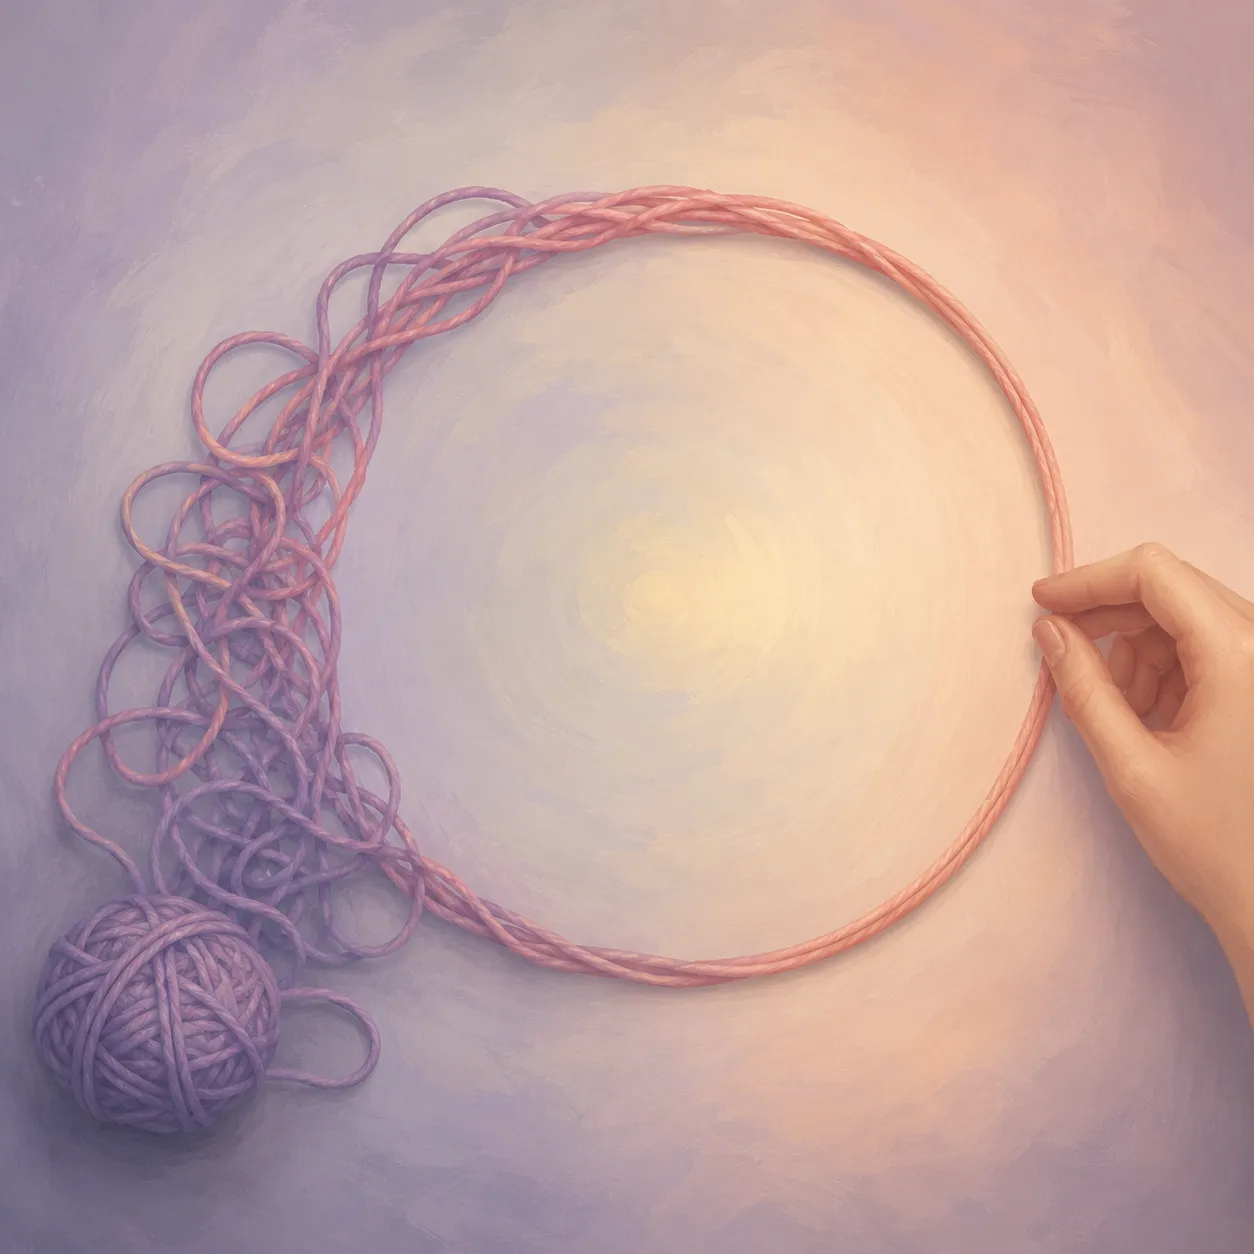
Crocheting a circle sounds simple until your “perfect” coaster suddenly looks like a taco shell or a potato chip. One minute everything appears smooth, and the next your project starts curling upward, ruffling like lettuce, or forming mysterious waves around the edges. Almost every crocheter faces this problem, whether they are making hats, rugs, amigurumi, bags, or mandalas.
The truth is that crochet circles follow a kind of hidden geometry. Tiny mistakes in stitch count, tension, yarn choice, or increase placement can completely change the shape of your work. What makes the issue frustrating is that even experienced crocheters sometimes struggle to diagnose the real cause. A circle that curls inward often has a completely different problem from a circle that ripples outward, yet both can look equally confusing at first glance.
Recent crochet tutorials and troubleshooting guides consistently point to one major principle: stitch density controls shape. If you add too many stitches, the fabric expands faster than the circumference can support, causing ruffles. If you add too few stitches, the fabric pulls inward and cups.
This guide breaks down exactly why crochet circles stop lying flat, how stitch math affects your project, why tension matters more than most people realize, and the quickest ways to rescue a stubborn circle before you frog the entire thing.
Understanding the Basic Geometry of Crochet Circles
Why Flat Circles Depend on Balanced Expansion
A crochet circle behaves a lot like a growing road around a city. Every new round increases the circumference, which means the fabric needs additional stitches to stretch outward evenly. If the number of stitches doesn’t grow at the right pace, the shape begins to distort. This is why crochet circles are surprisingly mathematical despite feeling creative and artistic.
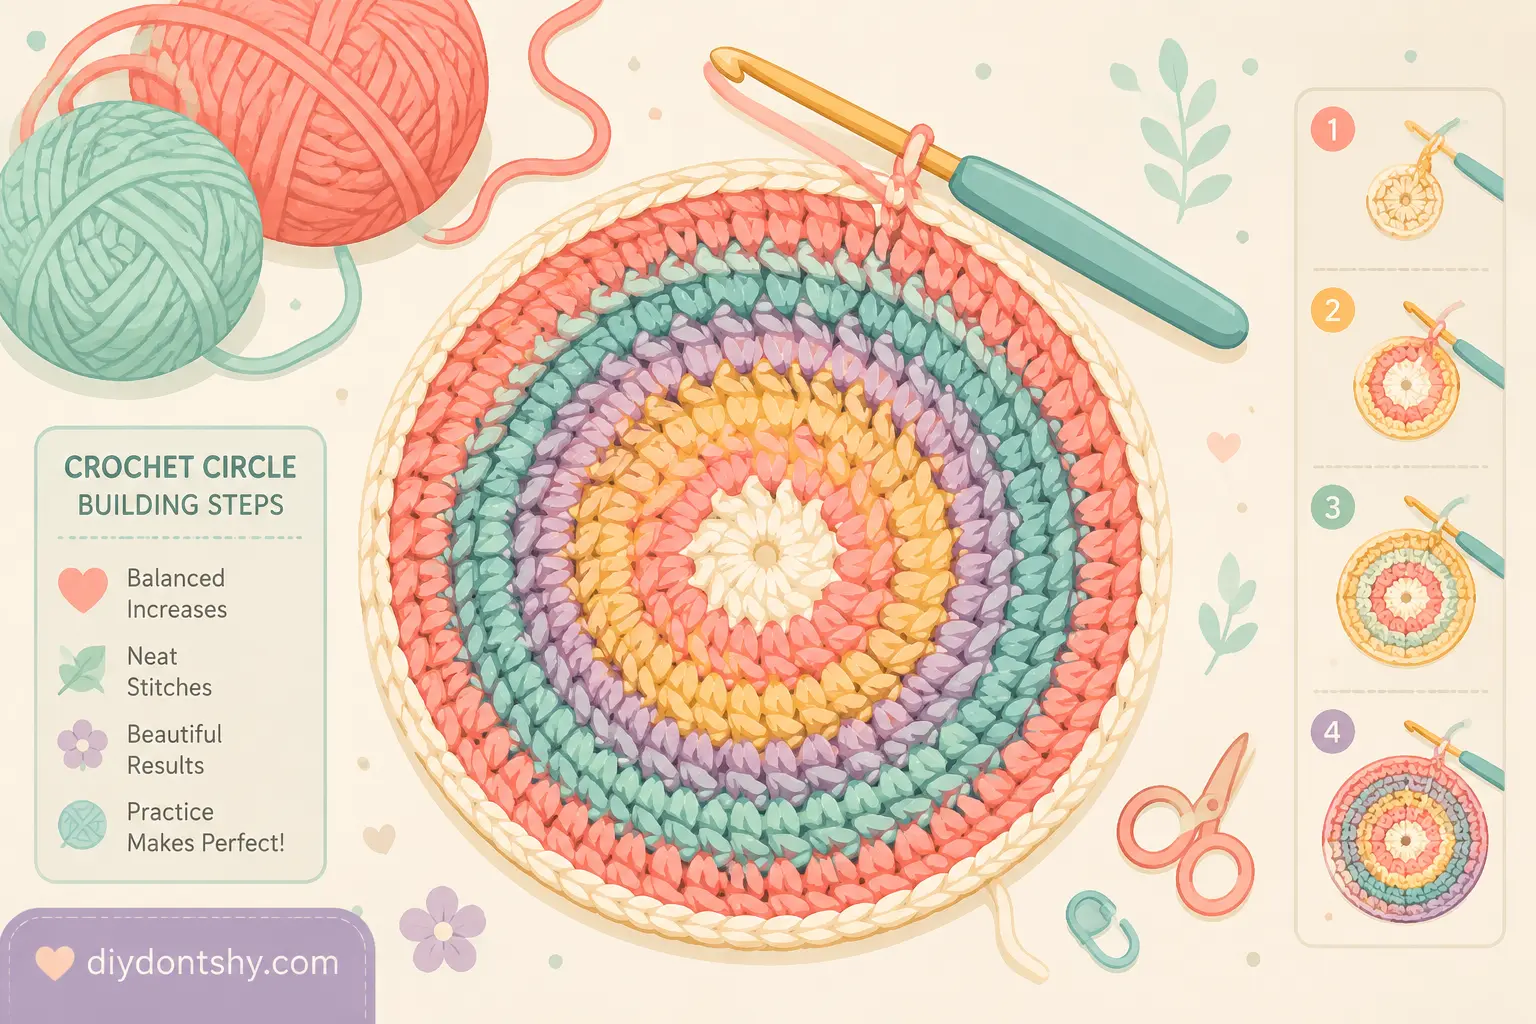
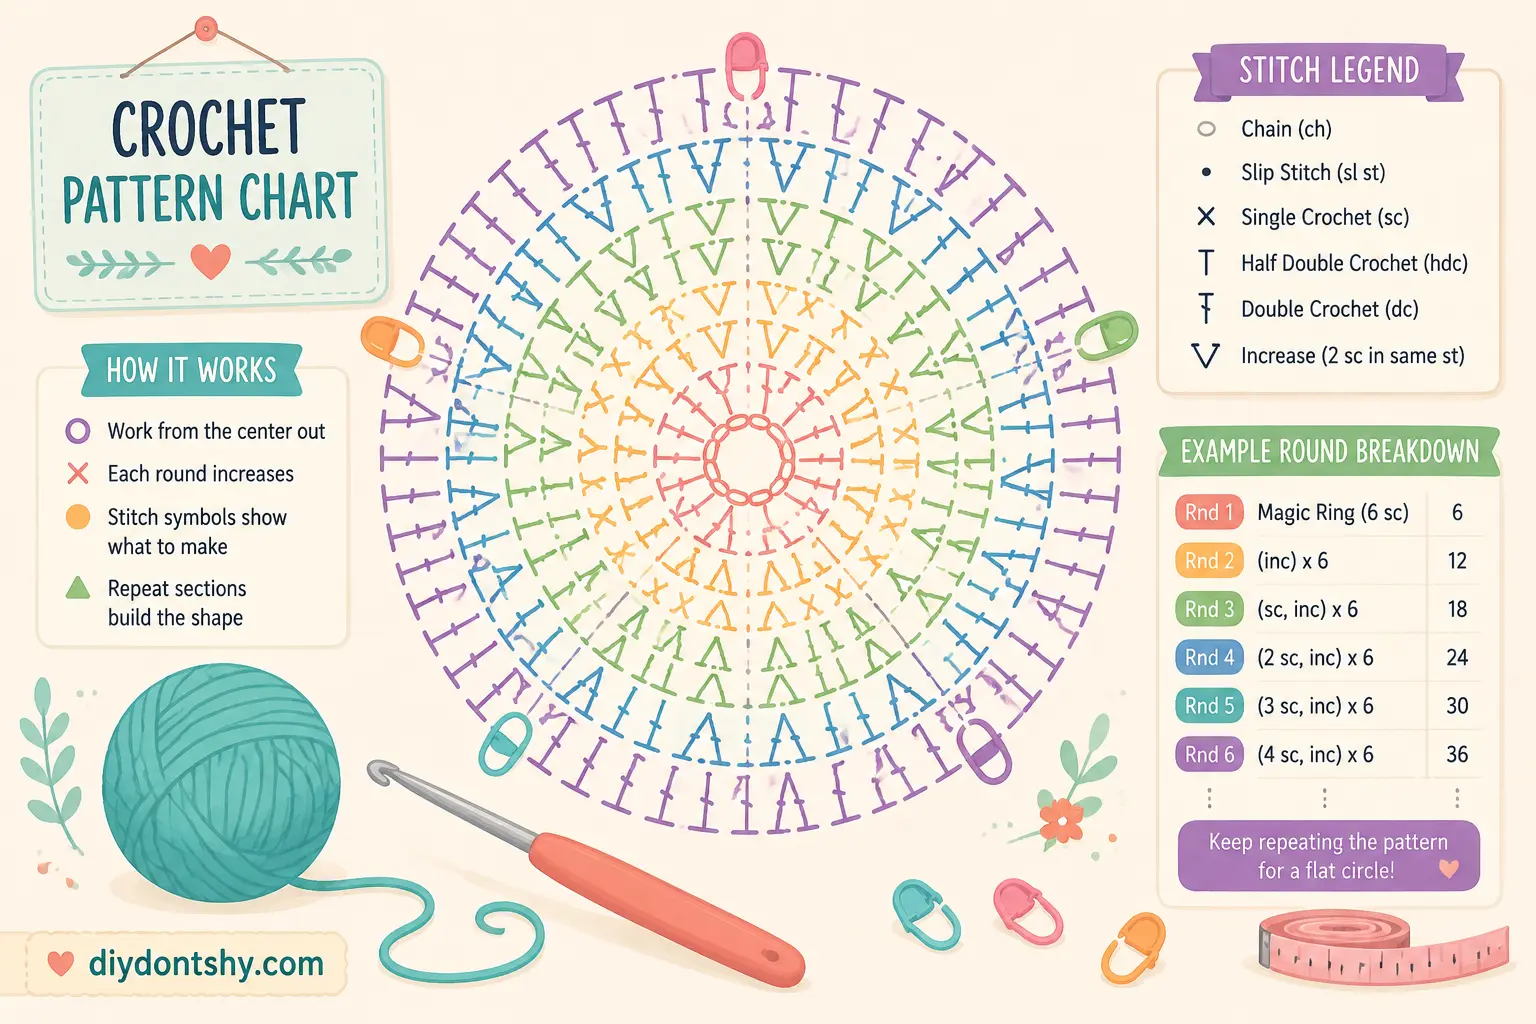
Most flat circles follow a predictable increase formula. For example, single crochet circles commonly begin with six stitches in a magic ring, then increase by six stitches every round. Crochet experts repeatedly emphasize that balanced increases are the secret to keeping a circle flat.
Think of your circle like pizza dough. If you try stretching the outer edge without enough material, it pulls inward and forms a bowl. But if you add too much material too quickly, the dough bunches and wrinkles. Crochet fabric behaves the same way. Every stitch adds structural pressure to the shape.
Many beginners assume their technique is terrible when circles curl or wave. In reality, even a tiny difference of a few stitches per round can completely alter the geometry. One skipped increase might create cupping, while one accidental extra increase repeated every round may create dramatic ruffles.
The important thing to understand is this: your crochet circle is not random. The shape is always reacting logically to the number of stitches you create and how tightly those stitches interact with each other.
The Difference Between Curling and Ruffling
One of the biggest mistakes crocheters make is confusing curling with ruffling. These are actually opposite problems, which means they require opposite solutions. Understanding the distinction immediately makes troubleshooting easier.
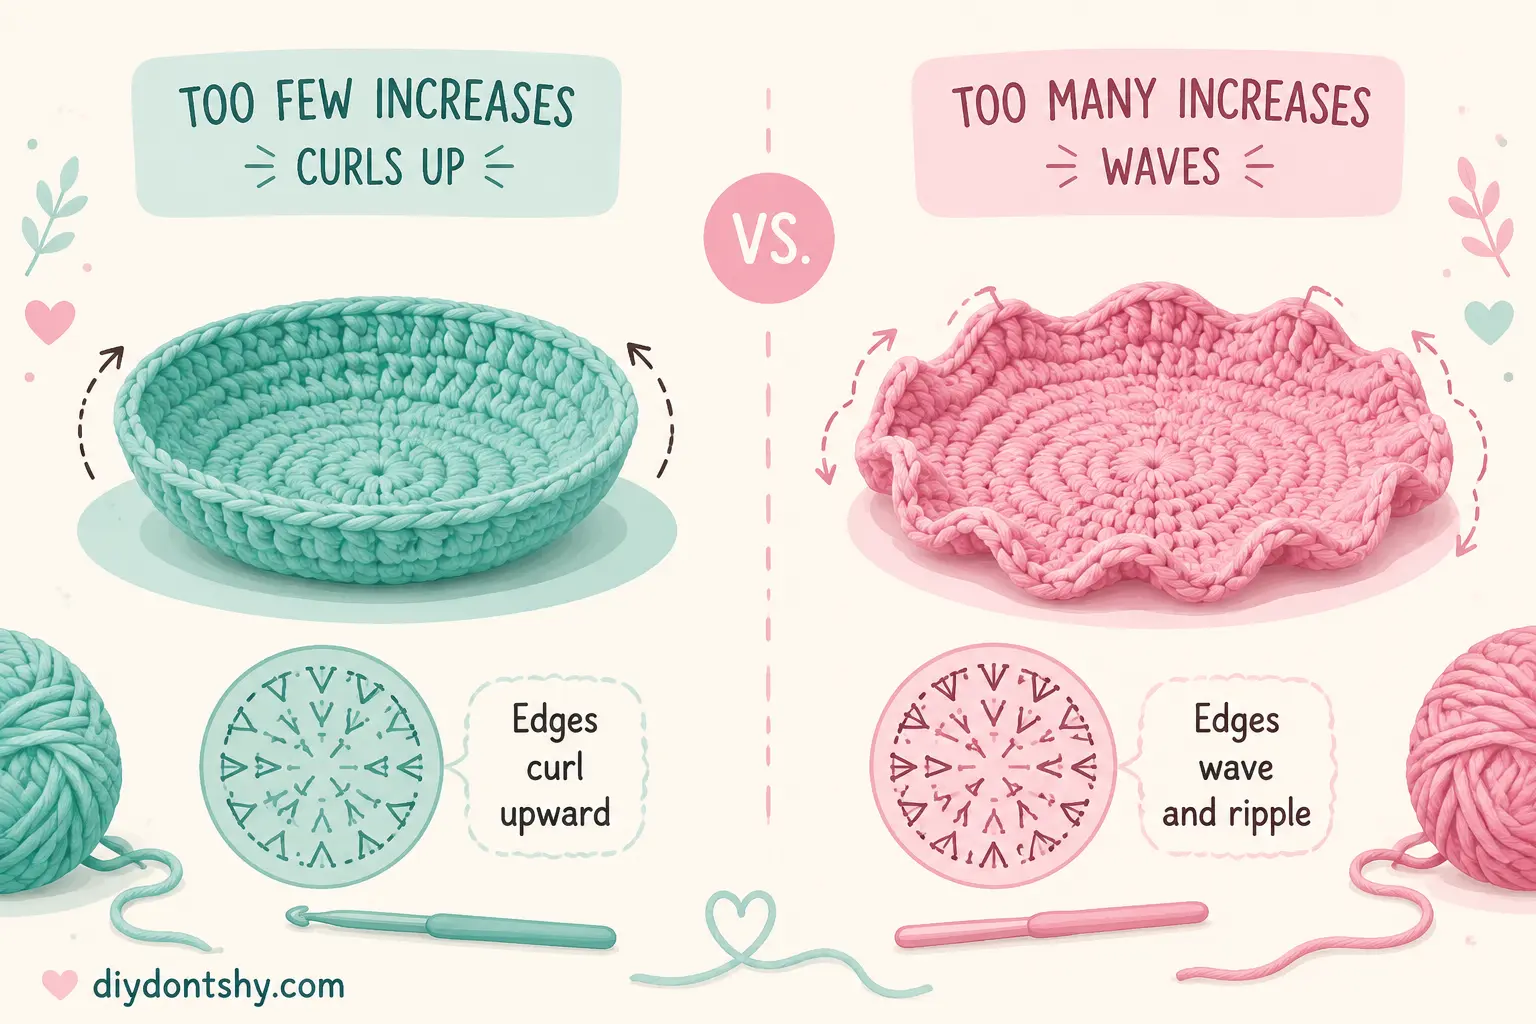
A curling or cupping circle bends upward like a bowl. This usually means the fabric does not have enough stitches to expand properly. The stitches are pulling tightly against each other, forcing the project inward. Crochet troubleshooting guides consistently identify insufficient increases as the main cause of cupping.
A ruffling or wavy circle spreads outward in ripples. This happens when there are too many stitches for the circumference. The extra fabric has nowhere to go, so it creates folds and waves instead. Reddit crochet communities regularly describe ruffling as a symptom of excessive increases.
Here is a quick comparison:
| Problem | Main Cause | Visual Result |
|---|---|---|
| Curling/Cupping | Too few increases | Bowl shape |
| Ruffling/Waving | Too many increases | Ripples and waves |
| Twisting | Uneven tension | Spiral distortion |
| Buckling | Inconsistent stitch placement | Uneven surface |
Learning to identify the specific symptom is half the battle. Once you know whether your circle lacks stitches or has too many, the fix becomes much more straightforward.
The Real Reason Crochet Circles Start Curling
Too Few Increases Create Cupping
The most common reason a crochet circle curls upward is brutally simple: the circle needs more stitches. That’s it. Your fabric is trying to expand, but there isn’t enough stitch volume to support the wider circumference.
Imagine wrapping a small napkin around a basketball. Without enough material, it naturally curves inward. Crochet circles react similarly. Each round must grow proportionally larger than the previous one.
Modern crochet tutorials repeatedly emphasize the importance of increase formulas. Single crochet often requires six increases per round, half-double crochet may need eight to ten, and double crochet frequently needs ten to twelve.
Beginners often accidentally skip increases because they lose count or misunderstand repeat instructions. Sometimes they place increases too close together or forget one entirely. The result may not appear immediately. In fact, many circles look fine for the first few rounds before suddenly curling dramatically.
There is also a hidden issue many crocheters overlook: stitch height. Taller stitches naturally cover more horizontal space. That means double crochet circles require more increases than single crochet circles. Using the wrong formula for the stitch type can instantly distort your project.
The frustrating part is that curling can look deceptively “normal” at first. Some crocheters continue several rounds hoping the shape will flatten later, only to realize they’ve accidentally made a bowl instead of a coaster. Catching the issue early saves enormous time and frustration.
Tight Tension Pulls the Fabric Inward
Even when your stitch count is technically correct, tight tension can still make a circle curl. This is why two crocheters following the exact same pattern can produce completely different results.
Tight stitches compress the fabric. They reduce flexibility and shrink the effective width of each stitch. As a result, the circle behaves as though it has fewer stitches than intended. Crochet troubleshooting experts consistently identify tight tension as a major cause of curling and cupping.
This problem is especially common among beginners because many hold the yarn too tightly while learning control. Ironically, trying harder often makes the problem worse. The tighter the stitches become, the more aggressively the fabric pulls inward.
A hook that is too small creates the same effect. Smaller hooks produce denser stitches, increasing structural tension across the circle. This is why switching to a larger hook often immediately improves curling problems.
You can usually recognize tension-related curling because the fabric feels stiff instead of flexible. A healthy flat circle should drape slightly and rest naturally against a surface. If it feels rigid like cardboard, tension is likely contributing to the issue.
Why Crochet Circles Start Ruffling or Waving
Too Many Increases Distort the Shape
Ruffling is the opposite side of the crochet equation. Instead of pulling inward, the fabric spreads outward faster than the circumference can absorb. The excess stitches create ripples because the circle literally has too much material.
This often happens when crocheters misunderstand increase patterns. Many beginners assume “increase in every stitch” continues indefinitely, when most patterns gradually space increases farther apart each round. Reddit discussions frequently reveal this exact misunderstanding.
For example:
- Round 2: Increase in every stitch
- Round 3: Increase every second stitch
- Round 4: Increase every third stitch
If you continue increasing in every stitch beyond the intended round, the circle quickly turns into a ruffled spiral.
The tricky part is that mild ruffling sometimes disappears after blocking or further rounds. Experienced crocheters occasionally continue a few extra rows before deciding whether the issue is temporary or structural. Some projects intentionally use slight waves because the shape settles later.
Still, dramatic ripples usually indicate excessive stitch growth. The fix often involves reducing increases or switching to a smaller hook that tightens the fabric slightly.
Loose Tension Can Exaggerate Ripples
Loose crocheters face the opposite challenge from tight crocheters. Their stitches spread farther apart, making the fabric larger and more flexible. This can exaggerate ruffles, especially in patterns already close to the maximum increase threshold.
Loose tension creates airy fabric with extra drape. While this softness feels pleasant, it can also amplify geometric distortions. The extra movement allows ripples to become more visible instead of settling flat.
Some yarns magnify this effect dramatically. Soft acrylic and slippery fibers tend to relax and stretch outward, making waves more pronounced. Cotton, by contrast, usually holds structure more firmly.
Crocheters sometimes blame patterns when the real issue is the relationship between their personal tension and the designer’s intended gauge. This is exactly why gauge swatches exist, even though many people skip them.
How Stitch Counts Control the Entire Shape
The Standard Increase Formula
The classic crochet circle formula is beautifully simple once you understand it. The circle increases by the same number of stitches every round as the number of stitches in the starting ring.
For example:
| Stitch Type | Typical Starting Count | Increase Per Round |
|---|---|---|
| Single Crochet | 6 | 6 |
| Half Double Crochet | 8–10 | 8–10 |
| Double Crochet | 10–12 | 10–12 |
This formula distributes expansion evenly across the growing circumference. Deviating too far from it changes the shape entirely.
What makes crochet fascinating is that these formulas behave almost like architecture. Every stitch contributes structural pressure. Too much pressure outward creates waves. Too little pressure inward creates cups.
Many advanced crocheters also stagger increases instead of stacking them directly on top of each other. Experts explain that staggered increases produce smoother circles and reduce visible lines or corners.
Why Different Stitches Need Different Counts
Not all crochet stitches occupy the same physical space. Single crochet is short and compact. Double crochet is taller and wider. Because of this, each stitch type expands differently around a circle.
This is why using a single crochet increase formula for double crochet almost always creates curling. The taller stitches require more expansion room to stay flat.
Here’s a useful way to visualize it:
- Single crochet behaves like tightly packed bricks
- Double crochet behaves like taller columns
- Treble crochet spreads even wider and requires larger spacing
Ignoring stitch height is like building stairs with mismatched step sizes. Eventually, the geometry stops working.
Tension Problems That Change the Structure of a Circle
Tight Crocheters vs Loose Crocheters
Every crocheter develops a natural tension style. Some pull yarn tightly, creating dense compact stitches. Others crochet loosely, creating airy flexible fabric. Neither style is inherently wrong, but both affect circle behavior dramatically.
Tight crocheters often struggle with:
- Curling
- Stiff fabric
- Smaller finished projects
- Difficulty inserting hooks
Loose crocheters frequently encounter:
- Ruffling
- Stretching
- Uneven edges
- Gaps between stitches
The important thing is recognizing your natural tendency. Once you understand your tension habits, adjusting becomes easier.
Hook Size and Yarn Weight Interactions
Hook size and yarn weight behave like dance partners. A bulky yarn paired with a tiny hook creates compressed dense fabric. Thin yarn paired with a large hook creates loose floppy fabric.
Recent crochet discussions show that bulky yarn is especially notorious for curling problems because the stitches consume more physical space than standard formulas anticipate.
This explains why simply following a pattern isn’t always enough. Your yarn brand, fiber content, and hook size can all subtly change the geometry of the project.
Common Increase Mistakes Hidden in Simple Patterns
Accidentally Adding Extra Stitches
One accidental increase per round might not sound serious, but crochet circles amplify errors rapidly. By round ten, tiny mistakes become obvious distortions.
Extra stitches often happen because crocheters:
- Work into the wrong stitch
- Crochet into slip stitches
- Add stitches at joins
- Miscount repeats
The sneakiest issue is invisible increases hidden near joins or turning chains. These tiny errors slowly create ripples without the crocheter noticing immediately.
Misreading Repeat Instructions
Patterns like:
“1 sc, inc around”
often confuse beginners. Some interpret this as “increase every stitch” instead of alternating stitches properly.
Crochet communities frequently identify pattern interpretation errors as the hidden source of distorted circles.
Reading patterns slowly and marking rounds carefully dramatically reduces these problems.
Yarn and Hook Combinations That Create Uneven Results
Bulky Yarn Challenges
Bulky yarn behaves differently from standard worsted yarn. The stitches occupy more surface area, meaning traditional formulas sometimes need adjustments.
This is why some crocheters experience curling despite following patterns perfectly. The geometry changes when thick yarn compresses tightly against itself.
Chenille yarn, blanket yarn, and super bulky fibers are particularly difficult because they hide stitches visually, making counting harder.
Cotton vs Acrylic Behavior
Fiber content matters more than many people realize.
| Yarn Type | Behavior |
|---|---|
| Cotton | Structured and firm |
| Acrylic | Stretchy and flexible |
| Wool | Elastic and forgiving |
| Chenille | Soft but difficult to control |
Cotton often reveals mistakes immediately because it lacks stretch. Acrylic may temporarily hide issues until the project relaxes later.
Quick Fixes for Crochet Circles That Won’t Lay Flat
Blocking and Reshaping Techniques
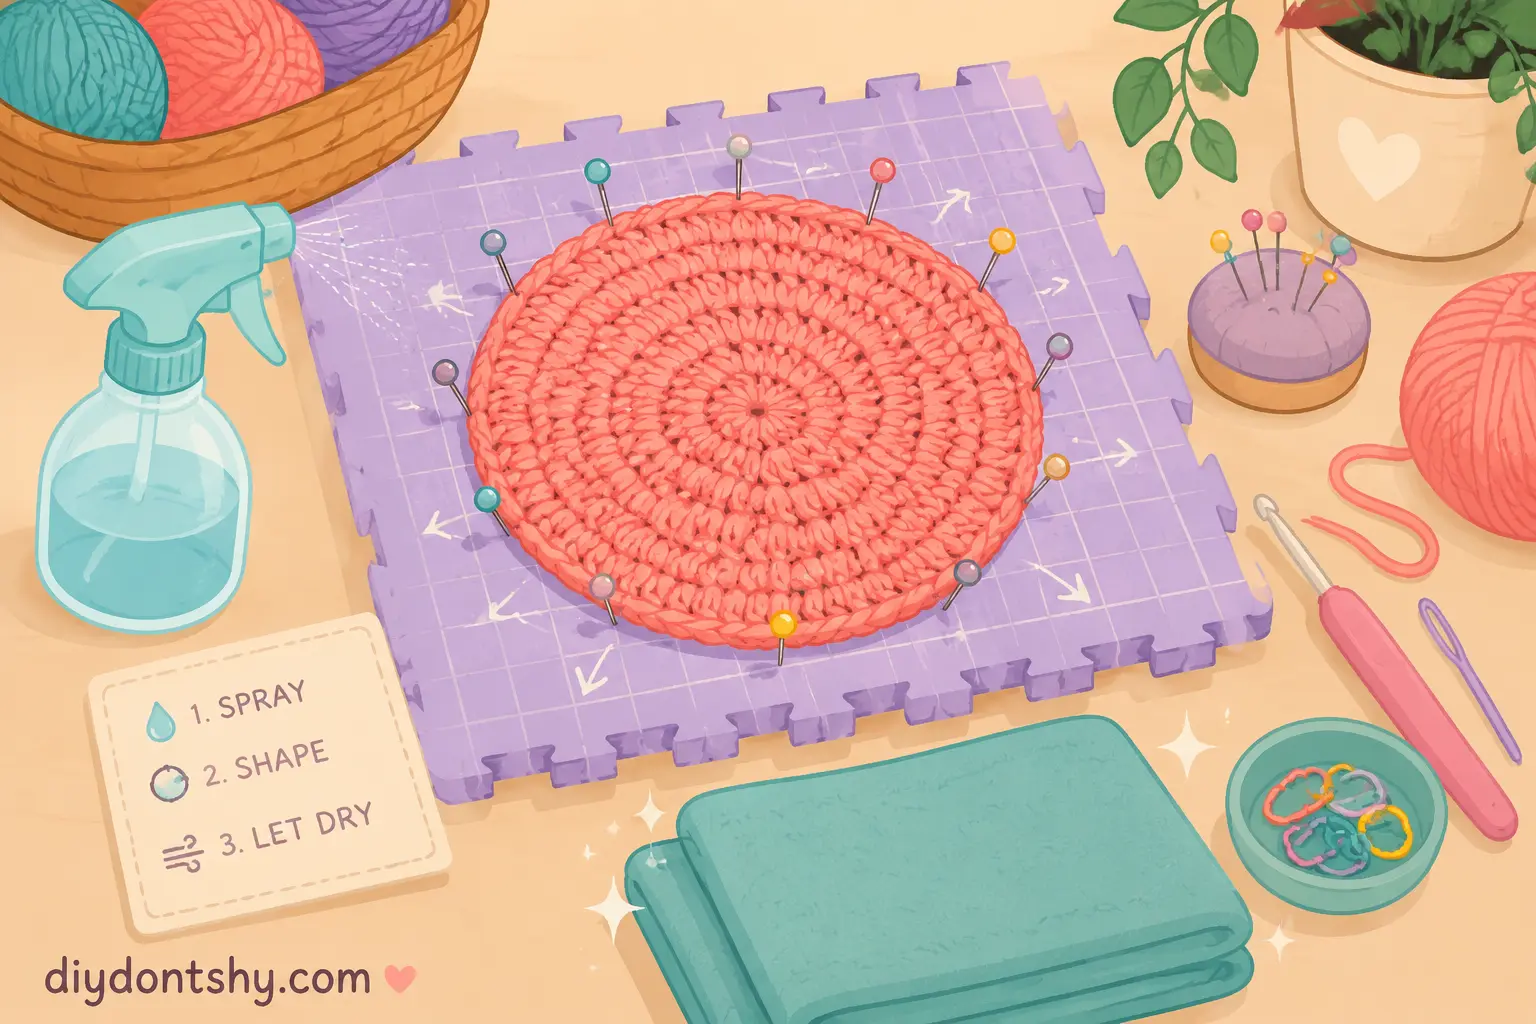
Blocking can rescue mild distortions surprisingly well. Wet blocking relaxes fibers and encourages the circle to settle evenly.
Popular methods include:
- Wet blocking
- Steam blocking
- Pinning flat overnight
- Gentle stretching
Blocking works best for slight ripples rather than severe geometric errors.
Adjusting Hook Sizes Mid-Project
Sometimes changing hook size fixes problems instantly:
- Larger hook = reduces curling
- Smaller hook = reduces ruffling
Experienced crocheters frequently adjust hooks rather than restarting entire projects.
Tips for Keeping Future Crochet Projects Even
Counting Strategies That Prevent Problems
Counting stitches sounds boring until it saves hours of unraveling. Smart crocheters use:
- Stitch markers
- Row counters
- Written notes
- Progress photos
These tools catch problems early before the shape becomes impossible to fix.
Why Experienced Crocheters Swatch First
Swatching reveals tension issues before the real project begins. It tests:
- Yarn behavior
- Hook compatibility
- Stitch density
- Fabric drape
Skipping swatches is like baking without measuring ingredients. Sometimes it works, but often it creates chaos.
Conclusion
Crochet circles stop lying flat for one simple reason: the geometry falls out of balance. Whether the problem appears as curling, cupping, rippling, or waving, the fabric is responding logically to stitch count, tension, yarn structure, and increase placement.
The encouraging part is that these issues are fixable. Once you understand the relationship between stitch density and expansion, crochet troubleshooting becomes much less mysterious. A curling circle usually needs more room to expand. A ruffling circle usually needs fewer stitches. Tight tension compresses fabric inward, while loose tension allows excess movement outward.
Crochet may feel artistic, but underneath the yarn sits a surprisingly precise system of structural math. Mastering that system transforms frustrating circles into smooth, professional-looking projects that lie flat naturally.
And honestly? Every crocheter develops this skill through trial and error. The difference between beginners and experienced crocheters is not perfection. It’s learning how to recognize problems early and understanding exactly why they happen.
FAQs
Why does my crochet circle curl even when my stitch count is correct?
Your tension may be too tight, or your hook may be too small for the yarn. Tight stitches compress the fabric and create inward pulling even with perfect stitch counts.
How do I stop my crochet circle from ruffling?
Reduce the number of increases or switch to a slightly smaller hook. Ruffling happens when the fabric expands faster than the circumference can support.
Can blocking fix a crochet circle that curls?
Blocking can help mild curling or rippling, especially with natural fibers. Severe cupping caused by incorrect stitch counts usually requires adjusting the pattern.
Why do bulky yarn crochet circles curl more often?
Bulky yarn creates denser stitches that consume more physical space. Standard increase formulas may need modification depending on the yarn thickness.
Should increases line up in a crochet circle?
Usually no. Staggered increases create smoother circles and prevent visible seams or corners.

Kareem Sallam is an Egyptian special writer based in Australia, with a strong interest in practical ideas and creative content that focuses on everyday solutions. He writes clear, engaging articles designed to be easy to follow and useful for a wide range of readers.
His work centers on DIY projects, handmade ideas, simple crafts, and home based creativity. Kareem aims to deliver content that is practical, inspiring, and accessible, helping readers turn simple materials into smart and enjoyable projects.