How to Make Valentine Mailbox
This project started at a kitchen table with a recycled cereal box and a roll of tape. The sides were uneven. The slot was wider than planned. Markers stained the table. The mailbox went to school the next day, held proudly with both hands. That moment inspired me to share projects that value creativity over neat edges.
Valentine mailboxes continue to be a favorite classroom craft across the USA. Every year, they show up on desks filled with cards, drawings, and folded notes. Kids enjoy making them. Parents appreciate the low cost. Teachers like the order they bring to Valentine exchanges. A handmade mailbox turns a simple card swap into a full activity.
This guide from DIYDONTSHY breaks down how to make a Valentine mailbox using cardboard or paper. You can create one for school, for home, or to prepare several designs to sell to other families.
Contents
What Makes A Valentine Mailbox Great For School And Selling
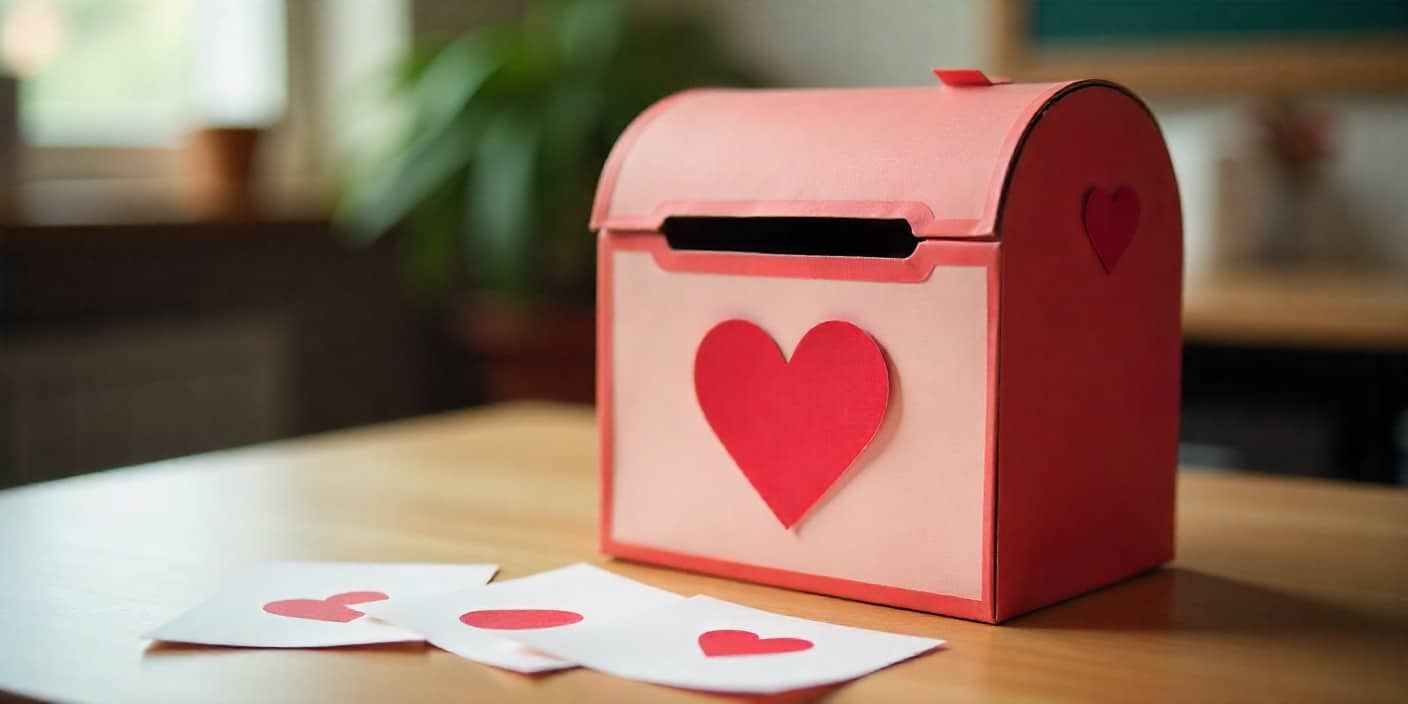
A good Valentine mailbox must stand upright. It must fit on a desk. It also needs a slot that allows cards to slide in without folding.
For selling purposes, clean shapes and clear themes help. Parents want something sturdy that looks cheerful and neat.
Simple designs with bold colors usually attract the most attention.
Materials And Tools Checklist
Cardboard Choices
Shoe boxes are a solid choice. They are sturdy and sized well for desks. Shipping boxes work too after trimming. Thinner cardboard from cereal boxes suits smaller projects and younger kids.
Use what you already have.
Paper And Construction Paper Options
Construction paper remains popular because it is easy to cut and glue. Scrapbook paper adds patterns and texture. Kraft paper creates a handmade look that many parents enjoy.
Each option works well depending on the final style.
Basic Tools You Already Own
Scissors, glue, tape, a ruler, and markers handle most tasks. Adults may use a craft knife for cleaner cuts. Always supervise cutting steps.
Safety matters.
Time Required And Skill Level
Most Valentine mailboxes take around one hour to finish. This project works well for beginners. Kids can decorate while adults cut and assemble.
Making several at once speeds things up if you plan to sell.
How To Make A Valentine Mailbox Out Of Cardboard
Building The Base
Start with a sturdy box. Tape all openings shut. Turn the box so one side faces forward like a mailbox door.
This forms the base.

Shaping The Mailbox Form
To copy the classic mailbox shape, curve the top. Cut a rounded piece from extra cardboard and tape it across the top. This step improves the look without adding cost.

Creating An Easy Slide In Message Slot
Measure the top center. Cut a horizontal slot about six inches wide. Smooth the edges with tape so cards slide in easily.
A wide slot prevents jams.

How To Make A Valentine Mailbox With Paper
Paper mailboxes work well in classrooms that prefer lightweight crafts.
Folding Methods That Work Well
Use thick paper or cardstock. Fold into a box shape and glue the seams carefully. Allow drying time before decorating.
Patience helps here.

Strengthening Paper Mailboxes
Add a thin cardboard insert inside the box. This keeps the structure stable while keeping weight low.
It makes a difference.
How To Make A Valentine Mailbox For School Use
School friendly mailboxes need smooth edges and steady bases. Avoid loose glitter or sharp pieces. Names should be bold and readable.
Check size rules before starting.
We suggest keeping decorations flat so boxes fit into cubbies or backpacks without trouble.
How To Make Valentine Mailboxes To Sell
Selling Valentine mailboxes works best with consistency. Use the same size and structure for each design. Limit theme choices to simplify production.
Popular themes include sports, animals, and classic heart designs.
Clear packaging helps buyers see the design quickly. A small care tag builds trust.
Valentine Box Ideas Kids Love
Kids respond to themes tied to their interests. A soccer mailbox with drawn goals. A dinosaur box with cardboard teeth around the slot. A rainbow design using bold stripes.
These designs stand out.
We see themed boxes gain more attention than plain ones every year.
Thoughtful Items To Put Inside The Mailbox
Inside items add excitement. Skip overused picks.
Choose items based on personality. A small notebook for writers. A bookmark for readers. A keychain shaped like a favorite animal. For parents, handwritten coupons for chores or quiet time work well. For friends, inside jokes written on cards feel personal.
Decoration Tips That Stand Out
- Start with one main color. Add contrast with shapes or stickers. Keep designs clean and readable.
- Too many decorations distract from the shape.
- Bold letters and simple drawings look good from across the room.
Mistakes To Avoid
Weak glue causes problems later. Allow drying time. Slots that are too narrow cause cards to bend. Heavy decorations may tip the box.
Keep designs stable.
Creative Themes And Variations
Try a mini post office style with drawn stamps. Use neutral paper for a farmhouse look. Stick to black, white, and red for a modern design.
Small changes keep the project fresh.
You May Also Want to Read: How to Make a Valentine Card at Home
Why DIYDONTSHY Is A Trusted DIY Resource
DIYDONTSHY focuses on clear instructions and budget friendly ideas. Projects come from hands on testing. Families return year after year because the ideas stay practical and easy to follow.
The Bottom Line
Making a Valentine mailbox brings creativity to life using simple supplies. Cardboard and paper turn into something kids proudly carry to school. These mailboxes work for classrooms, homes, or small selling projects.
If you want fresh ideas or guidance, DIYDONTSHY can help you find a better direction when you contact their team.
FAQs About Making Valentine Mailbox
Can young kids help with this project?
Yes. Decorating suits kids well. Adults should handle cutting.
What size works best for school desks?
Shoe box size fits most desks comfortably.
Can recycled materials be used?
Yes. Clean boxes and paper work well.
When should the mailbox be made before Valentine’s Day?
A few days ahead allows glue and paint to dry fully.
Where can more DIY ideas be found?
DIYDONTSHY shares crafting ideas throughout the year if you reach out to their team.

Kareem Sallam is an Egyptian special writer based in Australia, with a strong interest in practical ideas and creative content that focuses on everyday solutions. He writes clear, engaging articles designed to be easy to follow and useful for a wide range of readers.
His work centers on DIY projects, handmade ideas, simple crafts, and home based creativity. Kareem aims to deliver content that is practical, inspiring, and accessible, helping readers turn simple materials into smart and enjoyable projects.


