20+ Creative How to Make Paper Buttons
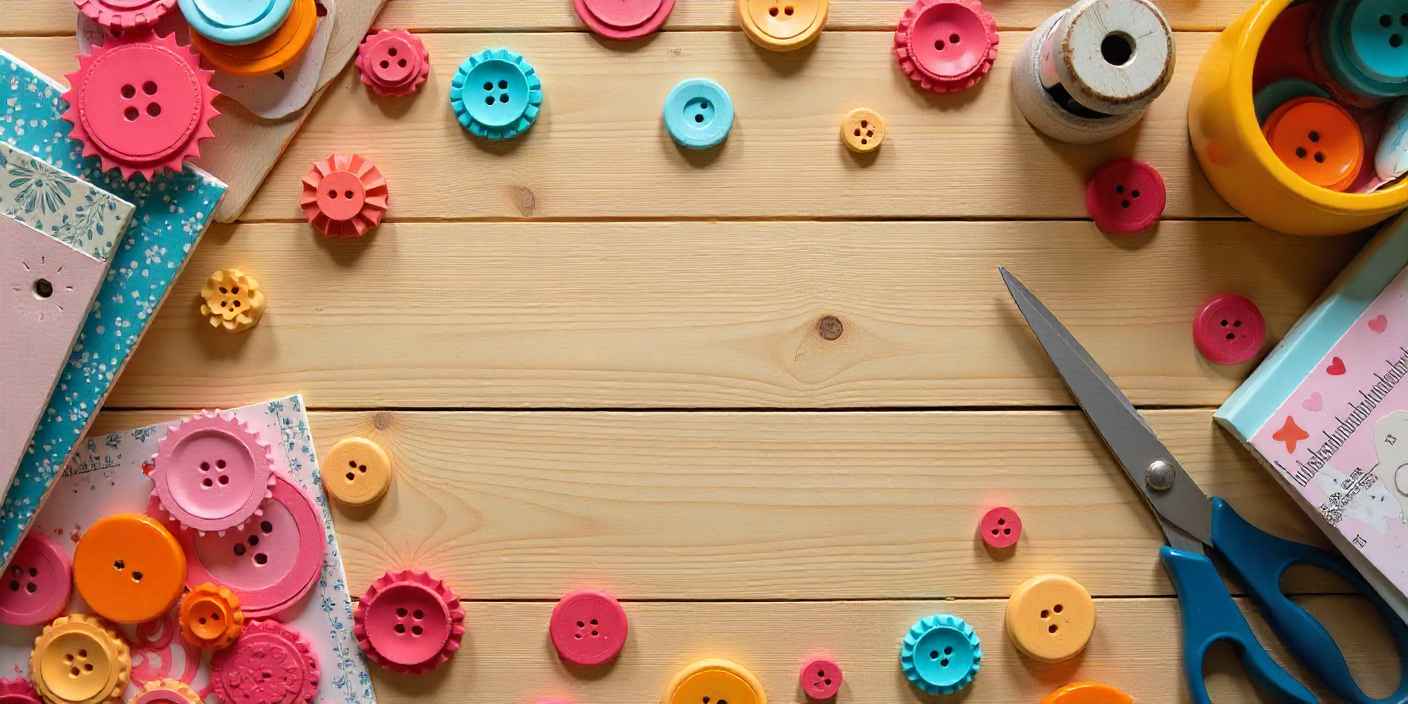
Paper buttons might look like small things, but they can actually be pretty useful. They decorate cards, gifts, and scrapbooks. They also make fun add-ons for costumes, magnets, or therapy crafts. Some people even hang large versions as party decorations.
DIYDONTSHY has covered this craft often, and for good reason. It’s simple, doesn’t need expensive supplies, and works for kids, adults, and older folks in creative sessions. In this article, I’ll take you through different methods to make paper buttons step by step.
Contents
Materials Needed
- Cardstock or heavy craft paper
- Decorative paper like patterned origami sheets
- Scissors or a craft knife
- Hole punch or an awl
- Needle and thread or yarn
- Double-sided tape or craft adhesive
- Clear sealer (optional)
- Brads, magnets, or safety pins
- Compass, ruler, pencil, or any round object to trace circles
Safety And Accessibility Tips
Crafts are meant to be fun, not stressful. For kids, stick with pre-cut circles and adhesive sticks. This saves time and avoids risky tools.
Seniors in therapy sessions may need bigger templates, high-contrast colors, or larger holes. Adaptive scissors also help a lot. It’s always best to set up the table with everything in reach. DIYDONTSHY recommends preparing materials before the session starts so no one loses patience waiting.
Basic Paper Button Quick Method

If you’re after something easy, this is it. You’ll have a button ready in just a few minutes.
Step By Step For The Basic Button
- Trace two circles on sturdy paper.
- Cut both out neatly.
- Mark two or four holes in the center area.
- Punch holes carefully. You can reinforce them by adding small rings cut from extra paper.
- If you’re using adhesive, glue the two circles together and line up the holes. After drying, stitch through with thread.
- Without adhesive, just place them together and stitch straight through both.
- Add a coat of clear tape or a sealer if you want it tougher.
These simple buttons are nice for crafts like cards, bookmarks, or small decorative pins.
How To Make Paper Buttons Without Adhesive
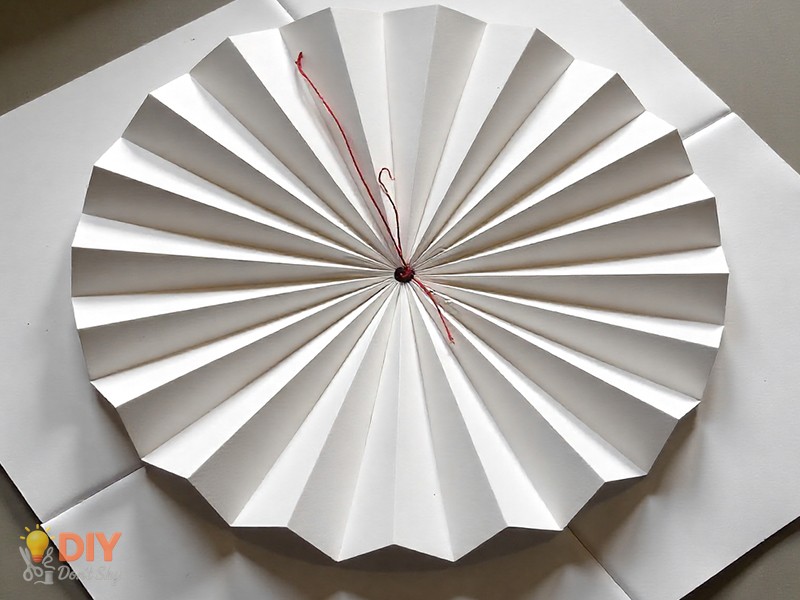
No glue around? No problem. You can stitch a button without using any adhesive at all.
No Adhesive Step By Step
- Cut a square of paper. About 2.5 times the size you want the button to be.
- Fold it into an accordion. Then fold the ends inward so it forms a circular rosette.
- Push a threaded needle through the center. Pull tight. Wrap around the folds once or twice.
- Tie a knot at the back. Leave a little tail if you’d like to sew it onto fabric later.
- For a cleaner front, cover the middle with a paper cap. Secure it with a few stitches.
The finished button looks like a pleated flower. It’s strong enough to use on bags or cards.
How To Make Origami Paper Buttons (Step By Step)
- Start with a square sheet.
- Fold diagonally both ways, then fold all corners to the center.
- Repeat the corner folds for more layers.
- Shape the folds outward to make a slightly rounded circle.
- Punch two or four small holes in the center, then stitch through. Or insert a brad.
These buttons look geometric and stylish. They fit scrapbooking, handmade jewelry, or gift wrapping.
How To Make A Big Paper Button
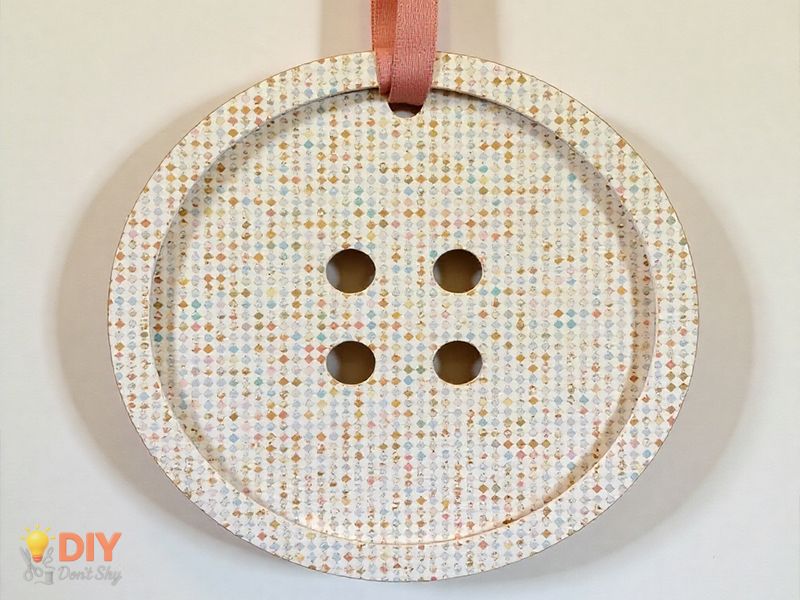
Big paper buttons work well for wall displays. They grab attention, especially at parties or in classrooms.
Big Button Reinforcement And Sealing
- Cut two large circles from thick board.
- Cover them with patterned paper using tape or spray adhesive.
- Add reinforcement rings before punching holes.
- Insert a ribbon or cord if you plan to hang it.
- Seal the front with acrylic spray or laminate the faces.
These oversized buttons can hang on walls, decorate party tables, or even be used as props.
How To Make Paper Buttons For Kids

Children love quick and colorful crafts. Keeping it simple makes the process fun.
Variations For Preschool And Older Kids
- Sticker Button: Stick two round labels together, punch holes, thread yarn.
- Magnet Button: Attach a magnet to the back and decorate with markers.
- Paper Plate Pin: Cut a circle from a plate, color it, then clip a clothespin on the back.
- Button Necklace: Make several and string them on yarn.
Keep projects short for little ones. Older kids can handle a bit more detail. DIYDONTSHY suggests linking the buttons to a small story or pretend game to keep them engaged.
How To Make Paper Buttons For Seniors Enjoying Craft Therapy Sessions

Craft therapy sessions benefit from projects that are easy, social, and bring memories.
Benefits For Seniors And Session Ideas
- Memory Buttons: Use paper with old-fashioned prints to spark conversation.
- Group Collage: Everyone makes a button, then combine them into a mural.
- Sensory Buttons: Try textured paper like sandpaper or felt-backed cardstock.
Adjust for comfort. Use larger shapes, oversized holes, and simple tools. DIYDONTSHY often provides pre-cut kits, which make these sessions smoother.
Decorating And Using Paper Buttons
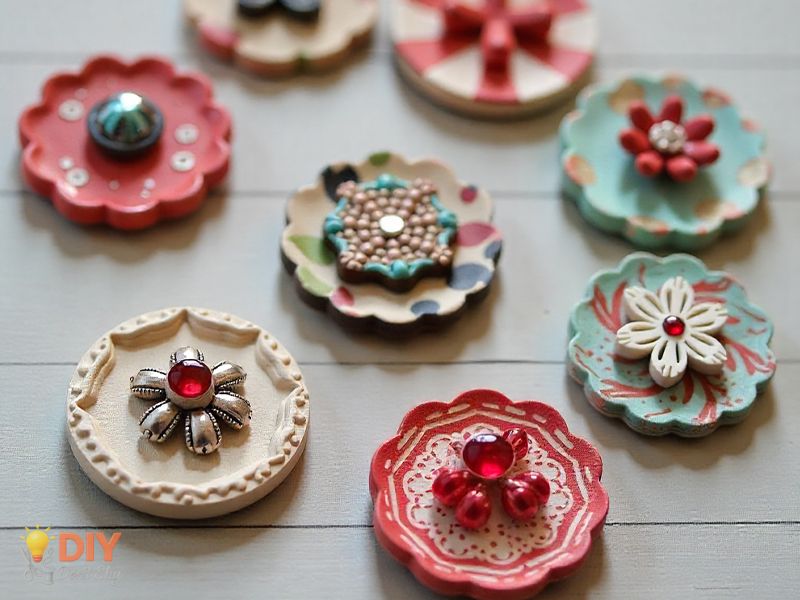
Finishing touches can be simple or fancy.
- Paint patterns with acrylics.
- Add beads or sequins in the center.
- Glue a magnet on the back.
- Attach pin backs to wear them.
- Use as gift toppers.
If they might get wet, seal them with varnish or laminate. For clothing, add reinforcement so they don’t tear.
Paper Buttons As Personalized Gifts
Paper buttons can make fun, personal presents. Instead of generic gifts, try these:
- Dad Who Loves Grilling: Make magnet buttons shaped like spatulas or spice jars. Add a recipe card.
- Mom Who Gardens: Create plant marker buttons and add her favorite seeds.
- Bookish Friend: Make bookmark buttons with themes from novels.
- Teacher: Reward buttons personalized with initials or stickers.
- Grandparent: A shadowbox filled with memory buttons from family photos.
These gifts stand out because they connect with the person’s interests. DIYDONTSHY can even help set up themed kits to save you prep time.
Display, Storage And Care
How do you keep them safe? Store buttons flat, maybe between tissue sheets or in an acid-free box.
For display, shadow boxes work great. Cork boards too. If left in sunlight for long, the colors may fade. And if one gets damp, press it under a heavy book overnight.
Read: 20+ Creative How to Make Paper Action Figures
Troubleshooting And Pro Tips
Things go wrong sometimes. Here’s how to fix them:
- Tears Near Holes: Add paper rings or tape reinforcements.
- Loose Layers: Slip in a cardboard backing.
- Flimsy Faces: Double up the paper.
- Needle Trouble: Widen the holes or switch needles.
Quick note: contrasting thread can make buttons look more decorative. Pre-punched holes save time in group settings.
Paper buttons aren’t complicated, but they open a lot of creative options. From quick kids’ crafts to detailed origami designs, they fit into nearly any activity. You can make them in five minutes, or spend a whole afternoon perfecting details.
DIYDONTSHY can help if you’d like support with a kit, a themed session, or a special gift set. Just reach out to their team, and they’ll guide you from start to finish.
FAQs About How to Make Paper Buttons
What Paper Works Best For Buttons?
Cardstock gives strength. Scrapbook paper brings designs. Origami paper is crisp but may need layering.
Can I Sew Paper Buttons Onto Clothes?
Yes, but add reinforcement behind them. Remove before washing.
How Do I Make A Button Water Resistant?
Cover with contact film, laminate, or brush on varnish.
How Can I Adapt This For People With Limited Mobility?
Use bigger shapes, pre-punched holes, and easy-grip tools. Foam rings can replace stitching.
Can Paper Buttons Be Made From Recycled Materials?
Of course. Try cereal boxes, old cards, or magazine cutouts. They make colorful and eco-friendly buttons.

Kareem Sallam is an Egyptian special writer based in Australia, with a strong interest in practical ideas and creative content that focuses on everyday solutions. He writes clear, engaging articles designed to be easy to follow and useful for a wide range of readers.
His work centers on DIY projects, handmade ideas, simple crafts, and home based creativity. Kareem aims to deliver content that is practical, inspiring, and accessible, helping readers turn simple materials into smart and enjoyable projects.


