How to Make Paper Action Figures [20+ Creative Ideas]

When kids are stuck indoors and the hours drag, parents are often left searching for something engaging. Paper action figures might sound simple, but they work like magic. They’re fun to build, cheap, and you don’t need fancy supplies. They also bring kids into the creative process instead of relying on screens.
This isn’t just an activity. It’s a chance to create, laugh, and share stories while making characters that can later star in battles, adventures, or even school desk decorations.
Contents
What You Need Before Starting
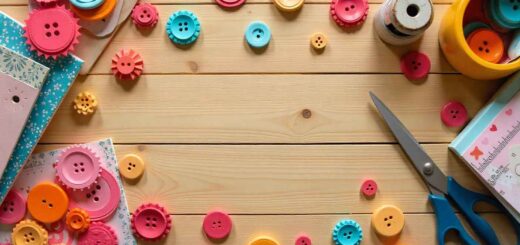
- Sheets of paper (sturdier ones like cardstock hold up better)
- Scissors
- Markers, crayons, or colored pencils
Optional extras: cardboard for backing, tape, and maybe string for little accessories. If you prefer avoiding glue, folding techniques and tab designs will keep everything together.
How To Make Paper Action Figures (Step By Step)
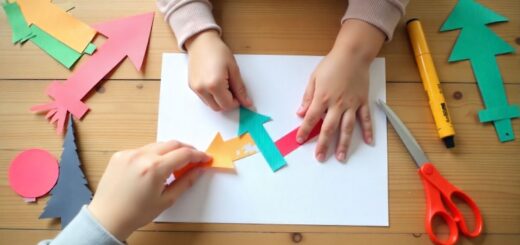
- 1. Start by deciding who you want to create. Maybe it’s a superhero, an alien, or even a pet dog turned into a hero.

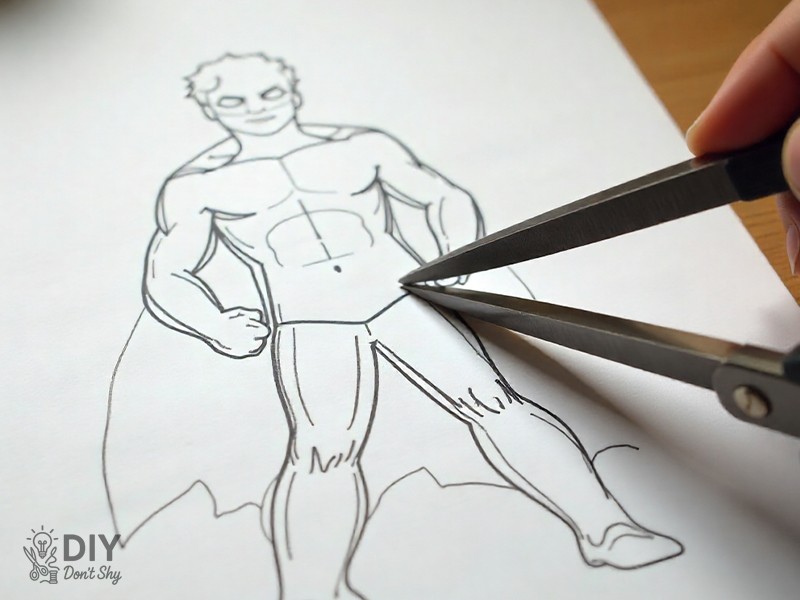
- 2. Sketch the main body on paper. You can keep the drawing simple or go detailed if you’re in the mood.
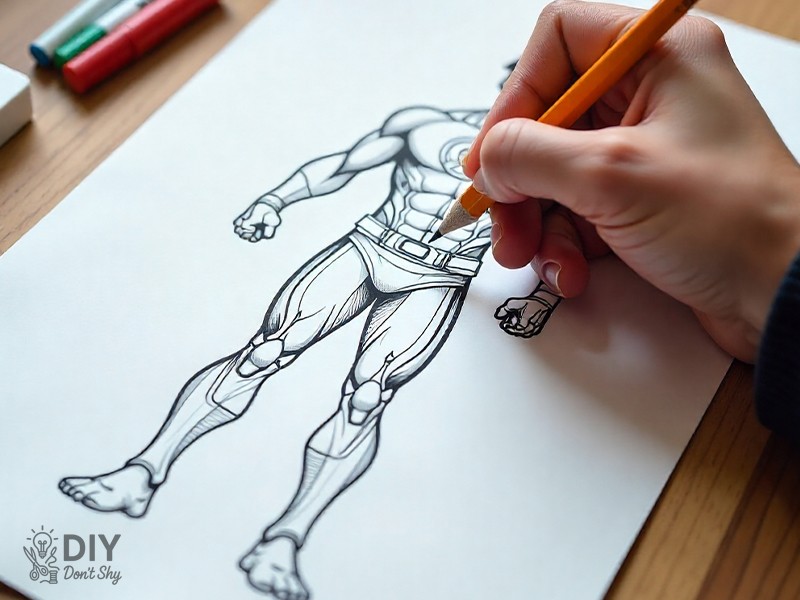
- 3. Once the outline is done, cut along the lines carefully. Take your time; crooked edges can make pieces harder to join.
- 4. If you’re designing arms and legs separately, add tabs or flaps so you can attach them later.

- 5. Fold along those spots and bring everything together. Suddenly, a flat sketch starts standing like a toy.

- 6. Some kids like to stop here, while others add weapons, shields, or even small props. Let them decide how far they want to go.
How To Make Paper Action Figures Without Glue
Glue isn’t always needed. In fact, skipping it keeps the workspace cleaner. The trick is to cut tiny slots and add tabs to each piece. Slide the tabs into the slots, fold them tightly, and the figure stays together.
Another simple trick is folding edges back on themselves to create “locks.” It’s like paper engineering, only easier. Kids catch on fast, and the method works surprisingly well for basic shapes.
People Also Like: CD Craft Ideas for Adults Using Old Discs
Easy Way To Make Paper Action Figures For Kids
Younger kids need it simple. Draw big shapes, maybe a robot or a chunky superhero. Thick outlines help them cut straighter. If scissors are tricky, let them tear the shapes; rough edges can actually look pretty cool for certain characters.
It doesn’t matter if the proportions look odd. What counts is that kids get to create with their hands. And once colored, the figures turn into something they’ll proudly show off.
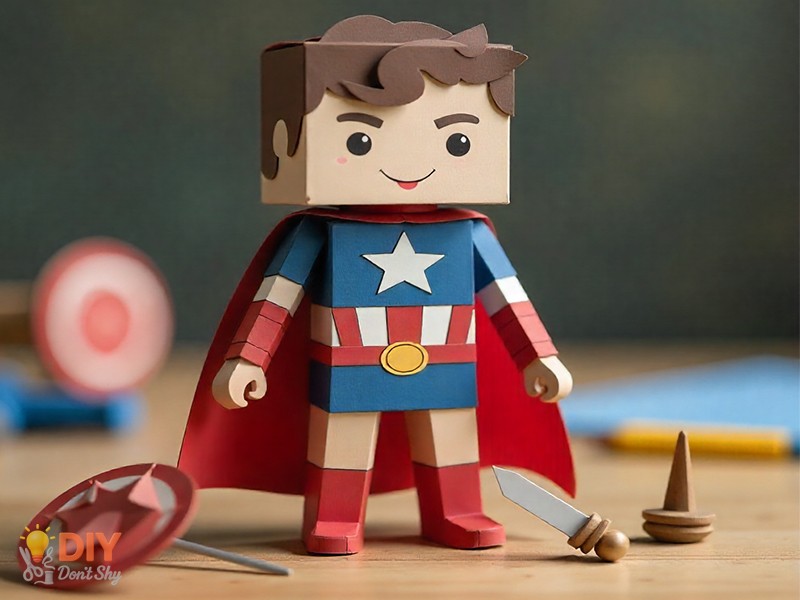
How To Make 3D Paper Action Figures
Flat cutouts work fine. But when you add depth, the figures come alive. The easiest way is layering: cut two or three body shapes and stack them to create thickness.
Want more stability? Use a cardboard base. Cut a rectangle, fold it in half, and glue or slot your figure on top. Suddenly, it stands upright and looks ready for action.
This step takes a little longer, but kids who love detail will enjoy it.
How To Make Paper Action Figures For 12-Year-Old Boys On A Rainy Weekend
At this age, kids want a bit of a challenge. A simple robot won’t impress them anymore. Give them blank sheets and ask them to design a new hero. Maybe it’s inspired by a favorite game, or maybe it’s their own invention.
Add competition: who can make the best warrior or funniest villain? Before you know it, the rainy afternoon doesn’t feel so long anymore.
Tips For Personalizing Your Paper Action Figures
This is where things get fun. Color your figures however you like. Bright markers work fast, but if you’ve got time, watercolors give softer results.
You can also:
- Add small stickers as emblems
- Cut out fabric scraps to use as capes
- Draw accessories like hats or belts directly on the paper
The more personal details, the better the character looks.
Time-Saving Shortcuts
Short on time? Use printables. Many websites share templates that are ready to cut. All you have to do is print, trim, fold, and you’re done.
To make it more interesting, print accessories separately, like wings, shields, or hats, and let kids mix them into their designs.
Making Paper Figures Last Longer
Paper tears. It bends. It doesn’t survive rough play for long. But you can fix that. Tape the back before folding, laminate the pieces, or glue them onto thin cardboard. Even clear nail polish brushed over small areas can make the paper sturdier.
Little upgrades like these make sure the toy lasts through more adventures.
Creative Variations
There’s no rule that says action figures have to be people. Try animals, monsters, or even vehicles. A dragon is always a hit.
Seasonal themes work too. Pumpkins for October, snowmen for December, or even paper pirates for summer parties. It keeps the craft fresh each time.
Safe Crafting For Kids
Safety first. Small scissors with rounded tips are best for younger kids. Let them handle coloring while you manage the sharp cuts. And keep small scraps off the floor so they don’t end up in curious mouths.
Common Mistakes To Avoid
Some mistakes are common but easy to fix:
- Weak folds: press firmly along edges.
- Tabs that are too small: always cut them a little wider.
- Cutting too close to joints: leave space or the arms and legs won’t stay on.
Paying attention to these makes the process smoother.
If you want more ideas to keep your kids engaged, DIYDONTSHY has plenty waiting for you. Just reach out, and you’ll find your next great project.
FAQs About How to Make Paper Action Figures
Can I use regular printer paper?
Yes, but thicker paper like cardstock holds better folds.
What figure should I start with?
Robots and blocky heroes are the easiest.
Can kids under 10 join?
Definitely. Just give them safe tools and easy shapes.
How do I make figures stand upright?
Use a folded cardboard base or tape the feet to a small strip of paper.
Can I mix in other materials?
Of course. Try foil for shiny armor or fabric for clothing.
Read Also: How to Make Paper Arrows – Fun and Easy

Ahmed Elhor is an Egyptian SEO specialist, pharmacist, and copywriter based in Canada. He combines strong research skills with search focused writing to create clear, helpful content that answers real questions and ranks effectively in search engines.
With a passion for practical DIY ideas, homemade solutions, and creative projects, Ahmed focuses on producing easy to follow guides that are simple, affordable, and useful for everyday life. His work blends creativity with structure, helping readers turn basic materials into meaningful results.