How to Make an Envelope Without Glue
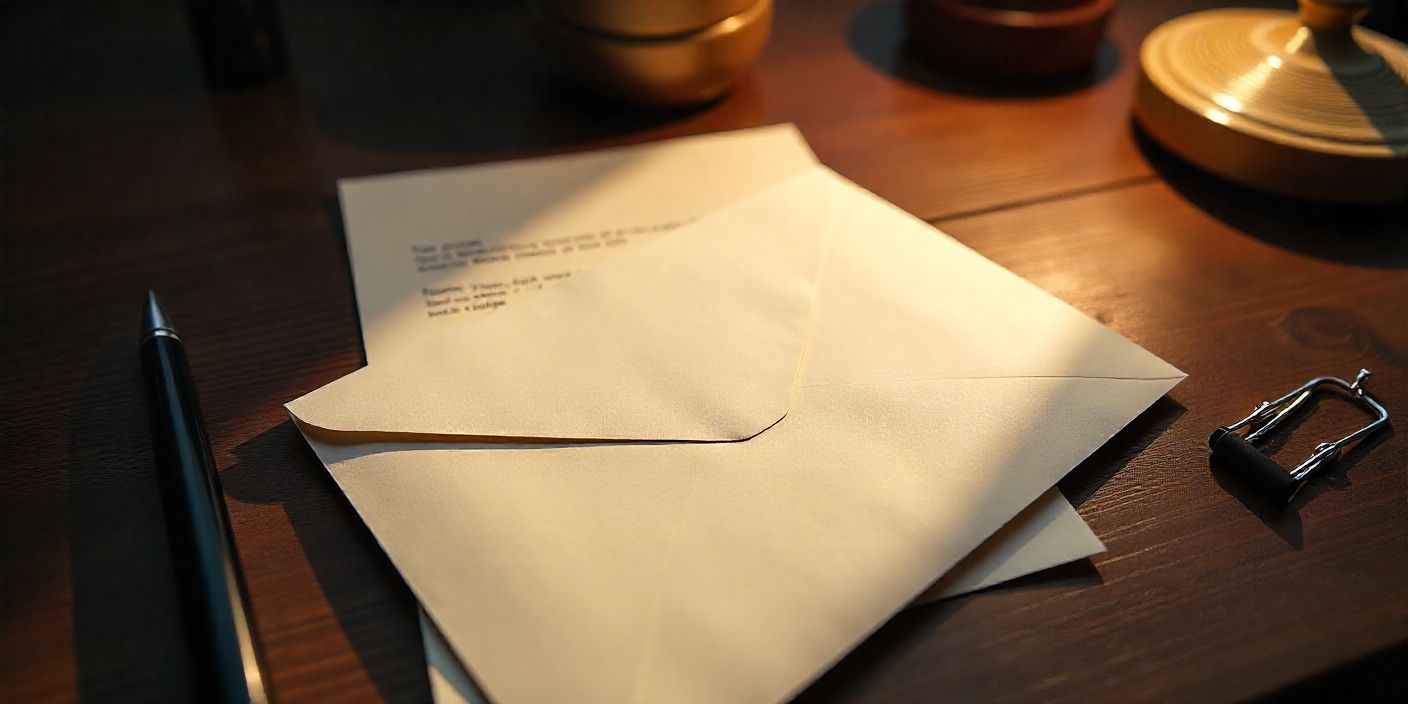
You sit down, ready to write a letter. The words flow easily, the page fills, and then… oops. No envelope. No tape. No glue. Just you, a sheet of paper, and maybe a flat surface.
It happens. And it’s frustrating, especially when you’re on the road. You could buy envelopes, but sometimes that isn’t an option. That’s where this guide comes in.
At DIYDONTSHY, we like easy projects that anyone can do, with or without tools. Making an envelope from A4 paper is one of those little tricks that makes life smoother. It looks stylish, it’s cheap, and you can pull it off almost anywhere.
Contents
Materials And Tools Checklist
You’ll be glad to know the supply list is short.
- One A4 sheet of paper.
- A flat surface for folding.
- Optional: sticker, paperclip, or washi tape.
That’s all. If you can find paper, you can make an envelope.
Estimated Time And Difficulty Level
Three minutes. Maybe five if you’re careful. That’s all it takes.
This is beginner-level. If you’ve folded a paper plane or even a napkin at dinner, you’ve got the skills already.
Step-By-Step Instructions
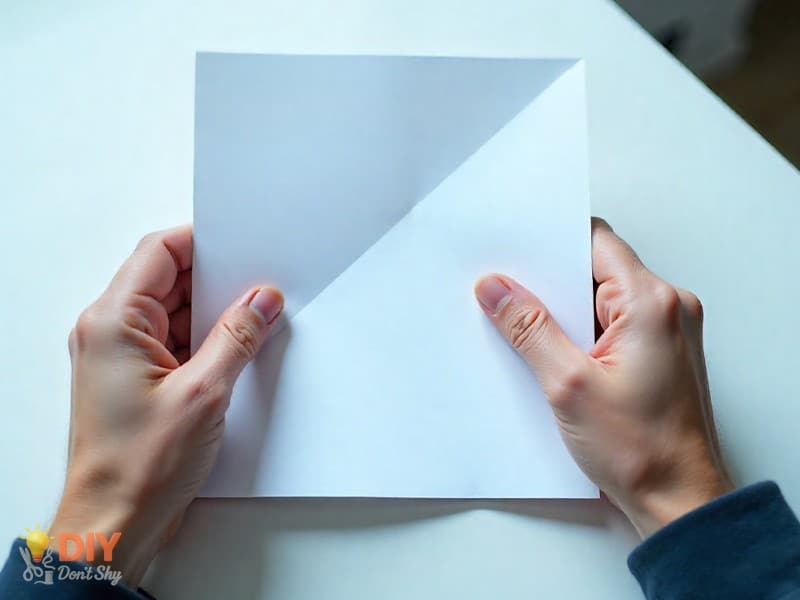
Step 1: Fold Into A Triangle
Put the paper on the table. Fold one bottom corner diagonally across so it touches the opposite edge. A triangle forms. There will be a strip sticking out at the top.
Step 2: Fold Or Cut The Extra
You can cut the strip off. If no scissors are around, just fold it down neatly. The point is to make the sheet look like a square.
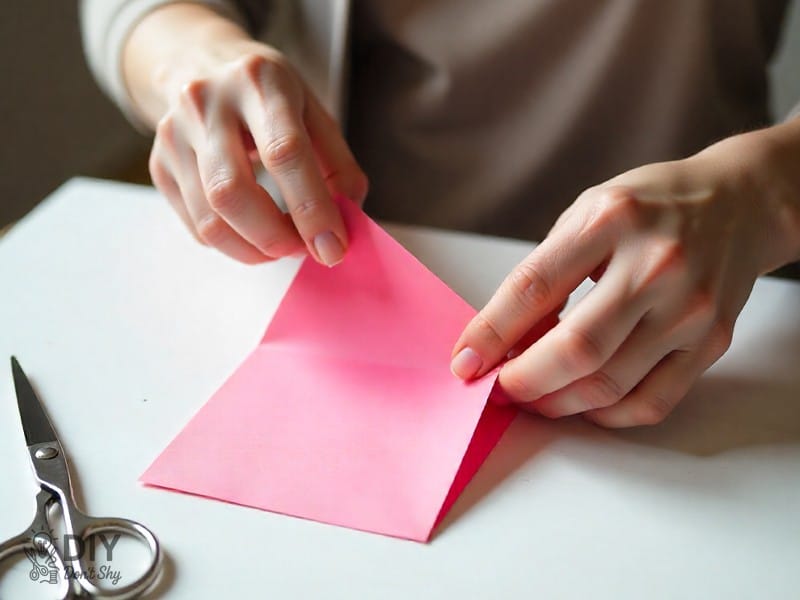
Step 3: Fold The Bottom Corner Up
Now, rotate the paper so it looks like a diamond. Take the bottom corner and fold it toward the middle. Crease firmly.

Step 4: Fold The Right Corner In
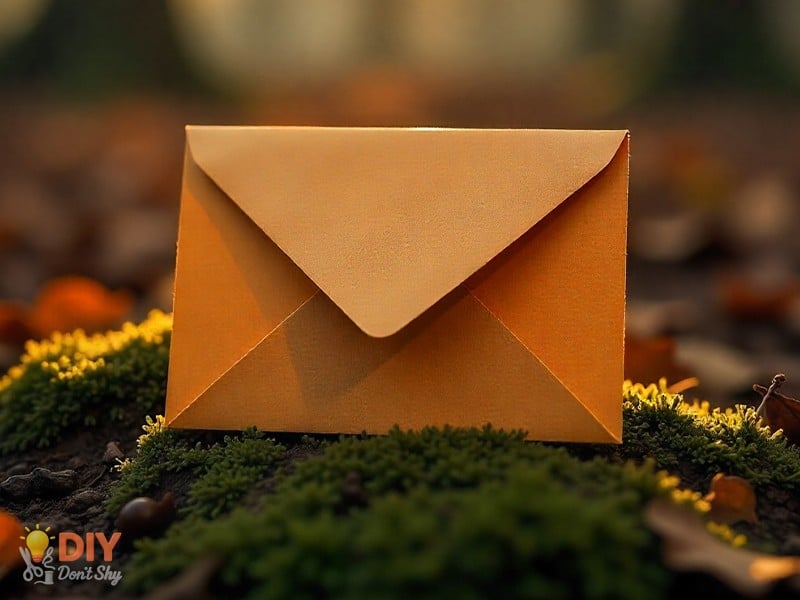
Bring the right side across so it lands in the center. Smooth the fold.
Step 5: Fold The Left Corner In
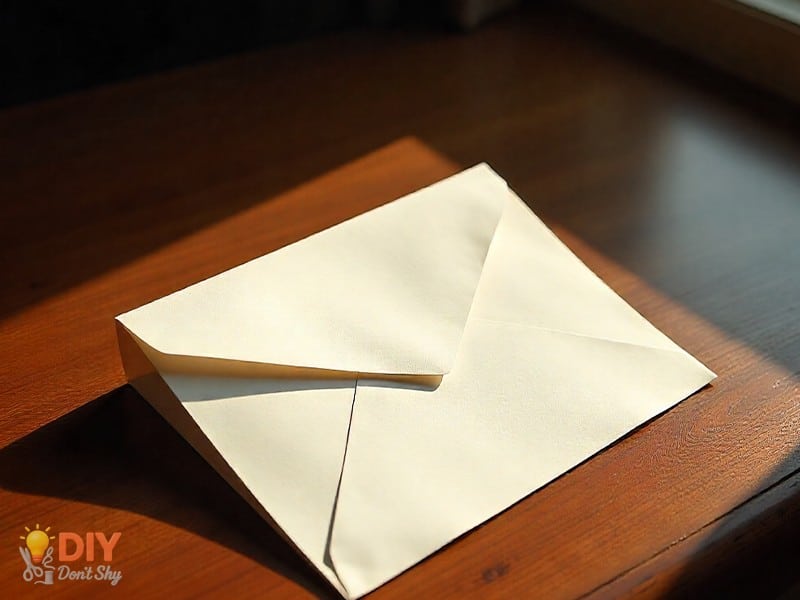
Fold the left side across too. It should overlap the right fold slightly. At this point, you’ll see the envelope shape forming.
Step 6: Tuck The Corners Together
Slide one flap under the other so they hold each other in place.

Step 7: Fold Down The Top
Take the top corner and fold it downward. This is the closing flap.
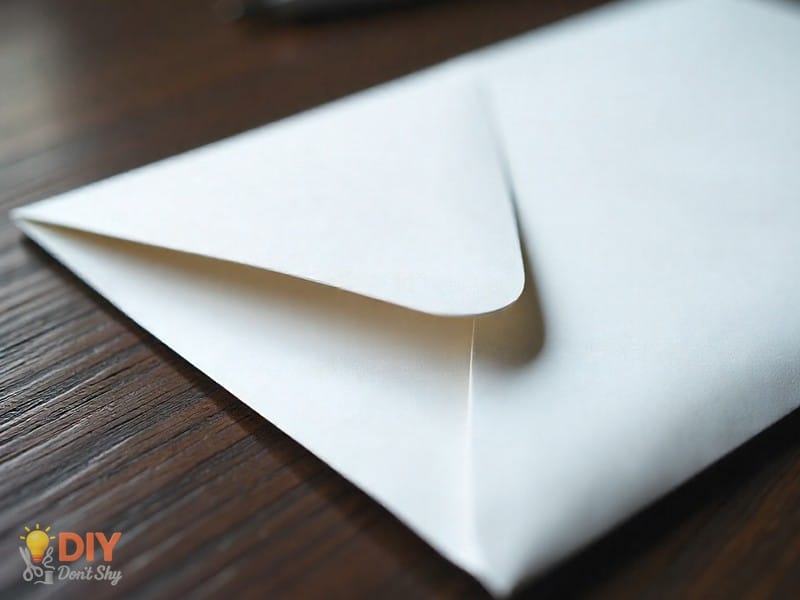
Step 8: Close The Envelope
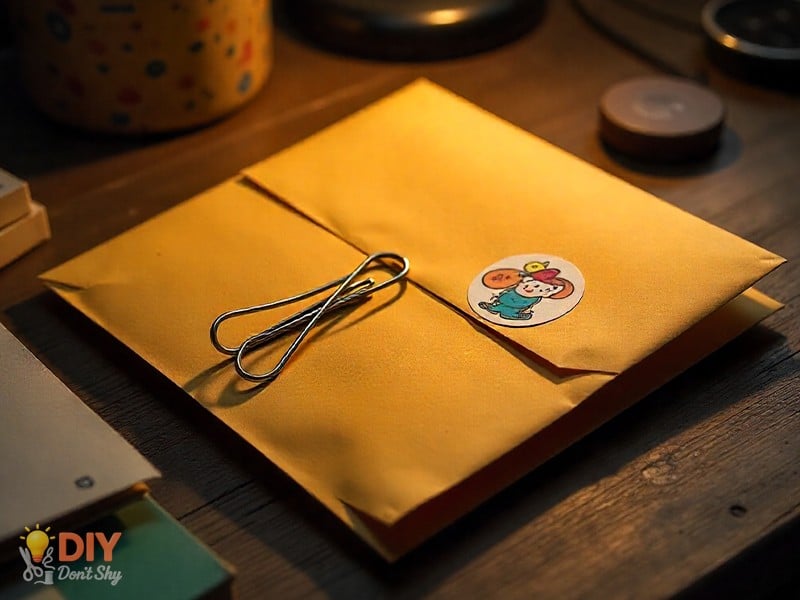
Slip the flap into the folds to keep it shut. If you’re mailing, add a sticker or a clip for safety.
Tips And Warnings
Some quick advice.
- Press folds sharply. Weak folds come undone.
- Regular printer paper works well. Thin paper rips. Thick paper is awkward.
- Keep the contents flat. This design isn’t meant for bulky stuff.
Creative Variations
White paper works, but it’s not exciting. Try different paper for fun:
- Bright colored sheets.
- Old magazines.
- Brown kraft paper bags.
- Even outdated calendars.
Each material gives the envelope its own character.
Inspiration From DIYDONTSHY Readers
We’ve seen readers do clever things with this project. A traveler in Bali used colorful posters from a street market. Someone in New York folded shopping bag paper. A reader in Madrid even used an old metro map.
That’s the beauty of it; you use what you have.
Read Also: How to Make a Big Paper Box Step by Step
Why This Trick Works For Travelers
When you’re moving between cities, you can’t carry every stationery supply. But you almost always have paper. Writing letters, keeping small notes safe, or mailing souvenirs? This folding method helps. Quick, handy, and no shopping required.
Eco-Friendly Advantage
There’s another perk. It cuts waste. Instead of buying packaged envelopes, you reuse paper lying around. Menus, flyers, ads… etc. At DIYDONTSHY, we think these small habits add up.
Common Problems And Fixes
- Envelope keeps popping open? Crease harder.
- Paper are too stiff? Try thinner stock.
- Corners don’t meet up? Refold slowly.
These are simple hiccups with easy fixes.
Personal Touches
Don’t stop at folding. Write a short note inside before sealing. Draw on the paper. Add stickers. Spray with a little perfume if you like. Small details turn a plain envelope into something special.
Other Uses For Paper Envelopes
Mailing letters is the obvious purpose, but think bigger. These envelopes also work for:
- Storing travel receipts.
- Slipping in a gift card.
- Keeping pressed flowers or train tickets safe.
Why DIYDONTSHY Recommends It
Because it’s practical. It works in a hostel, on a train, in a coffee shop, or at home. It’s simple and quick. Anyone can do it. DIYDONTSHY shares projects like this because they solve small problems in a smart way.
The Last Words
You don’t need glue or tape to make an envelope. Just a sheet of A4 paper and a few folds. It’s a skill worth keeping in mind. For letters, little keepsakes, or even gifts, it works just fine.
If you’re hunting for more projects like this, DIYDONTSHY is here. Our team can show you easy ideas that fit right into your life.
FAQs About Making an Envelope Without Glue
1. Can I really send this envelope through the mail?
Yes, but add a sticker or clip so it stays closed.
2. Which paper is best?
Standard printer sheets or recycled paper.
3. Is this safe for kids to try?
Yes. No scissors or glue needed.
4. Can I use other paper sizes?
Yes, though the shape changes a little.
5. How can I make it look nicer?
Decorate before folding, or use colorful paper.
You May Also Like: How to Make 3D Tree With Paper

Kareem Sallam is an Egyptian special writer based in Australia, with a strong interest in practical ideas and creative content that focuses on everyday solutions. He writes clear, engaging articles designed to be easy to follow and useful for a wide range of readers.
His work centers on DIY projects, handmade ideas, simple crafts, and home based creativity. Kareem aims to deliver content that is practical, inspiring, and accessible, helping readers turn simple materials into smart and enjoyable projects.

