How to Make an Envelope With Rectangle Paper
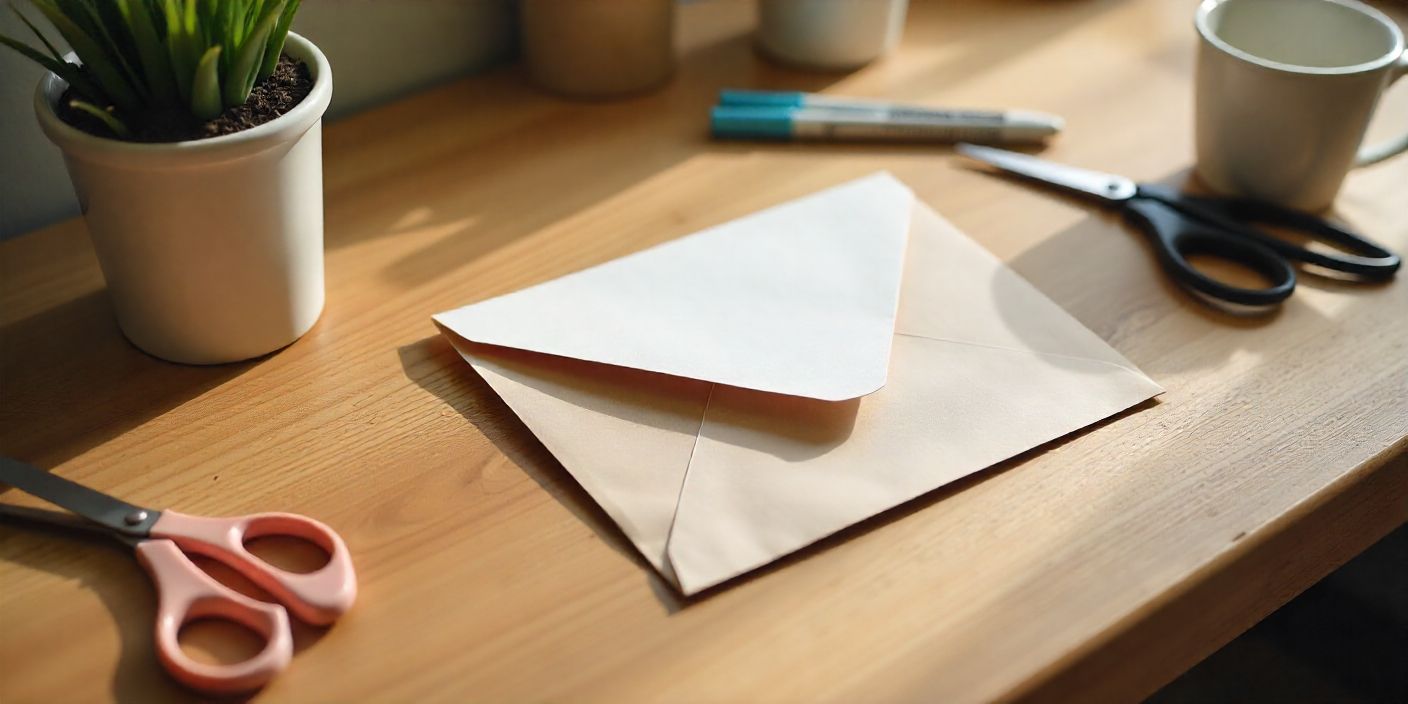
Envelopes are easy to forget about until you suddenly need one. Maybe you’re writing a thank-you note or slipping cash into a card, and there’s no envelope around. Instead of making a trip to the store, you can create one yourself with nothing but a rectangle piece of paper.
This isn’t just practical. It’s also fun. At DIYDONTSHY, we like projects that combine usefulness with creativity. The folds are simple, the supplies are minimal, and in less than ten minutes you’ll have an envelope ready to hold whatever you want to send.
Contents
Materials And Tools Checklist
Here’s what you’ll want on hand:
- A rectangle piece of paper (A3, A4, or cut to size).
- A ruler for sharp folds.
- Scissors for trimming.
- Glue stick or double-sided tape (optional).
- Markers, stickers, or washi tape for decoration.
Tip: If you want to save money, repurpose wrapping paper, magazine sheets, or even old posters. They work surprisingly well.
Estimated Time And Difficulty Level
It doesn’t take long. You’ll probably spend about 5–10 minutes from start to finish. The skill level is basic, so even kids or beginners can do it with little guidance. Once you’ve practiced, it’ll become second nature.
Step-By-Step Instructions
Step 1: Choose The Paper
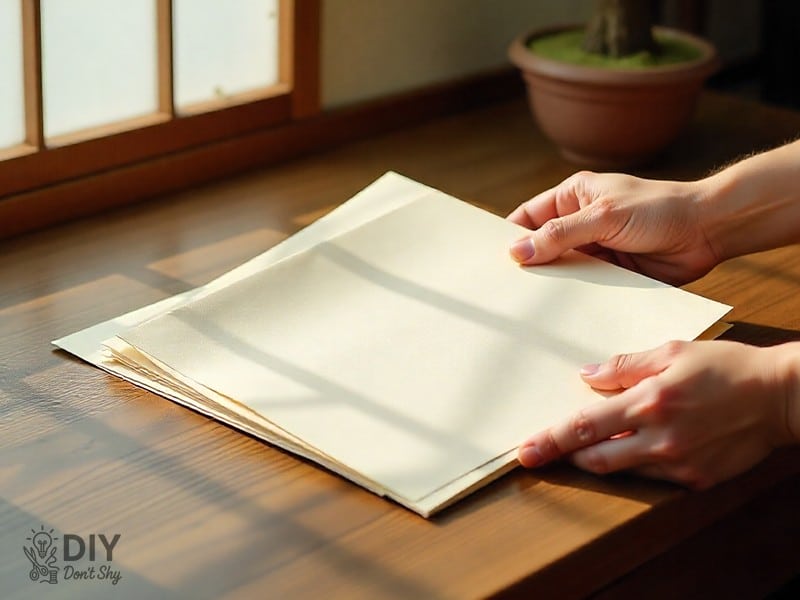
Start with a rectangle sheet. A4 paper works great for most letters, while A3 is better for large notes or artwork. Cut smaller sizes for compact envelopes.
Step 2: Position The Paper
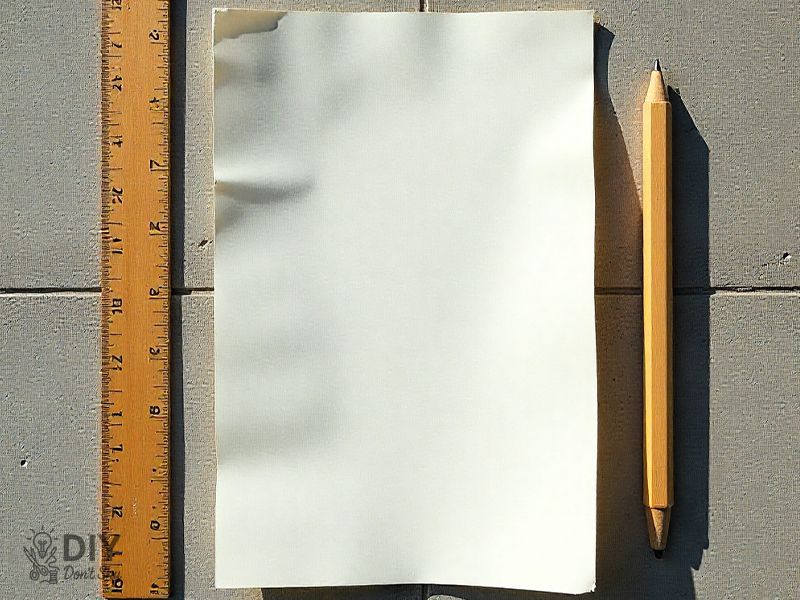
Set the paper vertically, like notebook paper. This position makes the folds easier to manage.
Step 3: Fold The Bottom
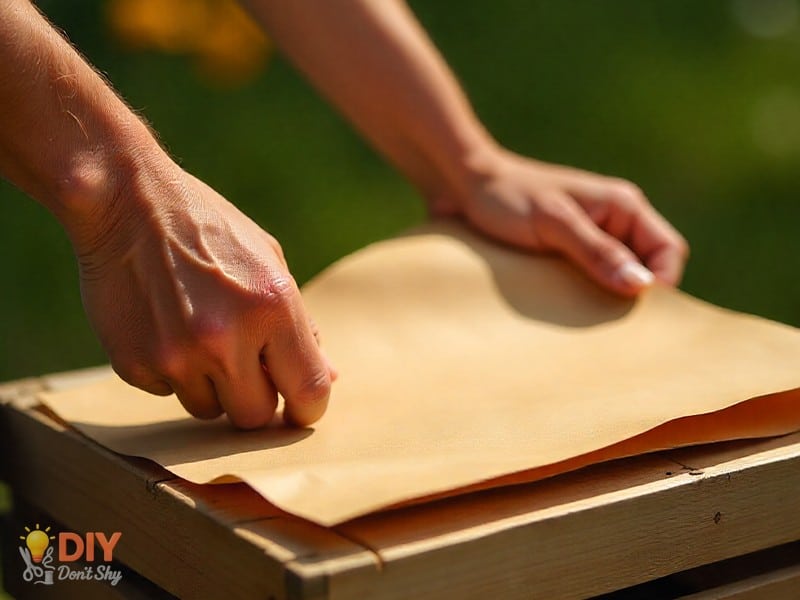
Fold the bottom edge upward, covering about two-thirds of the sheet. Smooth down the crease firmly. This fold forms the pocket.
Step 4: Fold The Sides
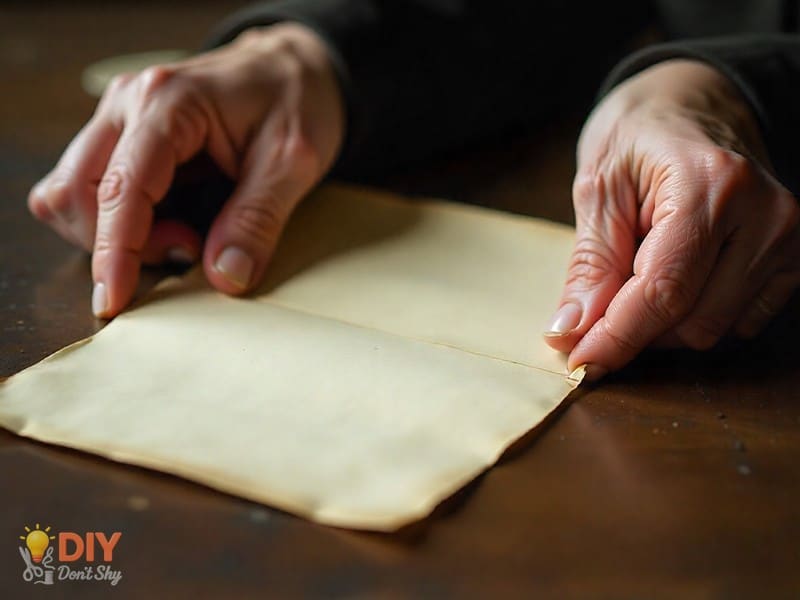
Fold the left and right sides inward so they overlap slightly with the bottom flap. Press the folds flat.
Step 5: Secure Without Glue
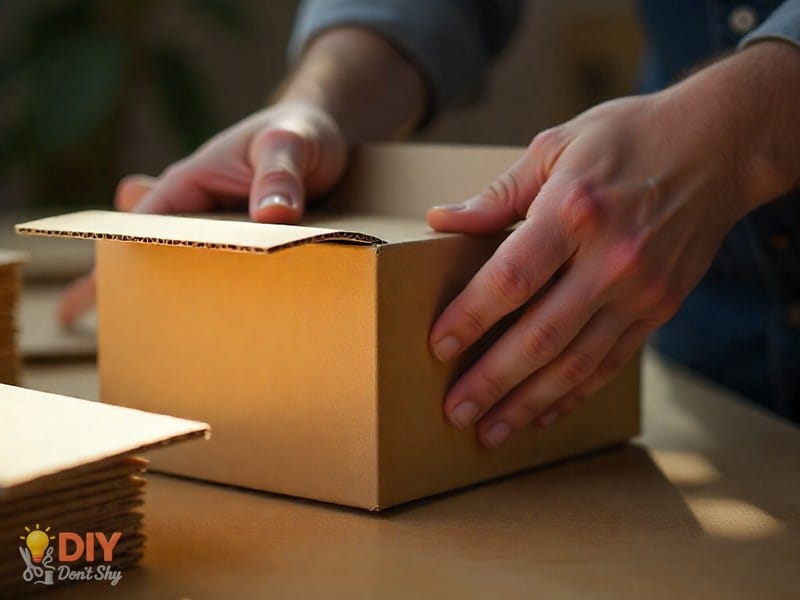
If you don’t want to use glue, tuck the sides into each other carefully. Press them tightly so the envelope stays together.
Step 6: Create The Top Flap
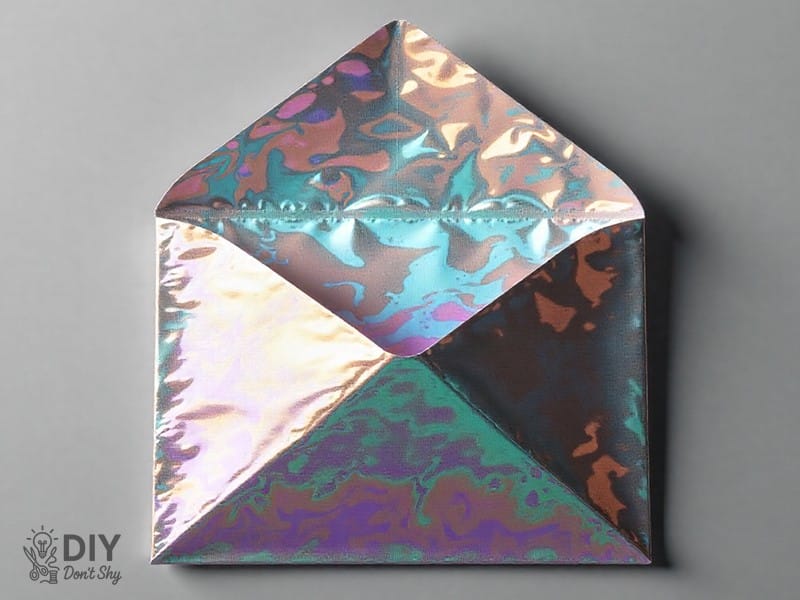
Fold the top down over the pocket. Shape it however you like: a clean straight edge or a triangle flap. Both work fine.
Step 7: Seal And Decorate
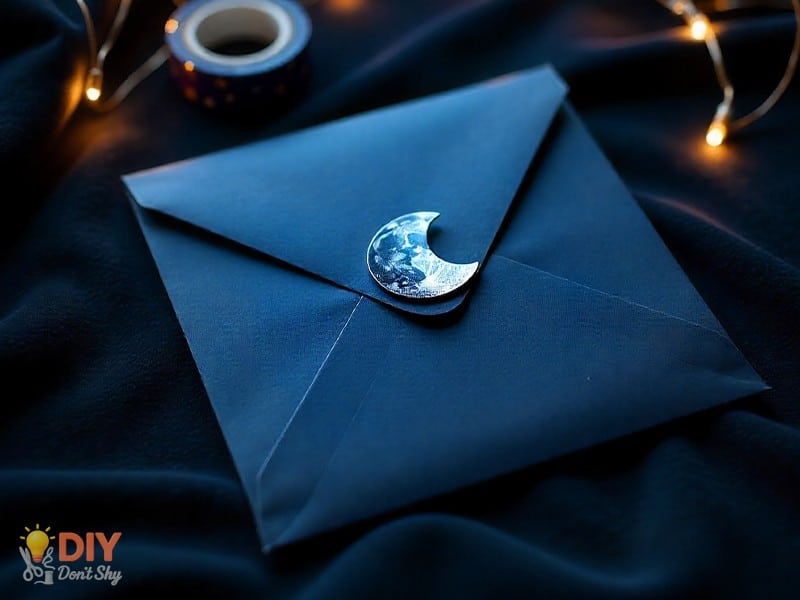
Close the envelope with tape, glue, or a sticker. If you’re feeling creative, decorate it with stamps, drawings, or washi tape borders.
And just like that, your envelope is ready.
Read: How to Make Slime Without Glue or Cornstarch
Tips And Warnings
- Press all folds firmly, otherwise the envelope may look loose.
- Use paper that isn’t too thin, since flimsy sheets tear easily.
- Mailing? Check postal size rules before sending.
Safety note: Kids should only use scissors under supervision.
Creative Variations
Want to mix it up? Try these ideas:
- Using A3 Paper: Create larger envelopes for posters or drawings.
- Glue-Free Folding: Use origami-style tucks to lock the edges.
- Flap Designs: Cut the top flap into waves, hearts, or other shapes.
- Holiday Themes: Bright red for Christmas, soft pink for Valentine’s, or metallic paper for New Year.
DIYDONTSHY always recommends experimenting. Why stop at plain when you can make it your own?
Inspiration Ideas
Students often fold mini envelopes to pass little notes. Teachers sometimes turn it into a class activity to teach measurement and folding. Brides have made unique wedding invitations with hand-folded envelopes. Each approach shows how versatile this craft can be.
Common Mistakes To Avoid
- Cutting the paper too small, leaving no room for the card.
- Folding unevenly, which makes the envelope lopsided.
- Using glossy sheets without reinforcement, which tear or slip apart.
Why Make Your Own Envelope
Buying envelopes is easy, but making them youself has its own charm. It saves you money, allows for personalization, and reduces waste if you recycle materials.
It’s like cooking dinner instead of ordering fast food. Both get the job done, but the handmade option shows effort and care.
Envelope Ideas For Students
Envelopes are useful for everyday school life. Students can:
- Write thank-you cards for teachers.
- Store flashcards or small study notes.
- Share holiday cards with classmates.
Decorating Ideas
- Adding doodles or borders with markers.
- Using colorful washi tape on the folds.
- Stamping initials or designs.
- Sealing with wax for a vintage style.
At DIYDONTSHY, we always enjoy seeing how a little decoration changes the whole look.
FAQs About Making an Envelope With Rectangle Paper
1. Can I Mail An Envelope Made From Printer Paper?
Yes. For heavier contents, reinforce the edges with glue or tape.
2. What Size Paper Works Best For Envelopes?
A4 is common, while A3 works better for larger envelopes.
3. Do I Need Glue?
Not always. Neat folding can hold everything in place. Glue just adds extra security.
4. How Can Kids Decorate Envelopes Safely?
Markers, crayons, and stickers work well. Avoid anything sharp or hot.
5. Can I Use Recycled Paper?
Absolutely. Wrapping paper, posters, or even magazine pages work nicely.
Read More: How to Make a Big Paper Box Step by Step

Ahmed Elhor is an Egyptian SEO specialist, pharmacist, and copywriter based in Canada. He combines strong research skills with search focused writing to create clear, helpful content that answers real questions and ranks effectively in search engines.
With a passion for practical DIY ideas, homemade solutions, and creative projects, Ahmed focuses on producing easy to follow guides that are simple, affordable, and useful for everyday life. His work blends creativity with structure, helping readers turn basic materials into meaningful results.

