How to Make a Toy Car That Moves by Itself
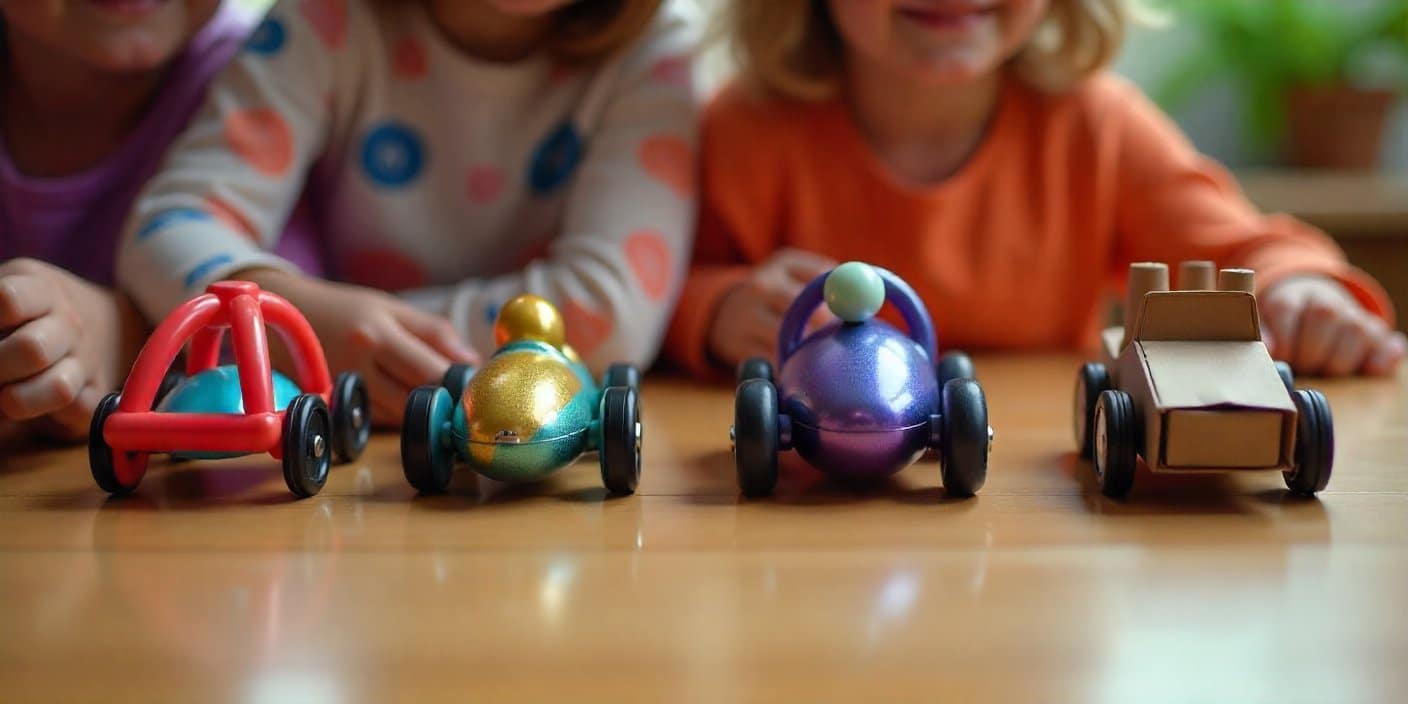
It happens. Kids show up late in the evening with the classic line: “I forgot to tell you, my science project is tomorrow.” Angry? Maybe a little. But anyway, this kind of project can be easier than you think.
Making a toy car that moves by itself doesn’t require fancy kits or expensive gadgets. You can pull it off with cardboard, bottle caps, a rubber band, or a balloon. Some people go further and use a small motor and battery, but that depends on what you have at home.
At DIYDONTSHY, we like to turn these last-minute scrambles into fun projects that make kids proud when they present at school. This guide will walk through several versions of a moving toy car and give you everything you need to make it happen.
Contents
Materials and Tools Checklist
Different versions need different parts. Here’s a general list to keep on hand:
- Cardboard or a small box (car body)
- Bottle caps or round plastic lids (wheels)
- Pencils, skewers, or straws (axles)
- Rubber bands, balloons, or a small motor with battery
- Glue gun or strong tape
- Scissors or a craft knife (handle carefully)
DIYDONTSHY tip: if you’re missing some of these, don’t stress. A juice carton can become the car body, and old toy wheels can replace bottle caps.
Estimated Time and Difficulty Level
This isn’t a project that drags on forever. Most versions take 30 minutes to an hour. If you’re building with kids, it may take a little longer since they like decorating as they go. Difficulty? Beginner. Almost anyone can do it, as long as there’s supervision for cutting and gluing.
Step-by-Step Instructions
1. Rubber Band Powered Car
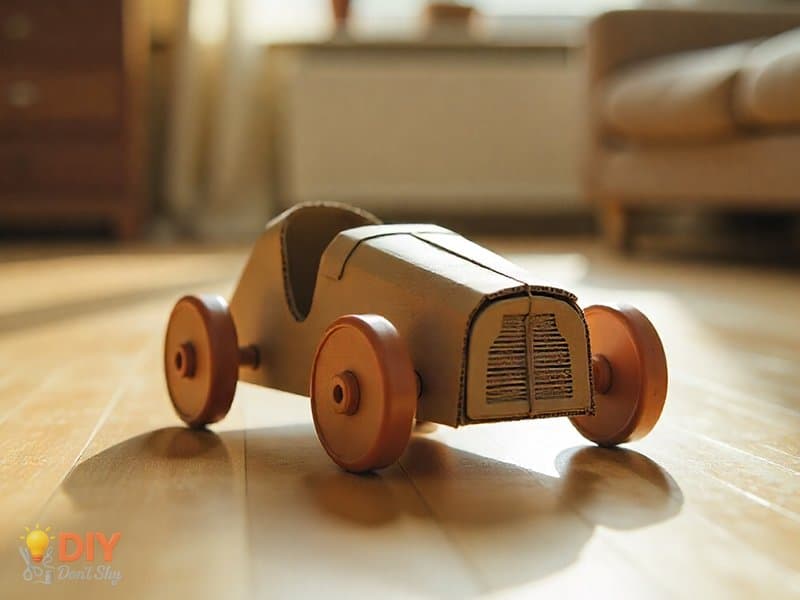
This version is simple and reliable.
- Cut a cardboard rectangle for the base.
- Attach straws underneath for the axles to slide through.
- Push pencils or skewers into the straws, then attach bottle caps for wheels.
- Fix a rubber band at the back axle, stretch it forward, and secure it in place.
- Twist the wheels to stretch the rubber band. When you let go, the car moves.
2. Balloon Powered Car
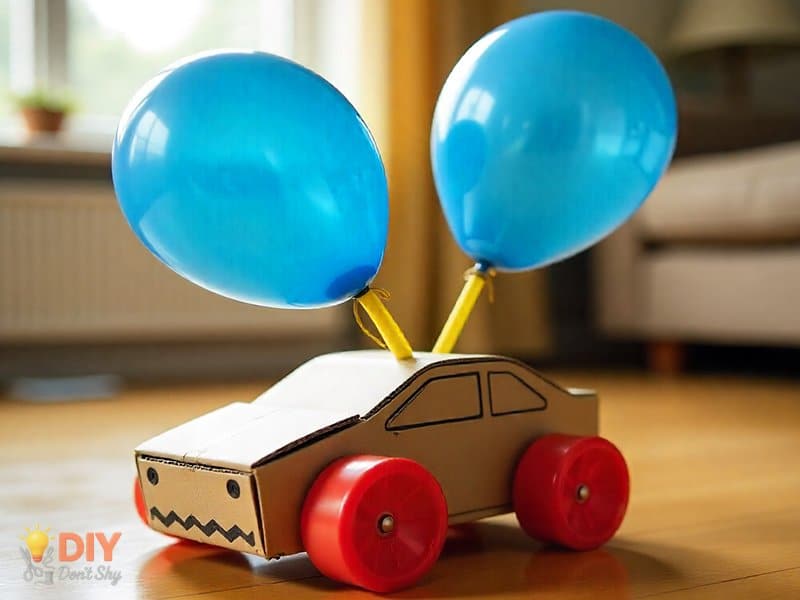
A little air makes a big difference here.
- Start with the same base, axles, and wheels.
- Tape a balloon onto a straw, pointing behind the car.
- Inflate the balloon, pinch the end, and place the car on the floor.
- Release, and the car moves forward as the balloon empties.
3. Motor and Battery Car
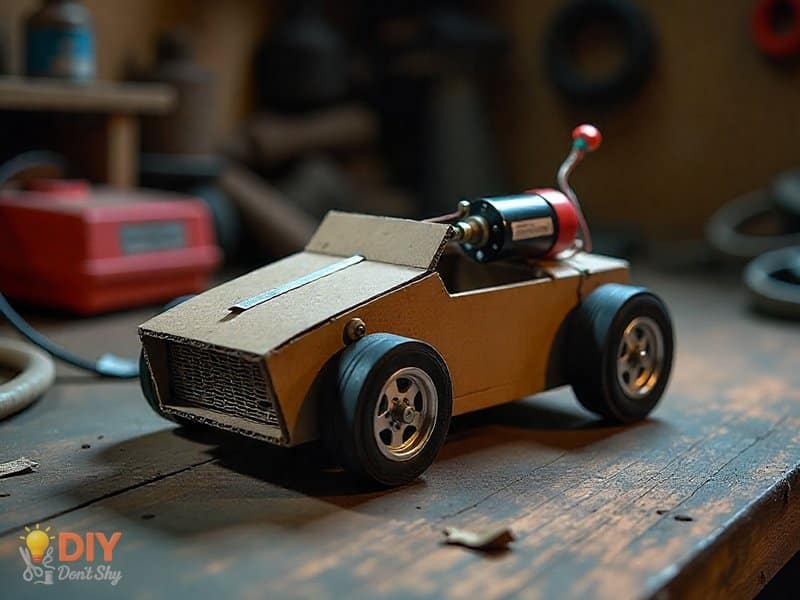
This one feels closer to a real toy.
- Get a small DC motor, maybe from an old toy.
- Connect it to a battery with wires.
- Fix a small gear or fan blade to the motor shaft.
- Secure the motor at the back of the car.
- Switch it on, and your car starts rolling with steady power.
4. Cardboard Car That Moves on Its Own
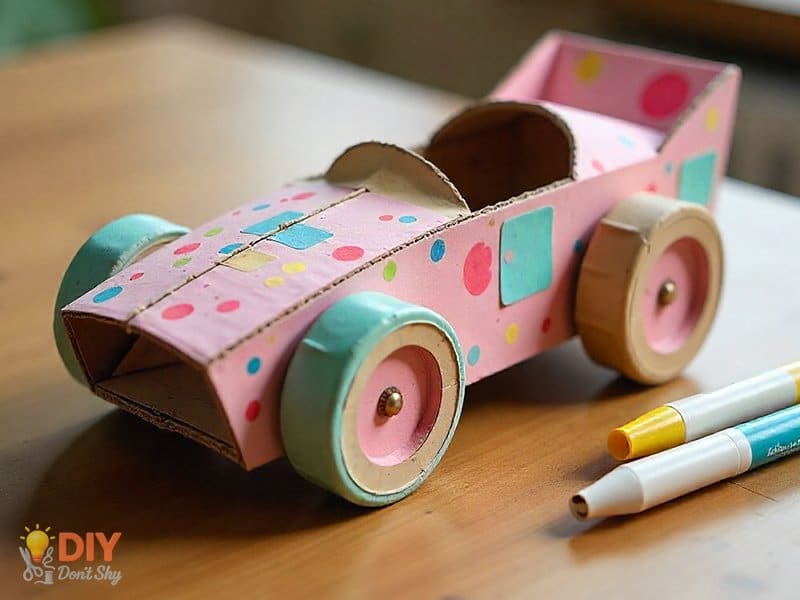
For a craft-heavy version:
- Cut out a car-shaped body from sturdy cardboard.
- Attach skewers and bottle caps as wheels.
- Add a rubber band twist mechanism inside.
- Decorate it however you like—paint, markers, stickers, whatever works.
Tips and Warnings
Here’s what to keep in mind:
- Be careful with scissors and knives; kids shouldn’t cut cardboard on their own.
- Smooth floors like tiles or hardwood make the best testing ground.
- If you’re using a motor and battery, disconnect it after each test to save power.
- Don’t decorate before the car is working. Glue, tape, or paint can block the moving parts if you add them too early.
Related: How to Make a Helium Balloon at Home
Creative Variations
There are endless tweaks you can try. For example, make a flat sports-style car, or turn it into a big boxy truck. Add fins on the sides so it looks like it came from the future. Some builders even recycle soda cans for wheels, which are surprisingly strong. If you want to step it up, you can install a remote control module.
Inspiration Gallery
Picture this: a balloon car rushing across the kitchen floor like a tiny rocket. On the other side, a rubber band car rolls smoothly, winding down like an old toy that never quits. Teachers love these projects during science fairs, and kids always enjoy seeing who built the fastest one.
Skill-Building Note
While making these cars, kids pick up more than just craft skills. They see how energy can be stored in a rubber band or a balloon, and how it transfers into movement. They also get hands-on practice with problem-solving when wheels wobble or the car doesn’t roll straight.
Final Word
Building a toy car at home can be quick, fun, and budget-friendly. You can stick to rubber bands or balloons for a simple version, or experiment with a motor if you want to add some power. Either way, it gives your child a finished project they’ll be proud to bring to school.
If you want more ideas, DIYDONTSHY has many creative solutions. Just reach out to their team and they’ll point you toward your next project.
FAQs About Making Car At Home
What is the easiest car design?
The rubber band car, since it only needs cardboard, straws, and caps.
Can I make a moving car without electricity?
Yes. A balloon or rubber band-powered car works perfectly fine.
How can I make my toy car faster?
Try using lighter materials and make sure the wheels don’t rub against the base.
Is it safe for kids to build?
Yes, though an adult should handle sharp tools and hot glue.
Can I decorate the car?
Definitely. Stickers, foil, or paint can make your car look fun once it’s built.
Recommended: Homemade Air Conditioner Without Ice

Kareem Sallam is an Egyptian special writer based in Australia, with a strong interest in practical ideas and creative content that focuses on everyday solutions. He writes clear, engaging articles designed to be easy to follow and useful for a wide range of readers.
His work centers on DIY projects, handmade ideas, simple crafts, and home based creativity. Kareem aims to deliver content that is practical, inspiring, and accessible, helping readers turn simple materials into smart and enjoyable projects.

