How to Make a Big Paper Box Step by Step
Making a big paper box might sound simple, but once you start, you’ll see it’s a lot more than folding paper. I tried this idea when my kids’ toys were always everywhere. Plastic bins didn’t fit in the small corner I had. So, I picked up some old craft paper and thought, “Why not make my own box?”
And it worked. The kids loved it, I saved money, and the boxes looked better than the plastic bins. People enjoy this type of project because it’s flexible. You can create any size, decorate it however you like, and it doesn’t cost much. On DIYDONTSHY, we like showing projects that give you something useful without spending a fortune.
So, let’s break this down step by step.
Contents
Materials And Tools Checklist
Here’s all you need:
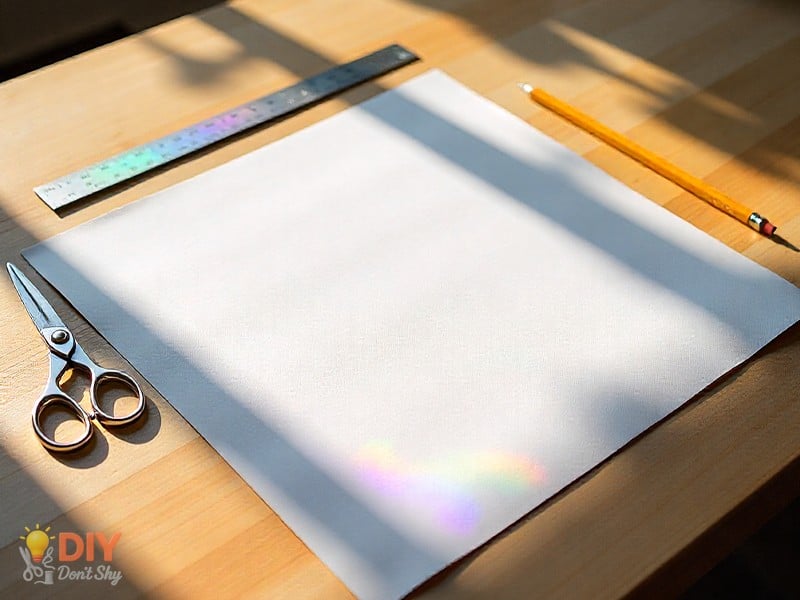
- Large square sheets of paper (thick wrapping paper, craft paper, or drawing paper works well)
- Scissors
- Glue or tape (optional but helpful for strength)
- Ruler and pencil
Now, if you want to save cash, don’t rush to buy new paper. Old posters, recycled wrapping paper, or even a brown bag can do the trick. Eco-friendly choices make this project even better because you reuse what you already have.
Estimated Time And Difficulty Level
It doesn’t take too long. Around 20 minutes for a simple box. A sturdier one with a lid could take up to 45 minutes.
Skill-wise? Easy. Kids can join in with some supervision. Adults will pick it up quickly after trying the folds once or twice.
Step By Step Guide To Making A Big Paper Box
Preparing The Paper And Work Area
Clear a flat surface first. A dining table, a clean desk, even the floor. Just make sure the paper is perfectly square. If it’s not, trim it with scissors and use a ruler to keep the edges straight. A square base keeps the folds neat.
Folding The Base Of The Box
Here’s where the fun starts:
- 1- Fold your paper in half. Open it.
- 2- Fold it the other way. You’ll see a cross crease in the middle.
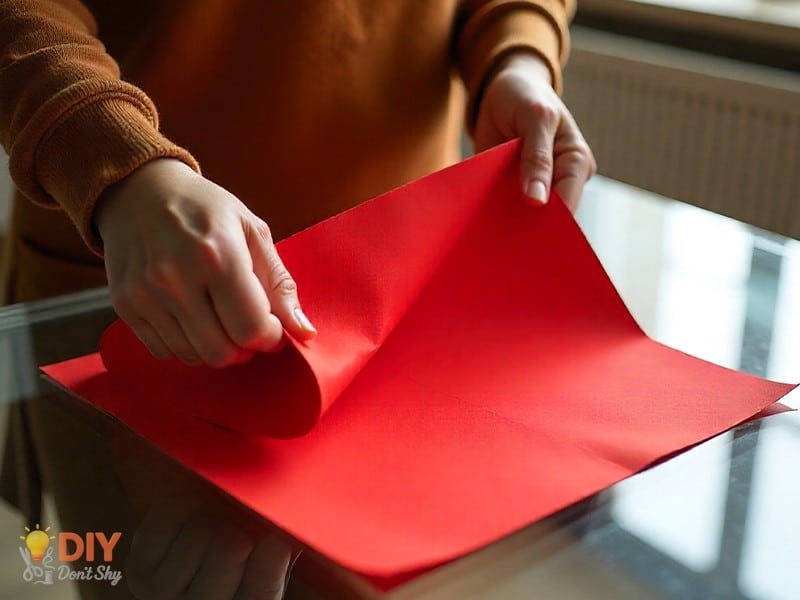
- 3- Fold every corner into the center. Now you’ve got a smaller square.
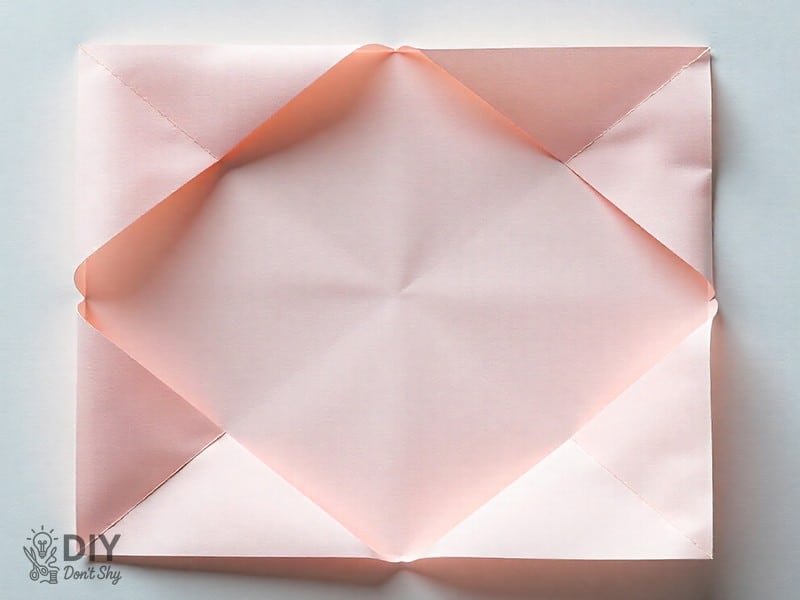
- 4- Take the top and bottom edges and fold them into the center. Do the same with the sides.
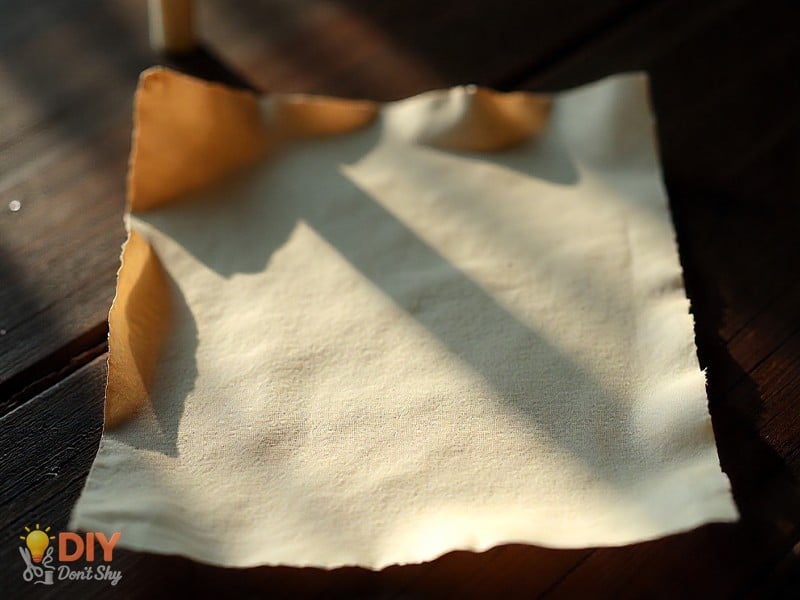
- 5- Open two opposite sides and lift the flaps up. The box shape will begin to form.
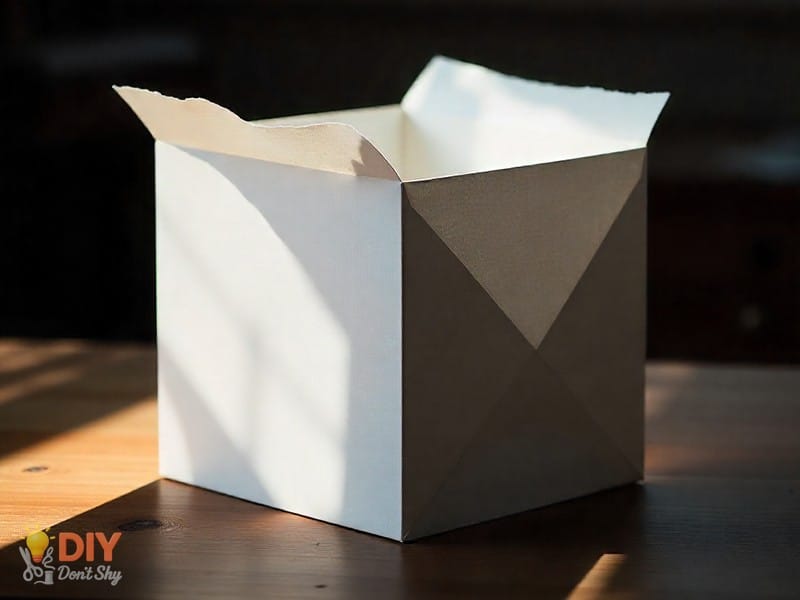
When those walls rise, it’s a small surprise every time.
Reinforcing The Corners
This step is optional. Strong paper holds itself. But if you’re using lighter sheets, add glue or tape inside the corners to stop it from collapsing.
Making The Lid For The Box
The lid uses the same folding method as the base. The only difference? Start with a slightly larger piece of paper. About half an inch bigger makes it slide on without a struggle.
Customizing The Size And Shape
A square sheet gives you a regular box. A rectangle gives you taller sides. Shallow folds create tray-like boxes. Once you know the fold pattern, you can play around with different looks.
How To Make A Big Paper Box Origami Style
Origami style means no glue, no tape. Just folds. If your creases are sharp enough, the paper box can be surprisingly sturdy.
Want to make it last longer? Double up two sheets of paper and fold them together. Twice the thickness, twice the strength.
Making A Paper Box That Opens And Closes Easily
A lid makes the box more practical. But here’s how to stop the paper from tearing when you open it often:
- Use thicker paper for the lid.
- Avoid folding corners too tightly.
- Add a strip of tape on the inner edges.
That’s all you need to keep it opening smoothly.
Big Paper Box Ideas For Kids
Kids love this. To them, it’s both craft time and playtime.
- Let them decorate the paper before folding.
- Turn finished boxes into toy chests or dollhouse furniture.
- Make a set of boxes in different sizes so they can stack them.
They’re learning skills like folding and patience while playing.
Using Paper Boxes For Family Storage
Storage doesn’t have to be expensive. Families use paper boxes to organize small items at home. Toys, art supplies, snacks, board game pieces. They’re lightweight so kids can move them, and if one tears, you just recycle it and make a new one.
DIYDONTSHY has seen families create entire sets of paper boxes for different rooms, proving they’re more practical than people think.
Creative Decoration Ideas
Don’t leave the box plain if you enjoy decorating. Try this:
- Paint it with bright colors.
- Wrap it in fabric for more strength.
- Add stickers, ribbons, or colorful tape.
- Make seasonal themes; red and green for Christmas, orange and black for Halloween.
It’s like starting with a blank base that you can dress up however you want.
Tips And Warnings
- Don’t use thin printer paper for big boxes. It rips too easily.
- Make folds sharp by pressing them with a ruler edge or fingernail.
- For heavy items, add a cardboard lining inside.
- Keep them away from water unless you waterproof them with tape or a spray sealant.
Why DIYDONTSHY Loves Paper Box Projects
DIYDONTSHY likes projects that are affordable, practical, and fun. Big paper boxes fit into all of that. They help reuse paper, give families something creative to do together, and provide storage that works. And every box looks a little different depending on who makes it, which makes the project even better.
Final Words
A paper box is simple to make, useful for storage, and fun to decorate. You can create one quickly or spend more time making several in different shapes and sizes. Once you get the hang of it, you’ll want to keep folding more.
If you want more creative project ideas, DIYDONTSHY has plenty to share. Reach out to the team, and they’ll help you with your next project idea.
FAQs About Making a Big Paper Box
Can I make a box without glue or tape?
Yes, origami folding keeps the box together with just paper creases.
What type of paper is best?
Thick craft paper, posters, or wrapping paper. Avoid thin copy paper for larger boxes.
How do I make the box waterproof?
Use tape to line the inside, spray it with a clear sealant, or cover it with plastic wrap.
Can kids safely do this project alone?
Yes, but they may need help when scissors are used.
What’s the largest size I can make?
As large as your paper allows. For oversized boxes, tape two big sheets together before folding.
You May Also Like: How to Make Stars With Paper Strips – Cute Ideas

Kareem Sallam is an Egyptian special writer based in Australia, with a strong interest in practical ideas and creative content that focuses on everyday solutions. He writes clear, engaging articles designed to be easy to follow and useful for a wide range of readers.
His work centers on DIY projects, handmade ideas, simple crafts, and home based creativity. Kareem aims to deliver content that is practical, inspiring, and accessible, helping readers turn simple materials into smart and enjoyable projects.

