DIY Cutting Board Ideas to Add Style to Your Kitchen
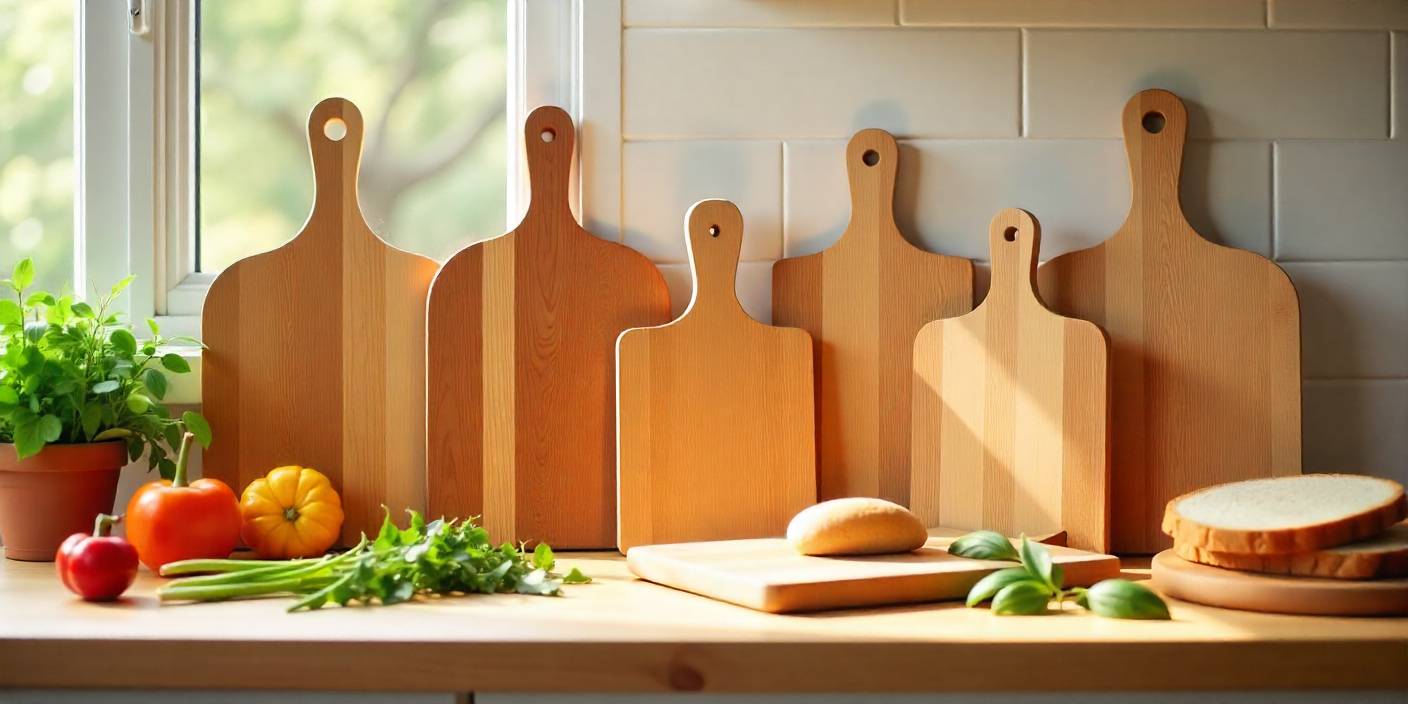
There’s something satisfying about making your own cutting board. You pick the wood, sand it down, oil it, and suddenly it’s a board you actually want to leave out on the counter. Store-bought ones work fine, but they’re all the same. A handmade board carries a bit of you in it.
DIYDONTSHY is a good place to look when you want projects that don’t drag on for weeks. Our guides focus on ideas you can start in the morning and have ready by dinner. That’s why cutting boards fit right in.
Contents
Tools And Materials You Actually Need
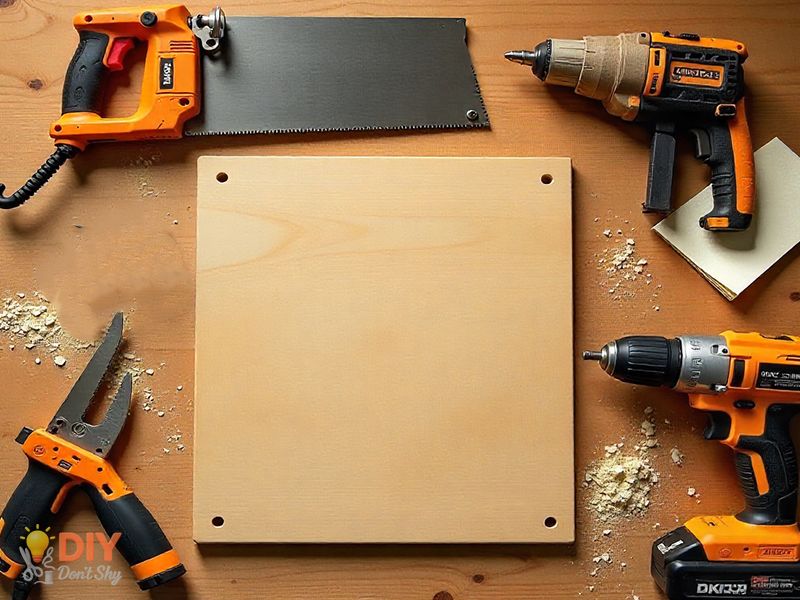
You don’t need a full woodworking shop to make a board. A saw, clamps, sandpaper, and a drill will get you most of the way. A jigsaw is handy for handles. A sander helps too, though hand sanding still works if you’re patient.
If you want clean edges, a trim router makes life easier. But let’s be honest: plenty of great boards are made without one.
Best Wood Species For Safe Boards
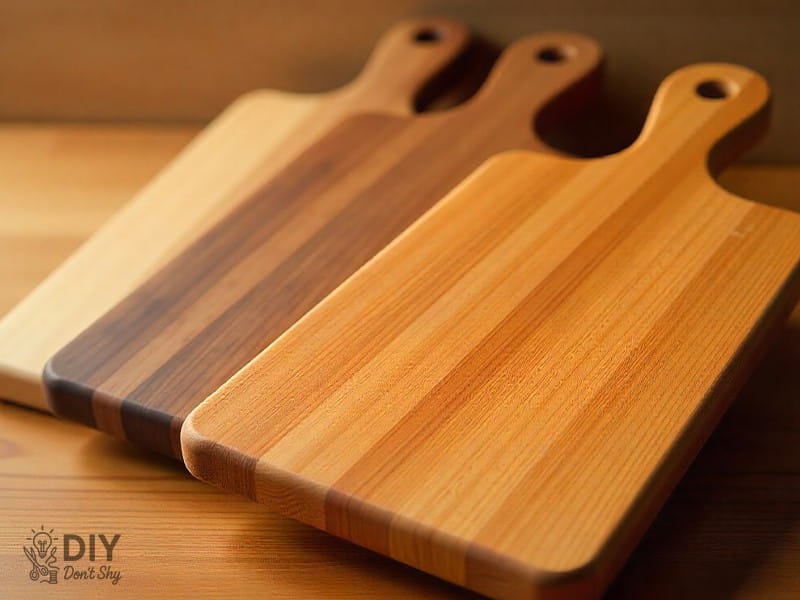
Hard maple is tough, safe, and light in color. Walnut and cherry bring warmer tones and make gifts look nicer. Avoid pine or other softwoods, since they absorb food juices and are harder to keep clean.
Finishes That Are Safe Around Food
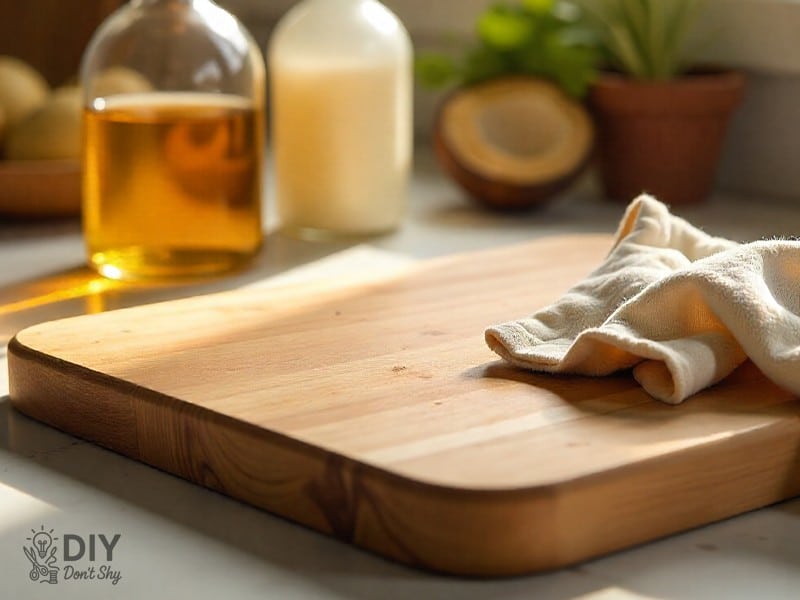
Stick with mineral oil, beeswax, or fractionated coconut oil. That’s it. No paint-store varnishes. No sticky coatings. If it smells like chemicals, don’t use it on something that touches food.
Picking The Right Wood And Size
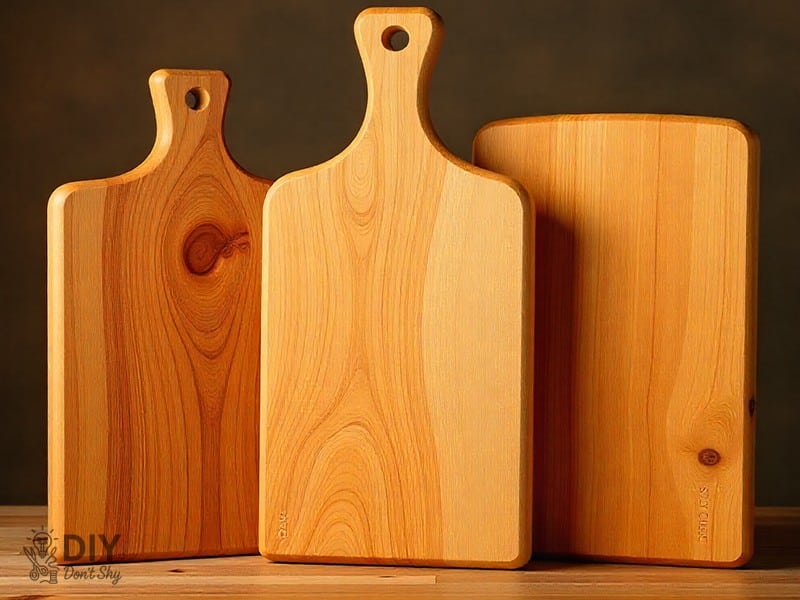
End grain, edge grain, face grain each one has a purpose.
- End grain is gentle on knives and looks great but takes more time.
- Edge grain is easier for beginners. Strong, clean, dependable.
- Face grain is better for decorative serving boards than for chopping.
For size, think about your kitchen. A 12 x 18 board is a solid all-around choice. Small kitchens do better with a 10 x 14. If you want something bold, like a serving board with handles, go larger 12 x 24 or even more.
Safety And Prep That Saves Headaches
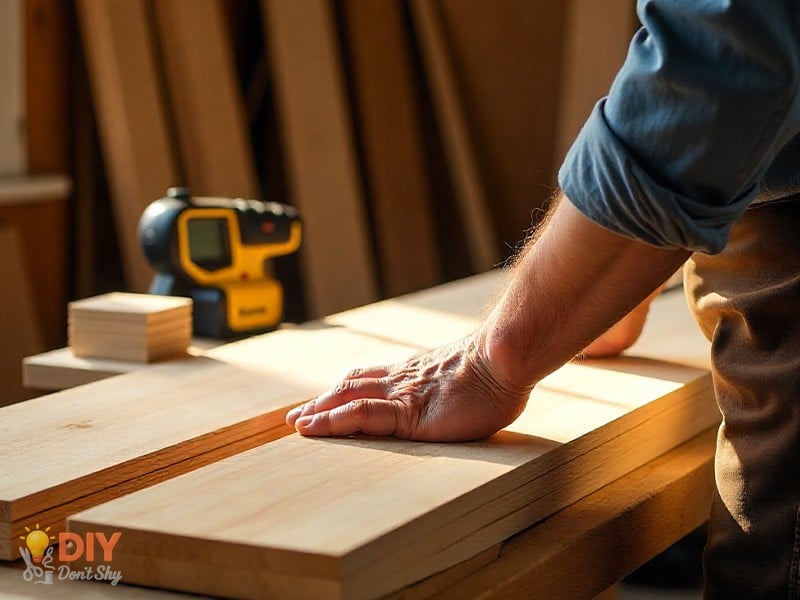
Wood moves. That’s the first lesson. If you rush straight from store to saw, the board can warp.
Let the wood sit in your space for a day. Cut with the grain whenever possible so the surface sands smooth. Seal both sides when you finish. Otherwise one side might dry faster than the other and twist.
Read: How to Make a Helium Balloon at Home
Quick Cutting Board Projects For Different People
Now, the fun part. Boards don’t all have to look alike. They can fit the person you’re making them for.
For Dad Who Grills Every Sunday
A heavy walnut board with a juice groove keeps ribs and brisket neat. Burn a small flame in the corner. He’ll grab it every time the grill lid opens.
For Mom Who Bakes Like A Pro
Maple works best here. Add ruler marks along the edge for rolling dough to the right size. Round the corners so flour doesn’t build up. It turns into her baking station.
For The Friend Who Loves Charcuterie
Go long. A cherry board with a slim handle looks classy. Drop in a thin resin line for style. Suddenly it feels like restaurant plating at home.
For Kids Who Want To Help In The Kitchen
Cut smaller boards from one wide plank. Smooth the edges a lot. Add their names with stencils. Kids love when their gear feels official.
For The College Student With A Small Kitchen
A sink bridge board saves space. Cut notches so it rests across the sink. Add rubber feet to stop sliding. It doubles the workspace in a cramped apartment.
For New Homeowners Setting Up Their Kitchen
Burn in their house number or a simple map of their street. Wrap it with a towel in their favorite colors. It feels personal right away.
For Grandparents Who Cook Slow Meals
Keep it light. Thin board, shallow grooves on the side for easy lifting. Simple, functional, no fuss.
For The Pizza Lover
Shape the board like a peel with a long handle. Bevel the edge so pizza slides right off. Drill a hanging hole. Done.
For The Fisherman Or Camper
Ash or teak holds up outdoors. Cut a shallow channel, pour in blue resin, and it looks like a river. Add a leather strap so it can hang on a backpack.
For The Salad Prep Enthusiast
Make a two-zone board. One side flat, the other carved out like a shallow tray for holding chopped veggies. Flip as needed.
Cutting Board Decorating Ideas That Last
Woodburning tools make it easy to add initials or maps. Just keep strokes steady and don’t rush.
Resin inlays are another way. Cut a small groove, pour resin, sand flush after it dries. Go for bold colors on light wood.
You can paint handles or add stripes with milk paint. Seal with oil after.
Hardware works too. Brass handles or leather straps turn a cutting board into a serving tray.
Even the edge profile changes everything. Roundover for soft, chamfer for modern, ogee for classic.
How To Make A Cutting Board From One Piece Of Wood
The most straightforward build is one solid plank. Here’s the process:
- Pick a flat board, maple or walnut.
- Square up the edges.
- Draw and cut a handle if you want one.
- Smooth the edges.
- Drill a hanging hole near the handle.
- Sand through the grits, 80 up to 220.
- Wet it lightly, dry, sand again to stop fuzz later.
- Oil and wax.
Juice grooves and finger holds are easy extras. Use a router with a guide. Shallow cuts work best.
When sanding, save end grain for last. Take your time. A smooth finish makes the oil pop.
Simple DIY Cutting Board Ideas For Weekend Family Time
Make it a family project. Assign jobs. Someone traces shapes, someone cuts, someone sands, and the youngest brushes on oil.
That same night, use the new board. Slice burgers, toss salad, or cut pizza. It becomes part of the meal right away.
Start a tradition. Write the date and a doodle on the underside. Over the years, the collection becomes a timeline of family cooking.
DIY Cutting Board Ideas For Crafts Beyond The Kitchen
A board doesn’t have to live only in the kitchen.
Add feet and turn it into a coffee tray. Carve a slot and it becomes a tablet stand. Brush on chalk paint in a rectangle and use it as a menu or message board.
Boards can be decor, serving tools, or even storage helpers.
Time Savers And Presentation Tips
A few small add-ons make a board look fancy. Leather handles screw in quickly. Rubber feet stop slipping. A fresh coat of beeswax brightens old boards in minutes.
When gifting, presentation counts. Wrap with a clean towel, tie with twine, tuck in herbs or a care card. It looks boutique without much effort.
Creative Variations And Seasonal Twists
Cut a state shape with a jigsaw. Burn a small star where the town sits.
Or go seasonal. Dark walnut with silver accents feels wintry. Light maple with blue inlays feels summery.
Boards can match holidays, sports teams, or personal tastes.
Maintenance That Keeps Boards Looking Great
Keep boards oiled. Once a month is usually enough. Dry boards drink up oil quickly, so give them what they need.
For stains, sprinkle salt and scrub with lemon. Knife marks? Light sanding takes care of them. Always oil afterward.
Troubleshooting Common Issues
Warped board? Mist the inside curve lightly and place a heavy pot on top. Often it flattens out overnight.
Uneven finish? Wipe with mineral spirits, let dry, and reapply oil. Warm oil spreads smoother.
The Bottom Line
A cutting board might be the simplest woodworking project with the biggest reward. It doesn’t cost much, but it gives back every time you cook.
You can make boards that fit people in your life Dad’s grill board, Mom’s pastry station, a kid’s mini helper board, or a serving tray for friends. Each one is useful, personal, and fun to create.
DIYDONTSHY helps keep the process doable. Their guides break projects into clear steps and show quick upgrades that make your work shine. If you’re stuck on which design to choose, their team can guide you.
FAQs About DIY Cutting Board Ideas
What size board should I make first?
Try 12 x 18 inches at ¾ inch thick. Big enough for most tasks but not bulky.
Which finish is safe for food?
Mineral oil followed by a beeswax coat works well.
Can I use reclaimed wood?
Yes, as long as it’s clean and free of chemicals. Stick with hardwoods like maple, walnut, or cherry.
How do I add a juice groove without a jig?
Clamp guides to the board and run a router between them. Shallow cuts look neat.
How should I clean the board?
Wash with mild soap, rinse, dry upright. For odors, rub with salt and lemon, then re-oil.
You May Also Like: 30+ DIY Rectangle Mirror Frame Ideas on a Budget

Ahmed Elhor is an Egyptian SEO specialist, pharmacist, and copywriter based in Canada. He combines strong research skills with search focused writing to create clear, helpful content that answers real questions and ranks effectively in search engines.
With a passion for practical DIY ideas, homemade solutions, and creative projects, Ahmed focuses on producing easy to follow guides that are simple, affordable, and useful for everyday life. His work blends creativity with structure, helping readers turn basic materials into meaningful results.

