How to Make a Snowflake With Paper and Scissors
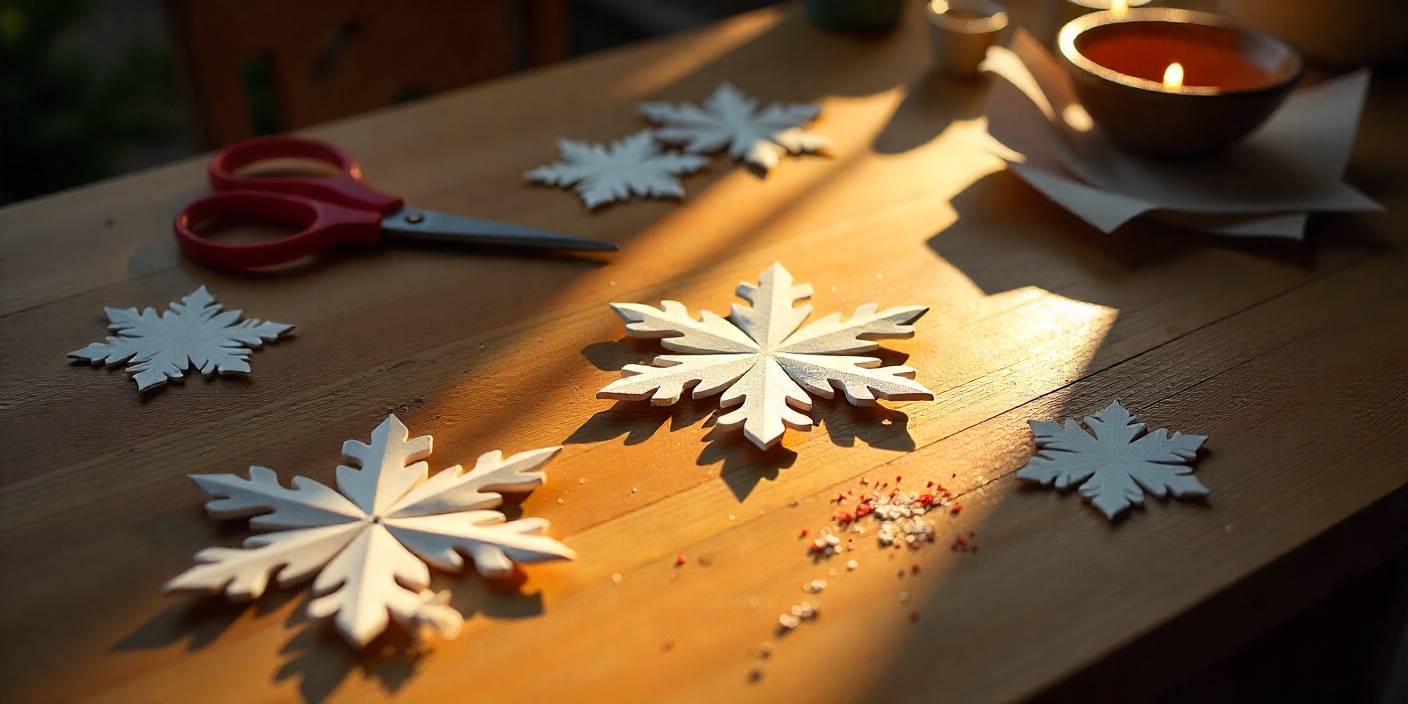
Snowflakes remind us of winter magic. They’re fun, quick to make, and they look great in any classroom or home. Kids especially love them because no two snowflakes ever turn out the same. When schools hold winter events, these small decorations suddenly change a plain room into something that looks like it’s covered with fresh snow.
At DIYDONTSHY, we’ve seen how paper snowflakes are a smiple craft, but they always bring big smiles. Parents enjoy them too because they’re cheap, easy, and can be done with a group of kids at once.
Contents
Materials You Need for Paper Snowflakes
The supplies are easy to find. Most of them are probably sitting around your home already:
- Sheets of white or colored paper
- Child-safe scissors
- A pencil or crayon for sketching
- Tape, glue, or a stapler
- Decorations like glitter, markers, or stickers
That’s all you need. With little kids, always go for safety scissors. No sharp blades.
Choosing the Right Paper
Printer paper works best if you just want simple flat snowflakes. Construction paper is sturdier. It holds shape well and lasts longer when taped to walls or windows.
You can also get creative. Shiny wrapping paper looks great under lights. Recycled paper bags make strong, earthy-looking snowflakes. Even magazine pages can be turned into colorful patterns.
How to Fold Paper for a Snowflake
Folding is the base of the whole project. Start with a square sheet. Fold it into a triangle. Fold again into a smaller triangle. Then fold into thirds so you end up with a cone shape. Trim off the extra paper sticking out at the top, and you’re ready to cut.
For very young children, the folding can be a little confusing. Teachers or parents can fold the paper ahead of time and let the kids focus on cutting.
Easy Paper Snowflakes for Kindergarten
Little kids don’t need fancy designs. In fact, the simpler the better.
Guide them to make:
- Straight lines
- Small triangles
- Half circles
Once they open the paper, the shapes turn into fun patterns. The surprise is the best part for them.
How to Cut Patterns Safely
Safety is the top rule. Show kids how to hold scissors properly. Always cut away from their hands. Remind them to go slow.
Teachers often sketch faint pencil lines as guides. This gives the children a path to follow so they don’t feel lost while cutting. It makes the process smoother for everyone.
Creative Snowflake Designs for Kids
Snowflakes don’t always have to look pointy. You can try playful ideas:
- Hearts cut into the paper
- Star shapes along the edge
- Wavy spirals for a softer style
Another simple trick is tracing cookie cutters onto folded paper before cutting. On DIYDONTSHY, we always recommend mixing freehand cuts with guided ones, so kids can see how both methods turn out.
How to Make 3D Paper Snowflakes
Flat snowflakes are nice. But when you want decorations that really stand out, 3D snowflakes are the way to go. They’re built from several paper pieces joined together. The result looks fuller and more eye-catching, almost like something you’d hang for a holiday show.
Step-By-Step Guide to 3D Snowflakes
Here’s an easy method:
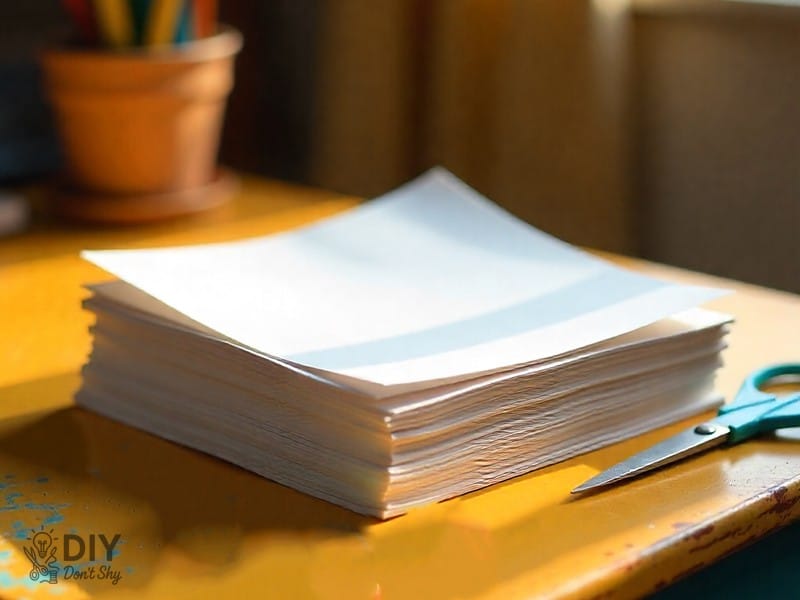
- 1- Cut six squares of paper.
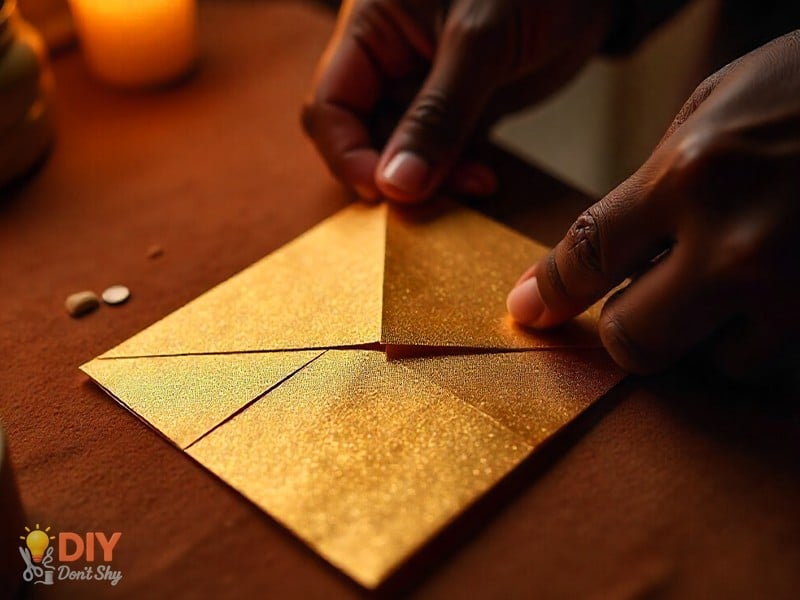
- 2- Fold each into a triangle.
- 3- Snip small cuts along the folded side, stopping before the edge.
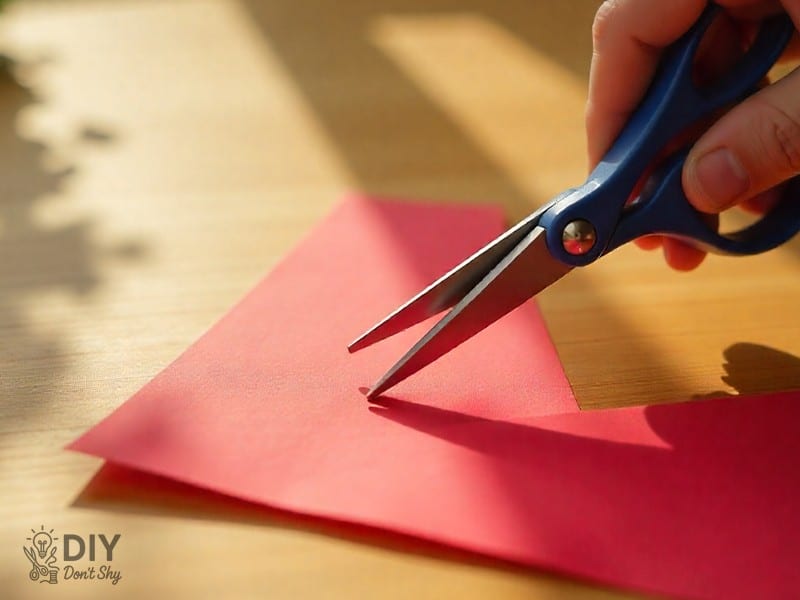
- 4- Open the paper and roll the inner strips, gluing them together.
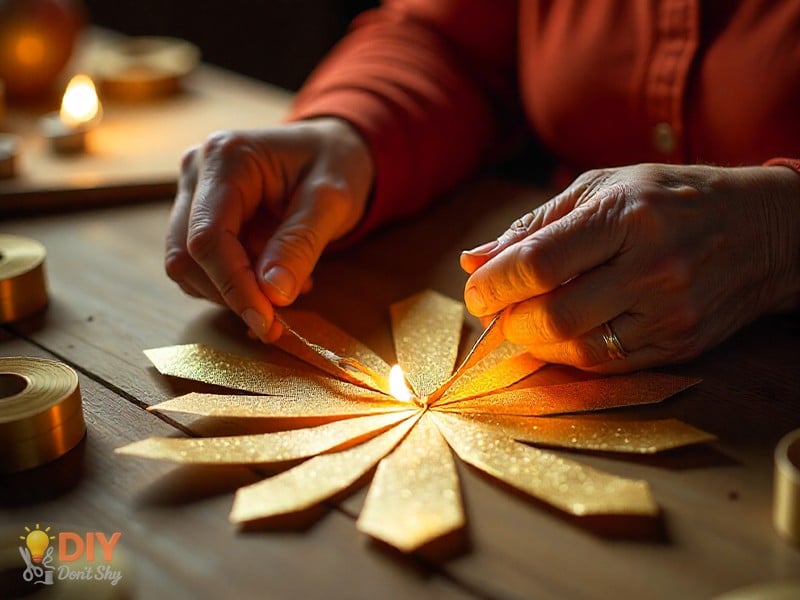
- 5- Repeat the step for each square.
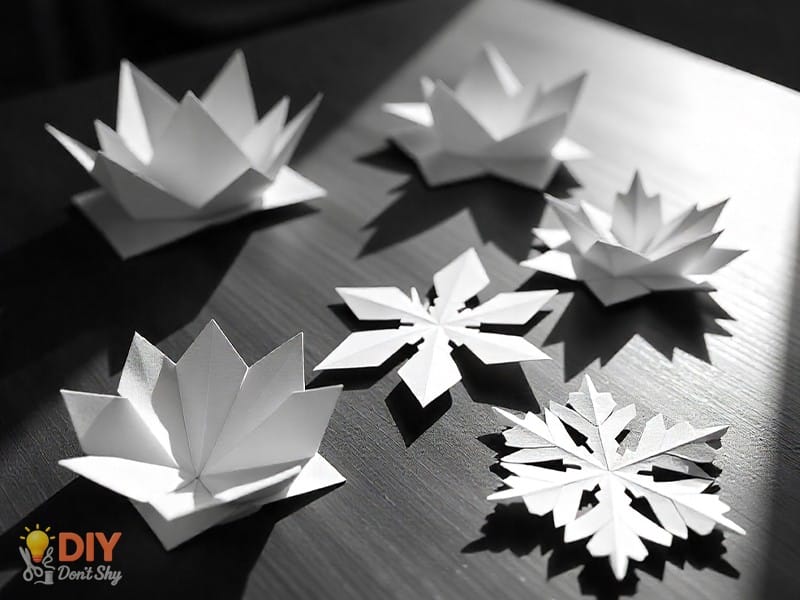
- 6- Join all six at the center with glue, tape, or a stapler.
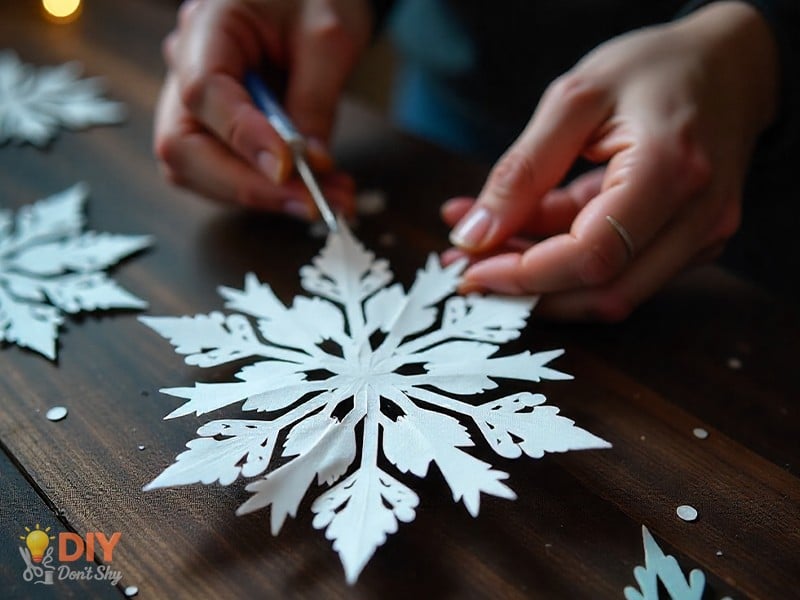
Decorating Your Paper Snowflakes
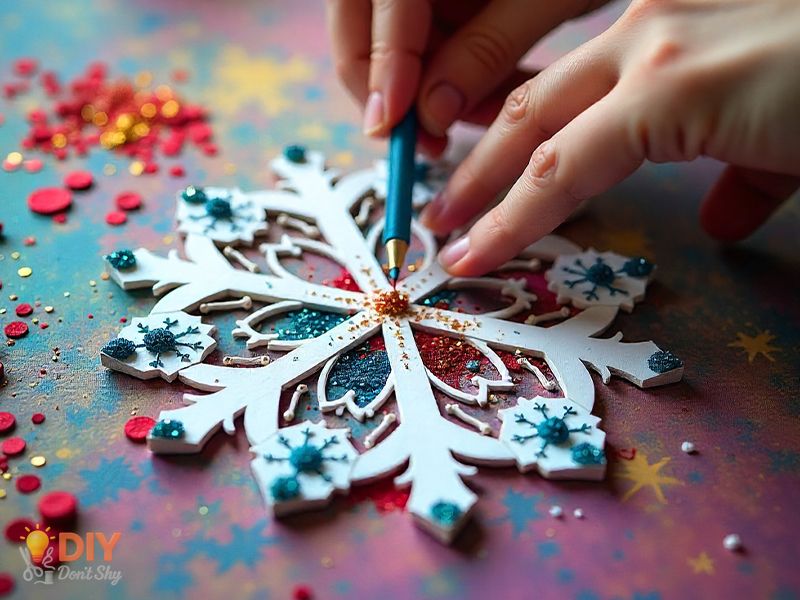
Decoration is where kids really let loose. They can draw on the snowflake with markers, add glitter to the tips, or glue sequins in the center.
When taped to windows or strung up in a classroom, decorated snowflakes catch the light and sparkle. That’s what makes them extra fun during winter school events.
Read: How to Draw a Valentine Heart for Cards
Snowflake Crafts for Winter School Events
Paper snowflakes are cheap decorations that turn classrooms festive. Teachers can tape them to windows, hang them on threads across the ceiling, or use them to cover bulletin boards.
When you walk into a room full of them, you think you are walking in a snowy forest. And the kids love pointing out which ones they made.
Fun Group Activities With Paper Snowflakes
Snowflake crafts can be part of a group project. Kids can swap snowflakes with friends. Or the whole class can work on one huge wall filled with everyone’s snowflakes together.
At DIYDONTSHY, we often suggest letting kids write their names on their snowflakes. That way, they can proudly point out their own work in the display.
Using Paper Snowflakes at Home
These crafts aren’t just for school. At home, families can tape them to doors, windows, or even hang them as ornaments on a tree.
Some families save a few snowflakes each year and compare them to the ones made the next year. It’s a fun tradition and makes kids excited to keep crafting.
Mistakes to Avoid When Making Paper Snowflakes
A common mistake is cutting patterns that are too detailed. Thin lines tear easily and frustrate younger kids. Stick with bold, simple shapes.
Another problem is flimsy paper. It rips fast and doesn’t hold up when taped. Always use sturdier paper for better results. Remember: every snowflake looks unique, so there’s no wrong way to make one.
What It All Means
Paper snowflakes are quick, fun, and a great way to bring winter charm indoors. Kids learn patience while cutting, enjoy the surprise when opening, and be proud when their creations hang on display.
For schools, families, or holiday events, they never go out of style. And if you’re ever looking for fresh ideas or creative variations, the DIYDONTSHY team is always ready to share inspiration for your next craft day.
FAQs About Making a Snowflake With Paper and Scissors
What is the easiest paper snowflake for kindergarten kids?
The triangle cutout is the easiest. Fold the paper, make straight cuts, and open it up to see the design.
How do I make a snowflake without square paper?
Fold a rectangle into a triangle and trim off the extra strip. That gives you a square to work with.
How do I keep paper snowflakes safe for next year?
Store them flat between sheets of wax paper or inside a book. This keeps them from bending or tearing.
What is a fun way to display snowflakes at home?
Hang them on thread from the ceiling. It makes them look like they’re floating in mid-air.
You May Also Like: How to Make an Envelope With Rectangle Paper

Kareem Sallam is an Egyptian special writer based in Australia, with a strong interest in practical ideas and creative content that focuses on everyday solutions. He writes clear, engaging articles designed to be easy to follow and useful for a wide range of readers.
His work centers on DIY projects, handmade ideas, simple crafts, and home based creativity. Kareem aims to deliver content that is practical, inspiring, and accessible, helping readers turn simple materials into smart and enjoyable projects.


