How to Sew a Tote Bag With Flat Bottom
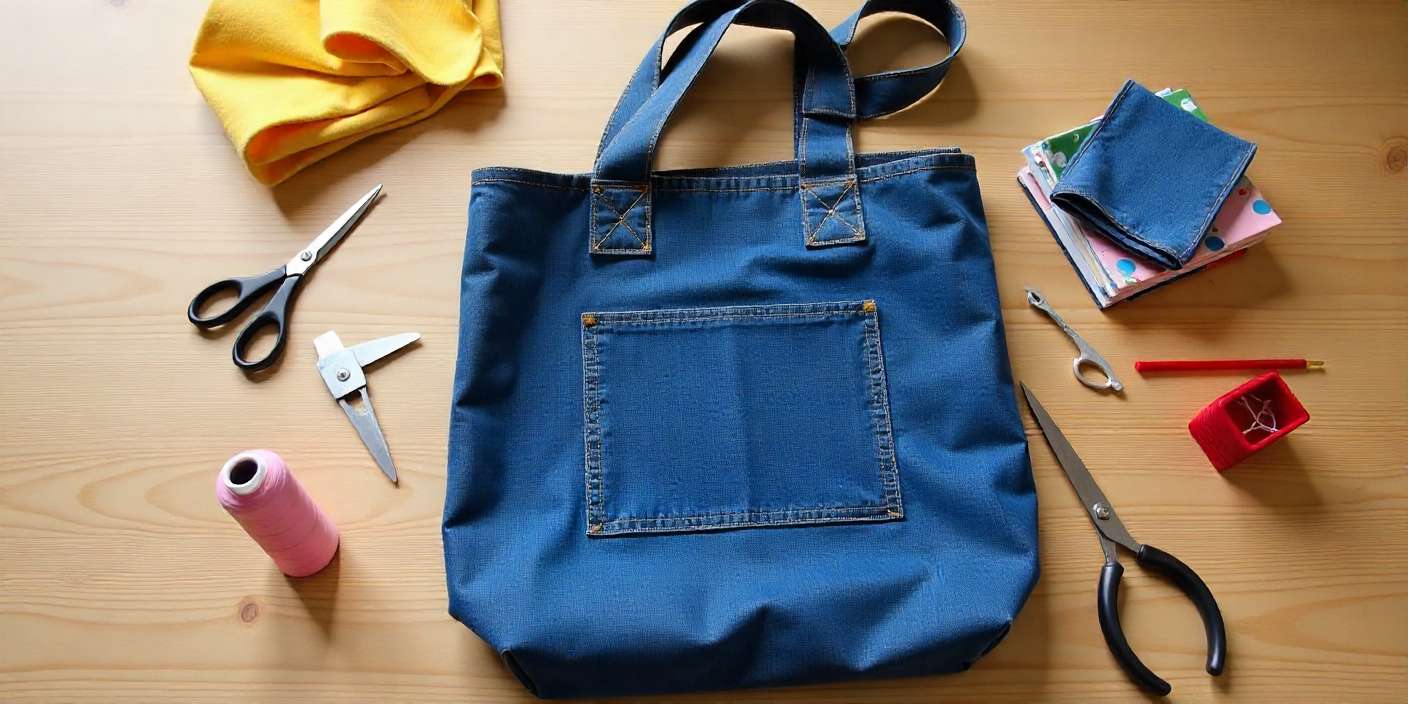
Tote bags have become everywhere. People use them for shopping, work, college, or quick errands. They’re simple, yet they do a lot.
But here’s the thing. Store-bought bags are often weak, too small, or just plain boring. Making your own gives you freedom. You get to decide how strong it should be, what fabric looks nice, and whether you want pockets or not.
DIYDONTSHY encourages projects like this because they’re practical and fun. This guide shows how to sew a tote bag with a flat base and useful pockets. It’s suitable even if you’ve never made one before.
Contents
Materials And Tools Checklist
Before starting, gather your items. You don’t want to pause halfway to hunt for scissors.
- Fabric: Choose denim, heavy cotton, or canvas. These last longer.
- Lining Fabric: Cotton or polyester. Keeps the inside tidy.
- Thread: Strong polyester thread is best.
- Handles: Pre-made straps or fabric strips.
- Sewing Machine: Basic models are fine.
- Scissors Or Rotary Cutter: For neat cutting.
- Measuring Tape And Ruler: Accuracy matters.
- Pins Or Clips: To hold things together.
- Optional: Interfacing for extra strength, or snaps for closures.
A tip. Old jeans work well if you want to recycle fabric. They’re strong and cost nothing.
Estimated Time And Difficulty Level
This project usually takes around two to three hours. If it’s your first attempt, give yourself more time.
It’s a beginner-friendly project. Once you’ve made one, you’ll probably want to make a second, and that will go faster.
Step By Step Instructions
Step 1: Preparing The Fabric
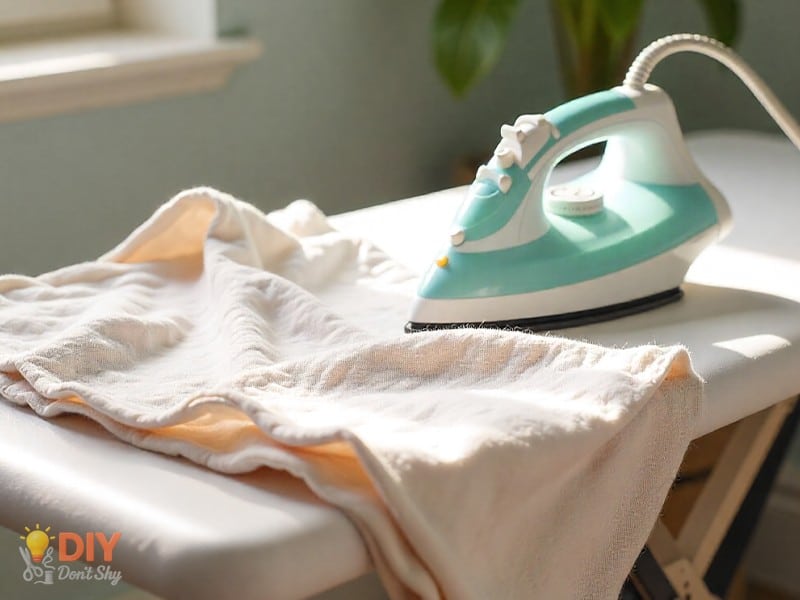
Wash the fabric first. This stops it from shrinking later. Ironing it helps too. It keeps edges flat, which makes cutting easier.
Step 2: Cutting The Panels
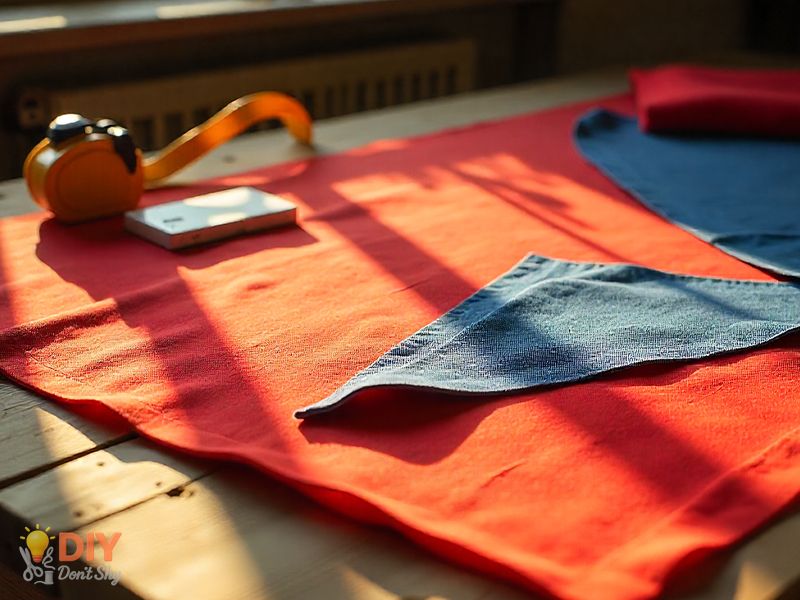
Cut two rectangles for the main bag, each about 16×18 inches. Cut one strip, around 5 inches wide, for the bottom panel. Cut the same pieces for the lining. If you want a pocket, cut an 8×10 inch rectangle.
Step 3: Sewing The Body
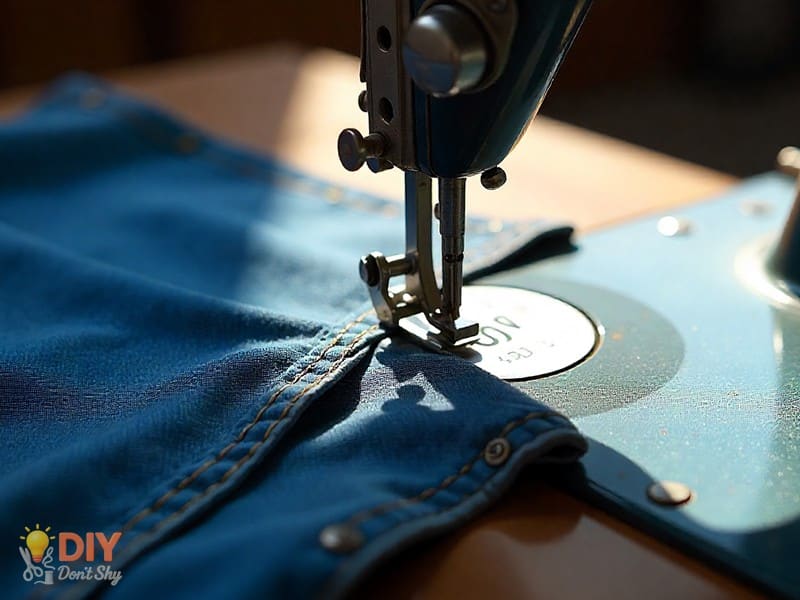
Take the two main panels, put the right sides together, and sew along both sides and the bottom. Keep the top open. Do the same for the lining, but leave a small opening at the bottom so you can turn it later.
Step 4: Adding The Flat Bottom
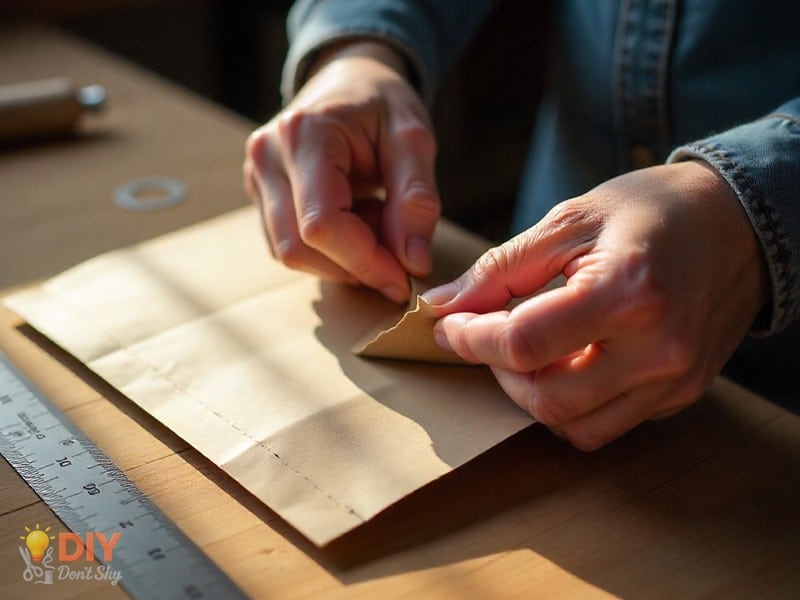
This part gives the bag its shape. Pinch each corner so the side seam lines up with the bottom seam. Sew across about 3 inches from the tip. Do this on both sides. Turn it right side out; you now have a flat base.
Step 5: Attaching Lining
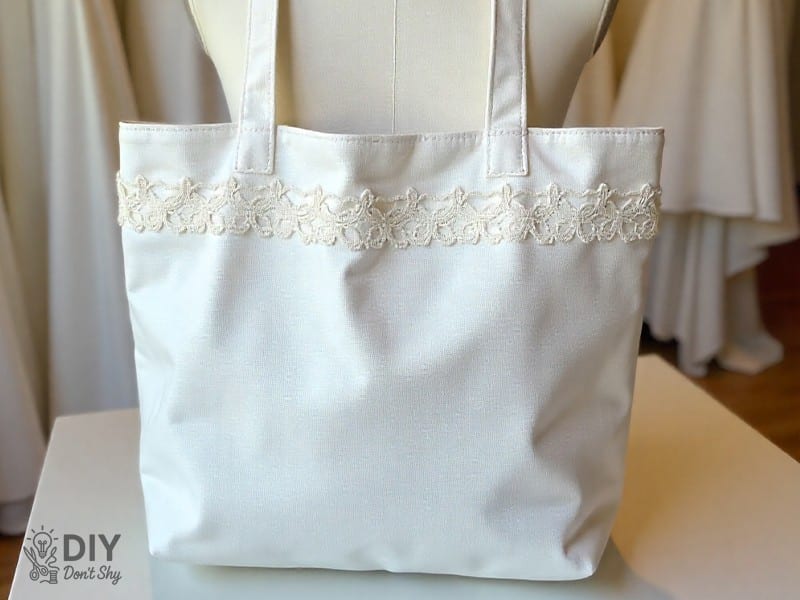
Slide the lining inside the bag with right sides facing each other. Sew around the top edge. Pull the bag through the small hole left in the lining. Then stitch that hole closed. Push the lining neatly inside.
Step 6: Creating Strong Handles
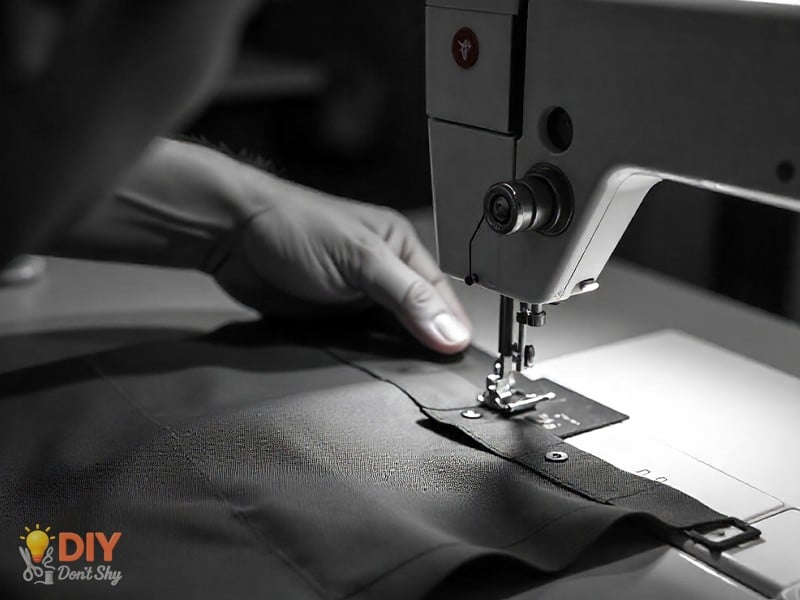
Cut two strips of fabric about 24 inches long and 4 inches wide. Fold them lengthwise, press, fold again, and stitch. Place them on the bag about 4 inches from the sides. Sew securely. Add extra stitches because handles take a lot of weight.
Step 7: Adding Inside Or Outside Pockets
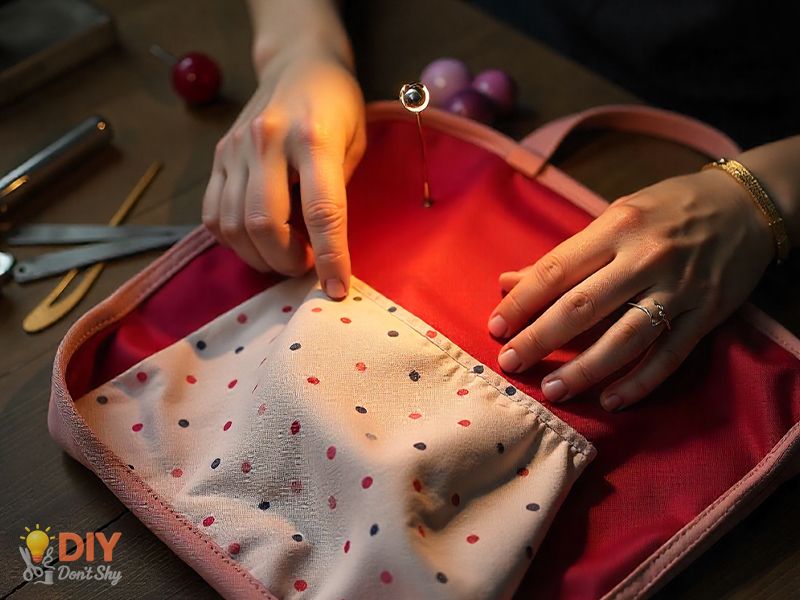
If you want a pocket inside, sew the smaller rectangle onto the lining before attaching it. If you prefer outside pockets, sew them onto the main fabric before joining the panels.
Step 8: Final Stitches And Finishing Touches

Topstitch around the top edge. This makes it look polished. Add snaps or Velcro if you like closures.
Tips And Warnings
Some advice before you finish.
- Backstitch at the start and end of seams. It keeps them strong.
- Avoid weak thread. It won’t last under heavy loads.
- Be careful with thick corners near the needle.
- Iron as you go. It makes the bag look clean and well made.
Creative Variations
Totes don’t have to look plain. Change things up.
Holiday fabrics make seasonal bags. Bright floral prints are fun in summer. Wide straps are better for heavy items, like college textbooks.
DIYDONTSHY readers often share their own ideas; bags made from patched denim, hand-painted designs, or bold prints. Each one shows a bit of personality.
Inspiration Examples
Picture this. A sturdy denim tote for groceries. A bright patterned one for shopping days. Or a plain black bag with crisp white lining for a neat, everyday look.
Same process, but each bag looks completely different. That’s the beauty of DIYDONTSHY projects; you make them yours.
Why This Tote Bag Works For College Students
Carrying books, laptops, and snacks is part of college life. Weak bags don’t last. This tote handles the load better.
The flat base keeps heavy books upright. Pockets keep pens, chargers, or calculators from getting lost at the bottom. And the whole bag can go in the washer when it gets dirty. That’s practical.
Sustainability And Cost Savings
Buying a tote from a store can cost $40 or more. Making one yourself? Around $10.
Using old fabric is smart too. Denim, curtains, or heavy cotton lying around the house can be repurposed. Less waste and less money spent.
DIYDONTSHY supports this idea of recycling while creating useful items.
Final Word
Sewing a tote bag with a flat bottom and pockets gives you something useful and long-lasting. You get a bag that matches your style, saves money, and cuts down waste.
If you’d like to keep going with sewing projects, DIYDONTSHY is a great place to look. And if you want help, their team is always there with advice and ideas.
FAQs About Sewing a Tote Bag With Flat Bottom
1. Can I sew a tote bag without a sewing machine?
Yes. It will take longer, but hand stitches like backstitch make it possible.
2. What fabric works best for carrying heavy books?
Denim or canvas. Both are sturdy and strong.
3. How can I make the bottom stronger?
Use interfacing or slide a piece of cardboard inside as a base.
4. Can I wash the bag in a regular machine?
Yes. Use cold water and a gentle cycle to make it last longer.
5. Where can I find more DIY ideas?
DIYDONTSHY shares guides and tutorials for new projects regularly.
You May Want to Read: Homemade Dishwasher Detergent With Baking Soda

Ahmed Elhor is an Egyptian SEO specialist, pharmacist, and copywriter based in Canada. He combines strong research skills with search focused writing to create clear, helpful content that answers real questions and ranks effectively in search engines.
With a passion for practical DIY ideas, homemade solutions, and creative projects, Ahmed focuses on producing easy to follow guides that are simple, affordable, and useful for everyday life. His work blends creativity with structure, helping readers turn basic materials into meaningful results.


