How to Make 3D Tree With Paper
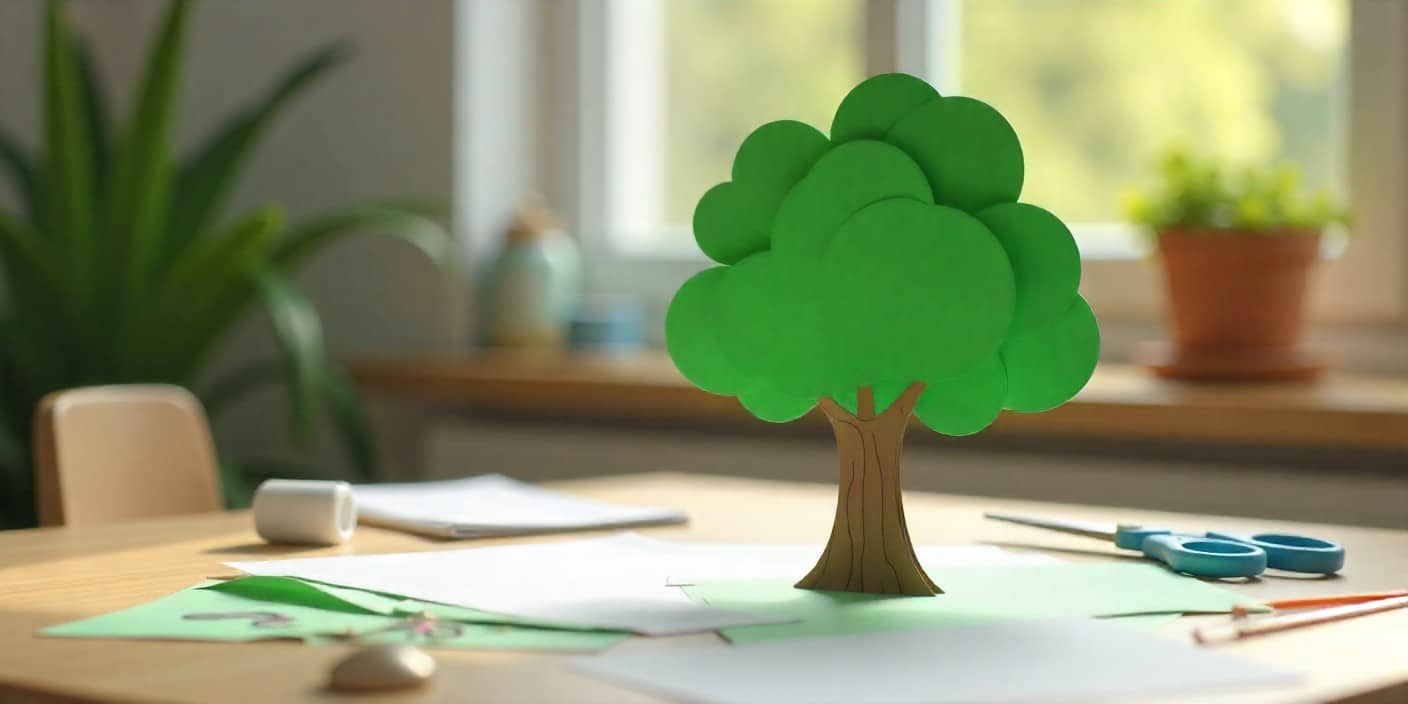
A 3D paper tree is one of those crafts that looks fun, doesn’t cost much, and works for nearly any occasion. Teachers use it in classrooms, kids bring it to school for science projects, and parents like it as a weekend activity.
It’s not complicated. You only need a few basic materials, and in no time, you’ve got a tree that can stand on its own. Some are small enough to fit on a desk. Others are big enough to decorate a wall or a corner of the classroom.
Contents
Materials You Will Need
You’ll want to have everything ready before you start. Grab a pair of scissors, glue, and paper, and you’re halfway there. Here’s a quick checklist:
- Green, brown, and colored craft paper
- Cardboard for trunks or bases
- Scissors (safety scissors for younger kids)
- Glue stick or liquid glue
- Tape for extra support
- Crayons, markers, or paint
Want extra flair? Add cotton balls for snow, glitter for sparkle, or tiny beads as fruit.
How To Make A 3D Tree With Paper
Start simple.
- 1- Cut two large tree-top shapes out of green paper.
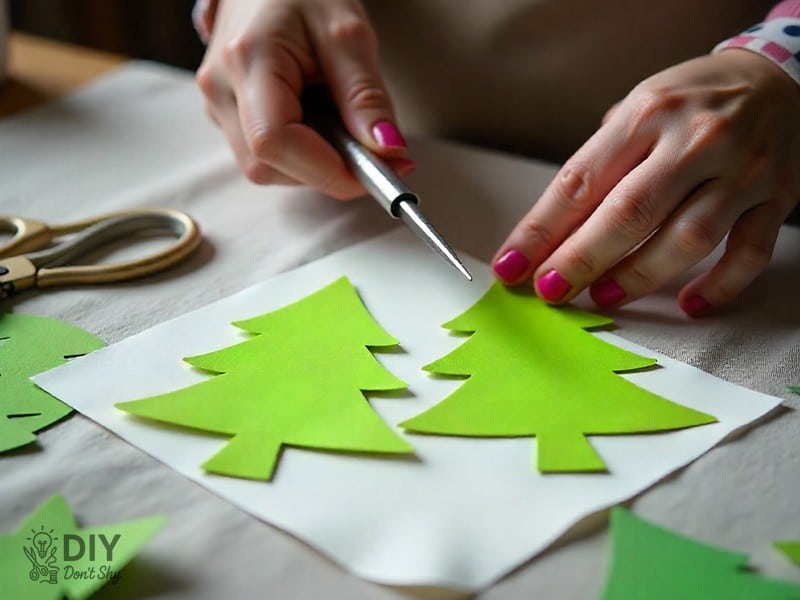
- 2- Fold them both down the middle.
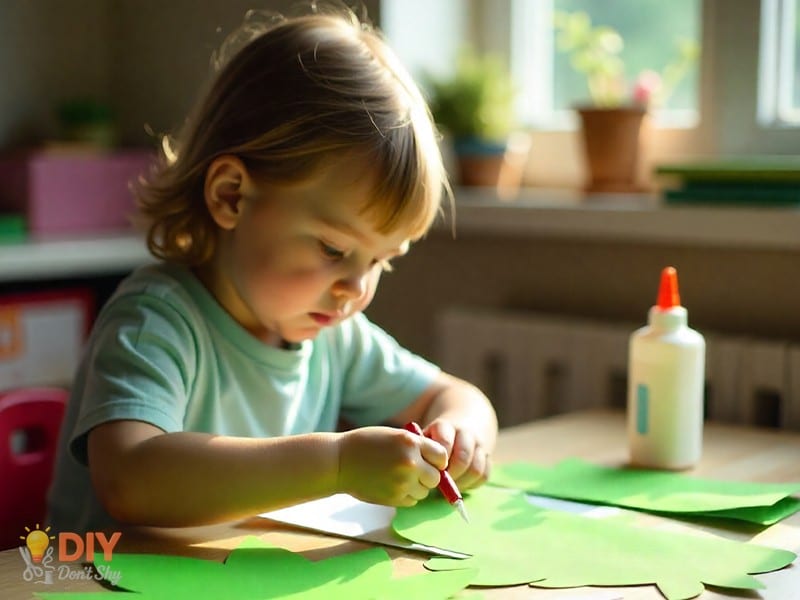
- 3- Slice halfway down one and halfway up the other.
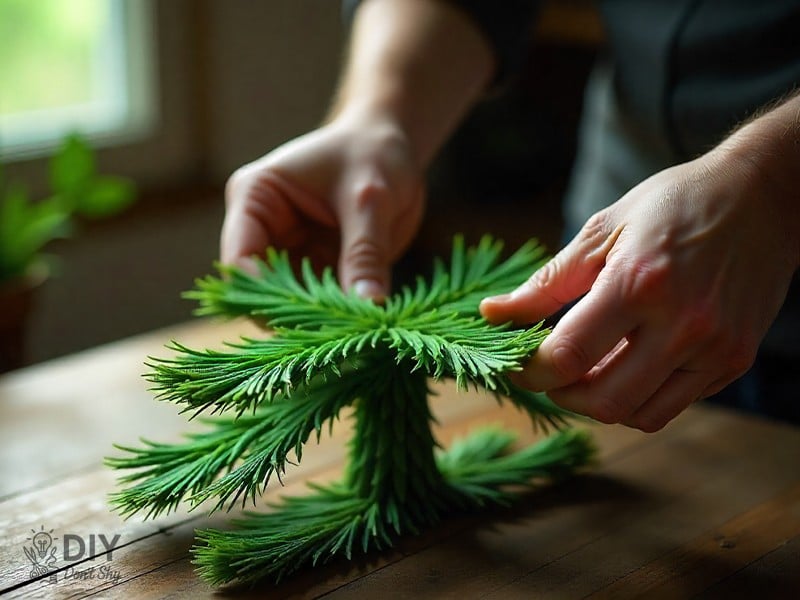
- 4- Slide them together so they cross in the middle.
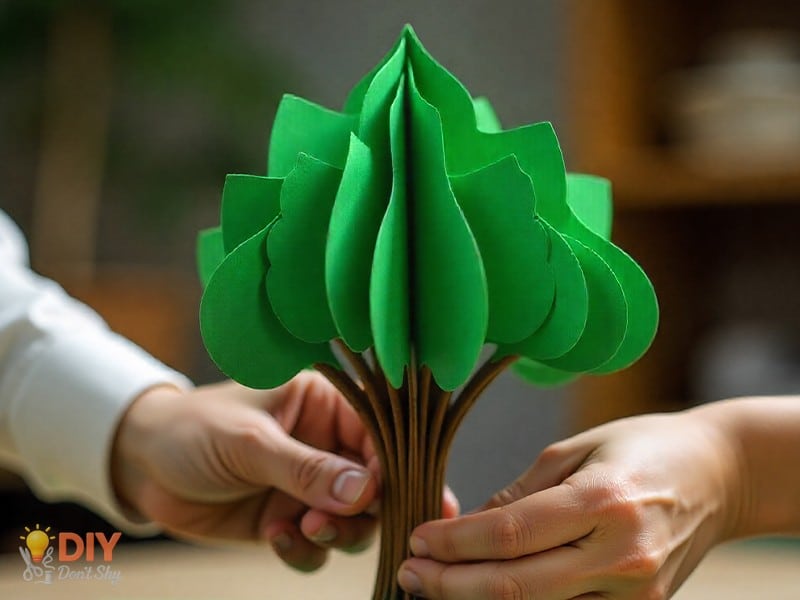
- 5- Make a trunk out of brown paper, roll it into a tube, and attach the top.
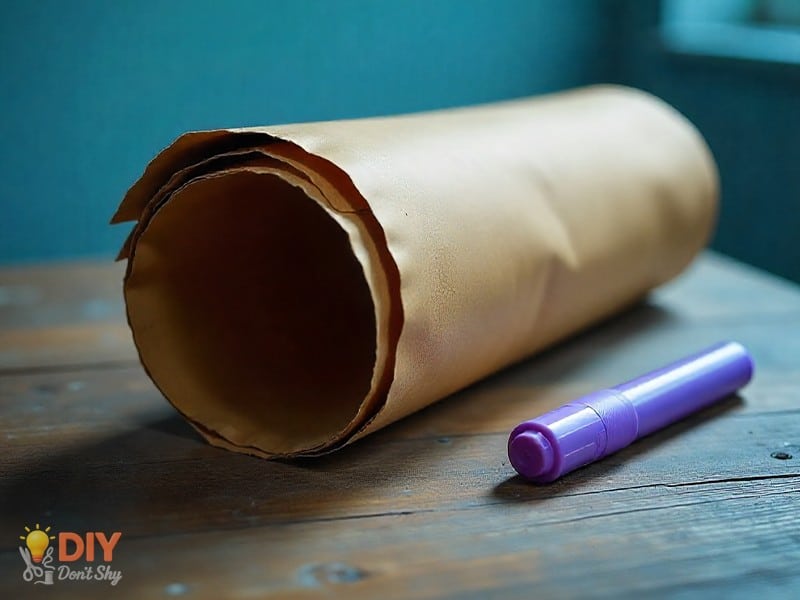
Done. That’s your first 3D paper tree.
How To Make A Paper Tree For School Project
For schoolwork, you’ll need to add more detail. Teachers usually want something educational, not just decoration.
Try labeling different parts: roots, trunk, branches, and leaves. You can glue slips of paper to each section. This helps during presentations.
Mount the whole thing on cardboard so it doesn’t fall over when carried. That little trick makes a big difference.
How To Make 3D Tree With Paper For Kids
Kids don’t need complexity. Keep it light and fun.
Give them templates so they can cut and paste without stress. Use blunt scissors and safe glue. Encourage coloring instead of too much cutting.
It doesn’t matter if the tree turns out uneven or a little sloppy. The joy is in letting kids create freely.
You May Also Like: Homemade Gifts for Adults – Easy DIY Presents
How To Make A 3D Tree Out Of Cardboard
Cardboard trees last longer and work better for displays. Here’s how:
- Cut two identical cardboard tree shapes.
- Cut halfway down one and halfway up the other.
- Slide them together until they form a cross.
- Paint the trunk brown and glue green paper leaves on top.
This is sturdy and perfect for exhibitions or classroom walls.
Paper Tree Crafts For Kids
Not every project has to be big. Quick paper crafts can be just as fun.
- Use toilet paper rolls for trunks.
- Crumple circles of green paper and glue them as leaves.
- Add stickers or buttons for decoration.
These mini trees are great for small hands and short attention spans.
How To Make 3D Tree With Paper For Teachers Preparing Classroom Crafts
Teachers often need bulk projects that are easy to handle. The trick? Prep the parts ahead of time.
Cut several trunks and leaves before class begins. Then let students assemble them in groups. Once finished, arrange the trees on the bulletin board. It looks like a forest made by the entire class.
It saves time and makes every student part of the display.
Decorating Your 3D Paper Tree
Decoration is where you can get creative.
- Autumn trees look amazing with orange, yellow, and red leaves.
- For winter, cotton balls or white glitter make great snow.
- In spring, tissue paper blossoms work well.
- Summer trees can be filled with colorful fruit cutouts.
Change it up with the seasons, and you’ve got decorations all year.
Ideas For Themed Paper Trees
Want to go further? Try themed designs.
- A fall tree with layered leaves.
- A Christmas tree with garlands and a star.
- A spring blossom tree with pastel flowers.
DIYDONTSHY often suggests letting kids choose themes themselves so the results are unique.
Mistakes To Avoid When Making Paper Trees
It’s easy to mess up small details. Watch out for these:
- Using weak glue that doesn’t stick.
- Forgetting to make a wide enough base.
- Adding too many heavy decorations at the top.
The fixes are simple: stronger glue, a stable base, and lighter ornaments.
Why Paper Tree Crafts Are Great For Kids
A paper tree isn’t just decoration. It helps kids practice skills. Cutting, folding, gluing; these all improve coordination. Decorating lets them express ideas in their own way.
It’s also a healthy break from screens. That’s a win for parents.
Tips For Teachers And Parents
Link the project to lessons. Use it for teaching plant life, seasons, or even storytelling.
At home, make it part of family time. The important part is keeping it safe and fun. For younger children, always keep scissors supervised.
Other Creative Variations Of Paper Trees
The possibilities don’t stop here.
- Try hanging trees from the ceiling with string.
- Fold origami trees for bookmarks.
- Create a mural where each student contributes one tree.
These variations make the craft more flexible and fun in group settings.
Finally, If you’d like more creative project ideas, DIYDONTSHY is always ready to guide you with fresh and practical suggestions.
FAQs About Making 3D Tree With Paper
1. Can I make a paper tree without glue?
Yes. Slotting pieces together with cuts works, but glue makes it stronger.
2. What’s the best tree for preschoolers?
A toilet paper roll trunk with a round green top is the easiest.
3. How do I make sure a cardboard tree stands up?
Cut a wide base or stick it to a platform.
4. Can recycled paper be used for this project?
Definitely. Painted newspaper makes an excellent eco-friendly tree.
5. How can teachers use these trees in class?
They can serve as visual aids for lessons on nature, seasons, or creative storytelling.
Read More: Genius Camping Hacks for Tents That Save Space and Time

Ahmed Elhor is an Egyptian SEO specialist, pharmacist, and copywriter based in Canada. He combines strong research skills with search focused writing to create clear, helpful content that answers real questions and ranks effectively in search engines.
With a passion for practical DIY ideas, homemade solutions, and creative projects, Ahmed focuses on producing easy to follow guides that are simple, affordable, and useful for everyday life. His work blends creativity with structure, helping readers turn basic materials into meaningful results.

