30+ How to Make Ornate Picture Frames at Home Easily
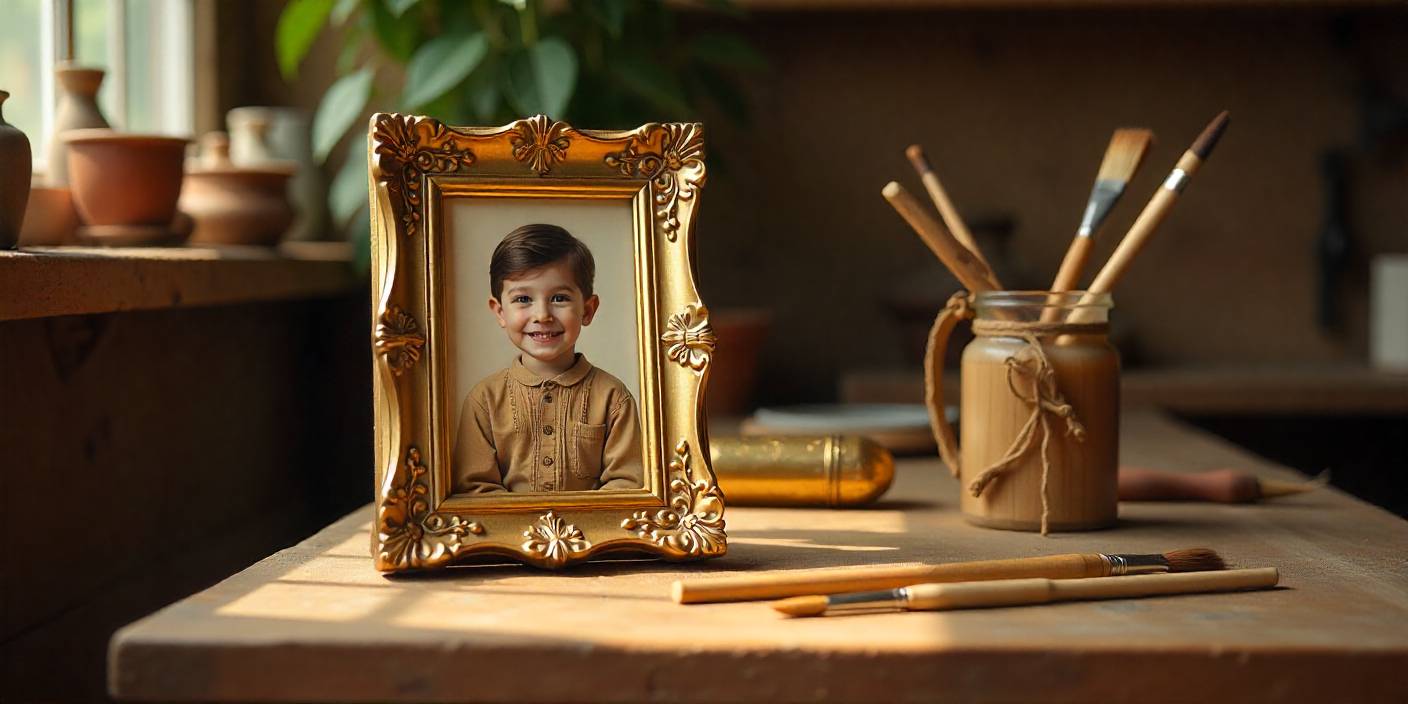
A while back, while helping my aunt sort through old boxes in her Brooklyn apartment, I found a faded family portrait. It had character, but the shoe box it sat in didn’t do it justice. None of the store-bought frames I saw later felt right for it either. So I decided to make one myself.
What started as a small project quickly turned into a lesson. Ornate frames are more than wood and decoration. They give respect to the stories they hold. Building one taught me that patience, a few right tools, and a bit of curiosity can turn simple lumber into a frame that looks like it belongs in an antique shop. This guide will help you do the same.
Contents
Why Ornate Frames?
Ornate frames have never gone out of style. They draw the eye, provide structure, and give artwork or photographs the stage they deserve. They’re especially fitting for heirlooms, portraits, and objects that mean a lot to a family. You can think of them as the difference between whispering and speaking clearly; one is easy to miss, the other makes sure you stop and notice.
What This Guide Covers
This article shows you how to:
- Build ornate frames from scratch.
- Apply antique gold finishes using both metal leaf and paint.
- Tone down frames that look too shiny or bold.
- Use these projects to preserve family history.
Along the way, I’ll share tips that keep the process manageable.
Materials And Tools Checklist
Wood Choices And Hardware
- Poplar: affordable, smooth, easy to cut.
- Pine: common in hardware stores, but knotty (seal it first).
- Oak: strong and durable, but harder to cut cleanly.
You’ll also need a miter saw (or miter box and pull saw), wood glue, brad nails or V-nails, clamps, sandpaper, and hardware for hanging like D-rings and braided wire.
Ornament Options And Adhesives
Want details? Use carved trims, resin appliques, or compo ornaments. Even embossed moldings from the trim aisle work. Wood glue is fine for most, but heavy appliques stay better with CA glue. Painter’s tape can keep curved pieces in place while drying.
Finishes Primers And Sealers
- Primer or acrylic gesso.
- Gilding size (oil or water-based).
- Gold leaf (imitation or real).
- Sealer: shellac or clear acrylic.
- Antiquing supplies: burnt umber paint, raw umber paint, glazing medium, wax (clear and dark).
Keep rags and soft brushes handy.
Estimated Time And Difficulty
Expect one weekend for a simple frame, and two weekends if you’re adding texture and leafing. The work isn’t hard, but accuracy matters. If you can measure carefully and stay patient, you’ll be fine.
Safety Setup And Workspace
Ventilation is essential. If you’re using solvents or spraying finishes, wear a respirator. Keep oily rags spread flat so they don’t heat up. Clamp your wood before cutting. Also, organize your space as it keeps accidents and mistakes away.
How To Make Ornate Picture Frames From Scratch
Measuring And Planning

Start by measring the art or photo. Add space for the rabbet, which is the lip that holds the piece. About 3/8 inch is standard. A cardboard mockup can help you picture proportions on your wall.
Cutting Miters And Joinery
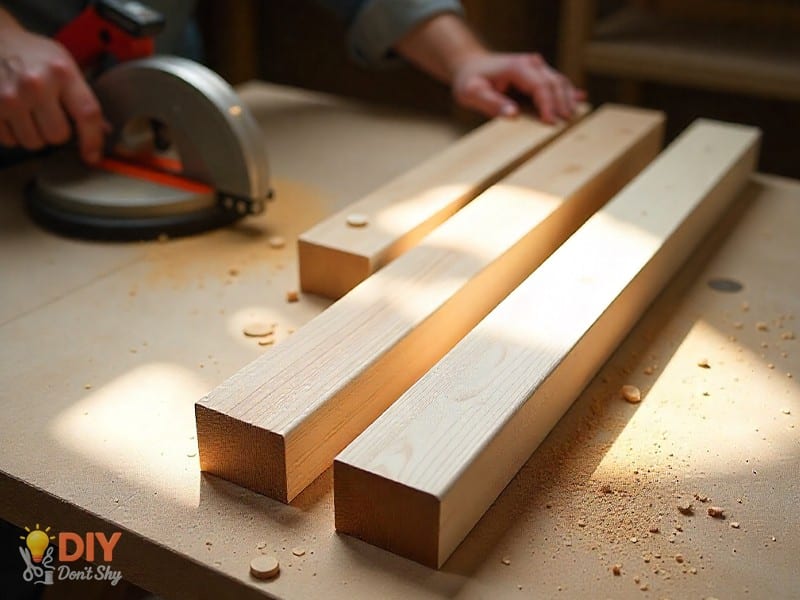
Cut four rails with 45-degree angles. Dry fit before gluing. If corners show gaps, your angle is off; adjust and try again. Apply glue, use a band clamp, and secure with nails once dry.
Splines Biscuits And Clamps
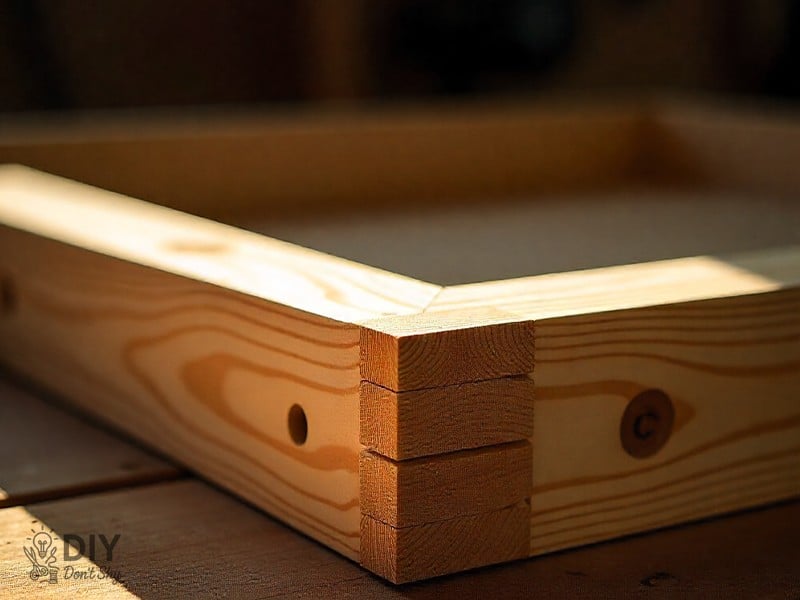
For larger frames, reinforce the corners. Splines act like decorative inserts. Biscuits hide inside the joint. Corner cauls keep clamps from marking the wood.
Adding Ornate Details
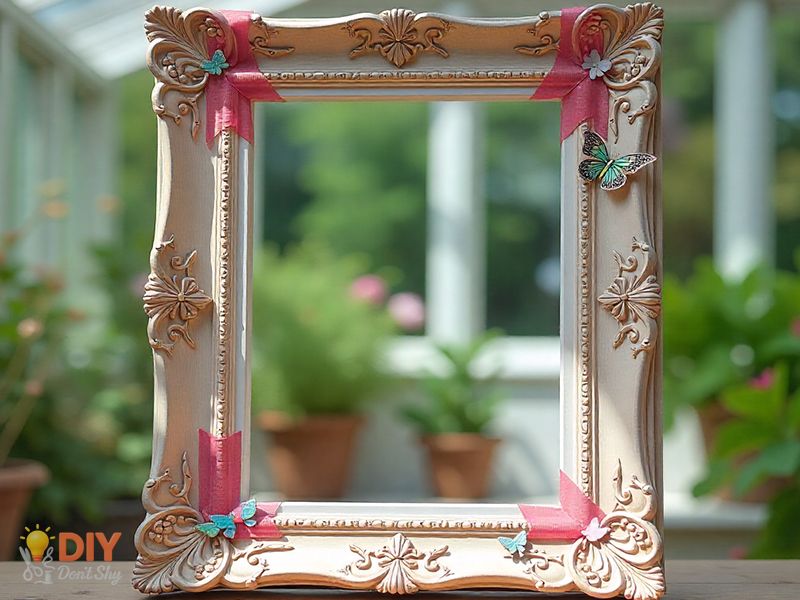
You can stack moldings or glue on trims. Try patterns that mirror each other near corners. It looks intentional and balanced.
Using Carved Trims And Appliques
Cut trims with the same care as the rails. Place appliques so they mirror. Glue them down, tape, and clamp gently. Fill seams with filler, then sand smooth.
Building Detail With Gesso And Texture
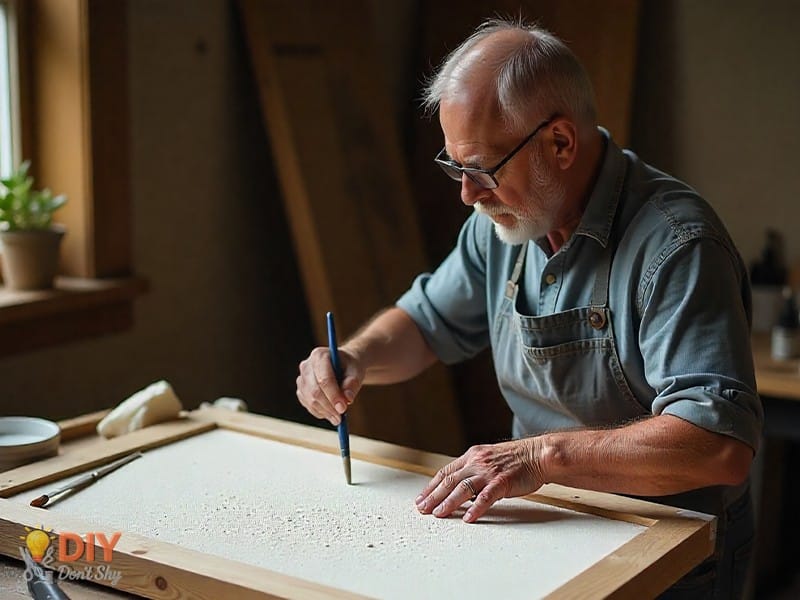
Apply gesso in thin layers, sanding between coats. Stipple the last layer with a brush so antique glaze has texture to catch.
Surface Prep For A Flawless Finish
Clean the surface thoroughly. Seal pine knots. Prime resin pieces for better adhesion. A warm base coat like sienna under gold gives richer depth.
How To Make A Frame Look Antique Gold
Two main routes: leafing or painting.
Metal Leaf Approach
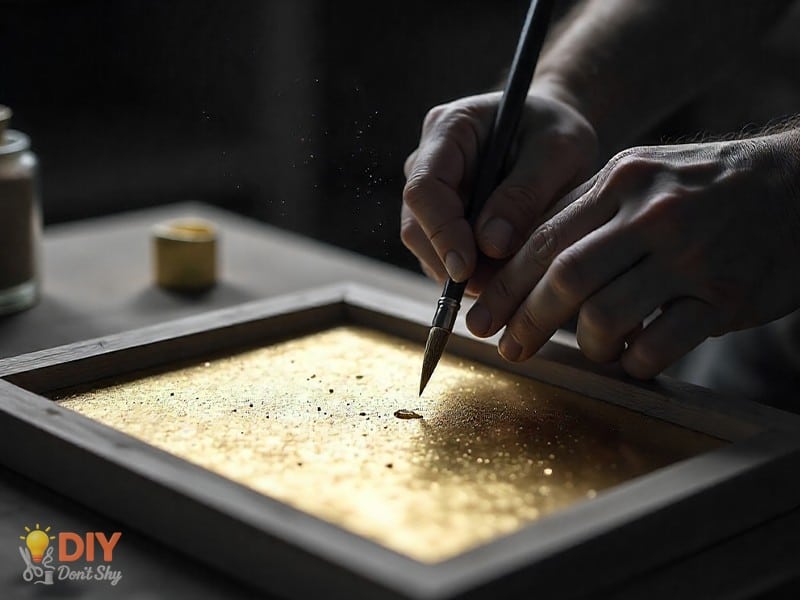
Brush on gilding size. Wait until tacky (20–40 minutes for water-based). Lay gold leaf sheets gently with a soft brush. Overlap slightly. Start from the inside lip and move outward.
Sizing Leafing And Burnishing
Press with cotton, burnish with a soft cloth. Fill gaps with scraps. Seal lightly with shellac or acrylic.
Painted Antique Gold Approach
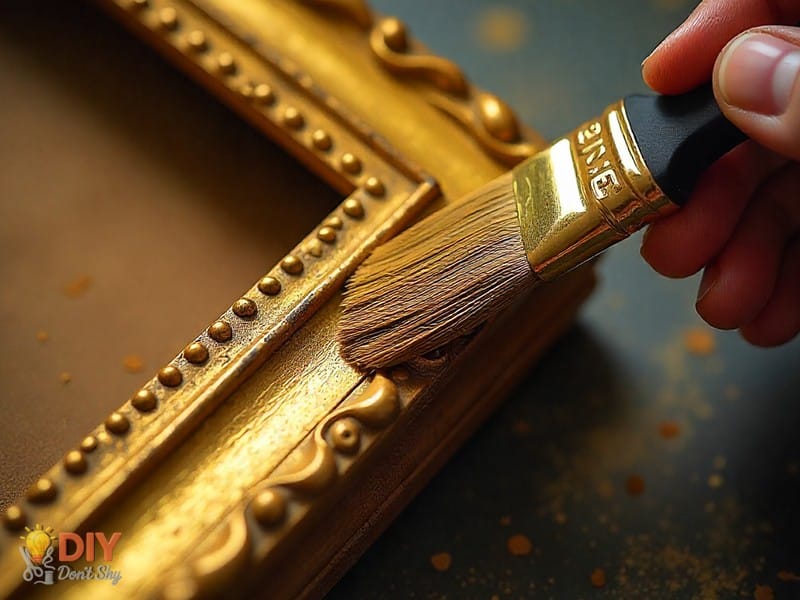
Prime first. Then use metallic acrylic paint. After drying, glaze with burnt umber. Wipe excess so it stays in the details. Add raw umber in corners.
Layering Highlights And Lowlights
Brush brighter gold on raised edges, deepen recesses with glaze. Finish with a satin clear coat.
How To Tone Down A Bright Gold Frame
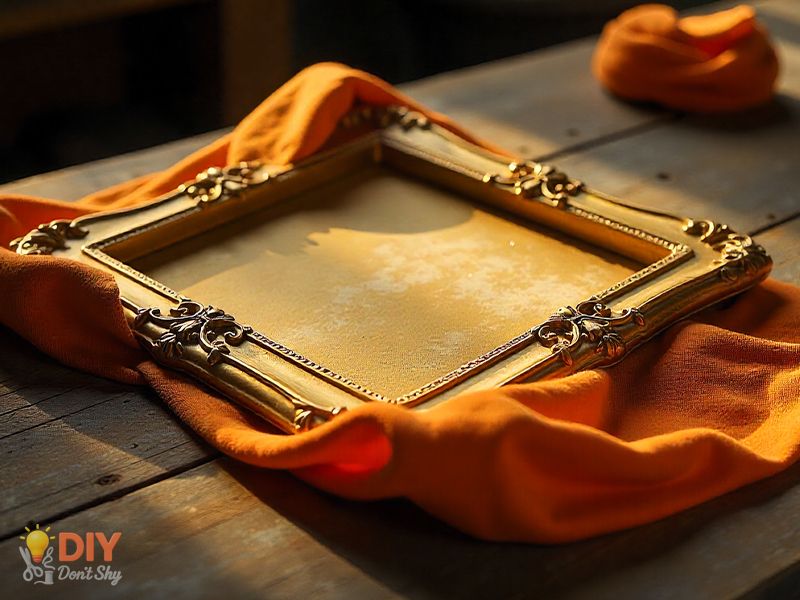
Antiquing Glaze Recipe
Mix: 1 part burnt umber, 5 parts glazing medium. Add a hint of black if too yellow. Apply, then wipe off most. Seal with satin clear.
Wax And Matte Topcoat Method
Rub clear wax for a softer look. Mix in brown paint if you want more depth. Seal with matte or satin topcoat.
Read: DIY Cutting Board Ideas to Add Style to Your Kitchen
Neutralizing Strong Yellow Tones
Cooler browns (instead of warm ones) help. A touch of gray or taupe brushed on edges reduces brassiness.
Creative Variations
- Use gray under gold for a softer look.
- Add a black pinstripe along the inner edge.
- Combine stained outer rails with gold ornament inside.
- Try corner rosettes for vintage flair.
Family Memory Projects That Honor Old Photos
Archival Mats Glass And Backing
Protect photos with acid-free mats and UV acrylic. Museum corners keep them safe without glue. Scan originals first.
Story Pockets And Dates
Attach an envelope on the back. Write names, places, and years. It makes the story last.
Display Ideas For Heirlooms
Mount fabric keepsakes, medals, or small objects inside shadow boxes. An ornate frame makes them stand out.
Awesome Gift Ideas To Make Them Feel Special
For Dad
Frame fishing lures with a map of his lake. Or display a baseball scorecard and ticket stub with a brass plate.
For Mom
Frame a handwritten recipe over linen. Press and frame leaves from her garden for the kitchen.
For Grandparents
Make a collage of family photos arranged around a portrait. Add a plaque with the family name.
For A Best Friend
Frame part of a concert poster with a hidden note on the back. Or mat a comic book panel inside a gold-lined frame.
Inspiration Gallery Ideas
Use gold inside and black outside for contrast. Try ornament only on top corners. Museum visits can spark fresh ideas.
Common Mistakes And Quick Fixes
- Gaps at corners? Adjust saw angle.
- Leaf peeling? Size wasn’t ready.
- Cloudy topcoat? Humidity problem.
- Streaky glaze? Work smaller areas, wipe faster.
Conclusion And Next Steps
Now you have the process. Build the frame. Finish it in antique gold. Tone down shiny frames if needed. Handmade frames give art and memories the care they deserve.
If you’d like guidance for your first project, DIYDONTSHY can help. Their team can walk you through material choices and finishes.
FAQs About Making Ornate Picture Frames
What Wood Should I Use First?
Poplar is reliable and affordable. Pine works if you seal knots.
Can I Make Antique Gold Without Leaf?
Yes. Metallic paint with glaze creates a similar look.
How Do I Fix A Corner Gap?
Use a veneer shim, glue, sand, and repaint.
What’s The Quickest Way To Tone Down A Shiny Frame?
Apply a glaze of burnt umber and glazing medium, wipe, and seal.
How Do I Protect Old Photos In Frames?
Use acid-free mats, UV acrylic, and store a scanned copy.
You May want to Read: Homemade Birthday Cards for Him to Make Him Smile

Ahmed Elhor is an Egyptian SEO specialist, pharmacist, and copywriter based in Canada. He combines strong research skills with search focused writing to create clear, helpful content that answers real questions and ranks effectively in search engines.
With a passion for practical DIY ideas, homemade solutions, and creative projects, Ahmed focuses on producing easy to follow guides that are simple, affordable, and useful for everyday life. His work blends creativity with structure, helping readers turn basic materials into meaningful results.


