How to Build an Electric Bike for Less Than $100

Electric bikes are everywhere now. They’re fast, practical, and save you from sweaty uphill rides. But the price? That’s the dealbreaker. Factory-made e-bikes or even conversion kits often cost more than most college students can handle.
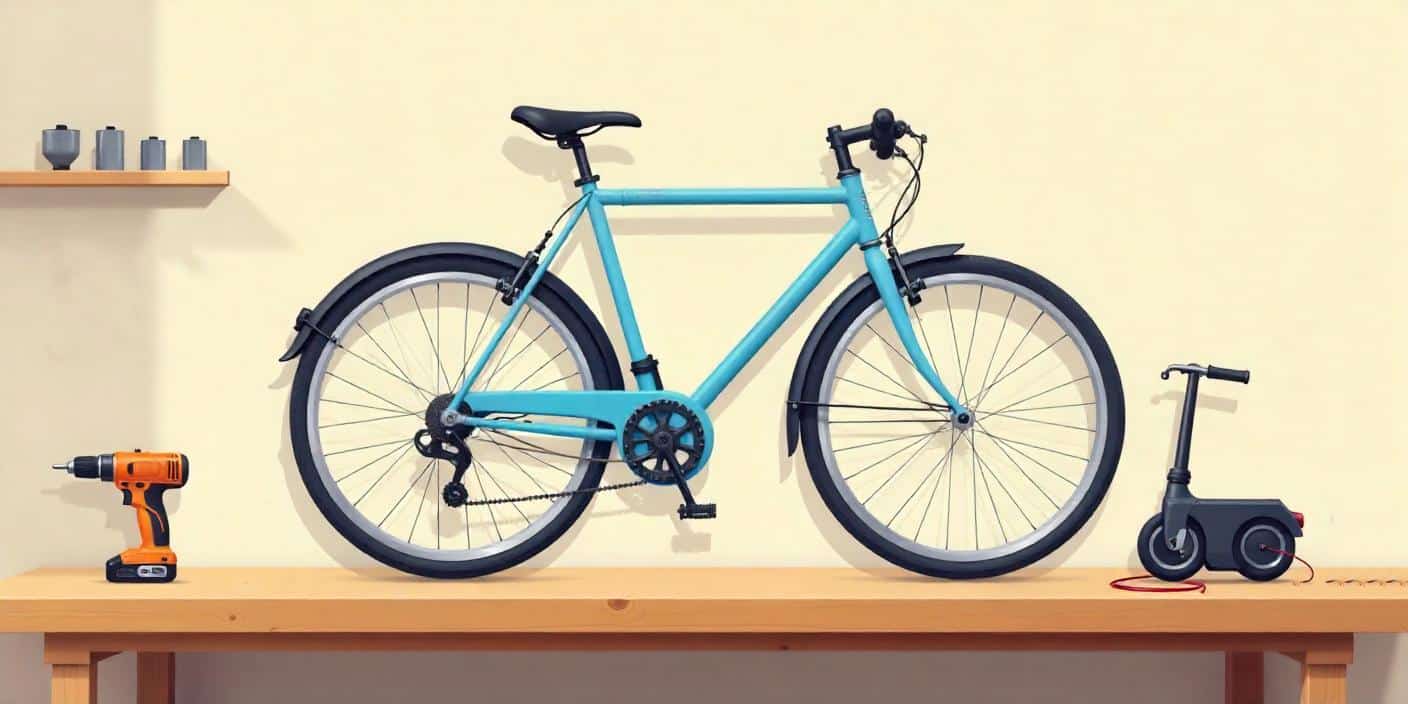
The good news is, you don’t need to spend big. With some scavenged parts, a drill, or an old scooter motor, you can build one yourself for under 100 dollars. It’s not complicated. In fact, it’s pretty fun once you see it moving for the first time.
DIYDONTSHY has always been about low-cost projects that actually work. This one fits the bill.
Contents
Materials And Tools Checklist
Let’s be realistic: the less you spend, the better. Most of the parts can be picked up used or even free if you ask around.
General Tools and Materials
- Old but sturdy bike
- Helmet and working front brake
- Basic toolkit (screwdrivers, wrenches, hex keys)
- Wire (14–16 gauge)
- Electrical tape or heat shrink tubing
- Inline fuse (20–30 amps)
- Toggle switch
- Zip ties, clamps, bolts, and nuts
If You’re Going With A Drill Setup
- Cordless drill (18–20 volts)
- Roller (short pipe or skateboard wheel)
- Grip tape or rubber sleeve
- Brackets or U-bolts
- Spare battery for longer trips
If You’re Using A Scooter Motor
- 24-volt brushed scooter motor (150–250 watts)
- Chain and sprockets
- 24V battery setup (two 12V SLA batteries or an old scooter pack)
- Simple motor controller or heavy switch
Optional add-ons: lights, bell, and reflective tape. Nothing fancy, just what makes you safer.
Time And Skill Level
Building with a drill? You’ll finish in a single afternoon. Going with a scooter motor? Give yourself a full weekend.
You don’t need advanced skills. If you can fix a loose chair leg or replace a bike chain, you’re fine.
Safety First
Stop before you start: check the bike. If the brakes are weak, fix them first.
Add a headlight if you’ll ride after dark. Keep the wiring neat so nothing catches in the chain or rubs against the frame. And don’t skip the fuse. A cheap fuse can save you from a fried battery or worse.
Also, check your local rules. Most campuses treat low-speed e-bikes like bicycles, but it’s better to know than guess.
Choosing Your Build
Here’s the fork in the road:
- Drill-powered friction drive. Quick, cheap, and perfect for short trips on flat ground.
- Scooter motor with chain. Stronger pull, better for hills, but takes longer to put together.
Both cost about the same in the end.
Drill-Powered Friction Drive Build
This is the classic budget hack. Surprisingly effective, too.
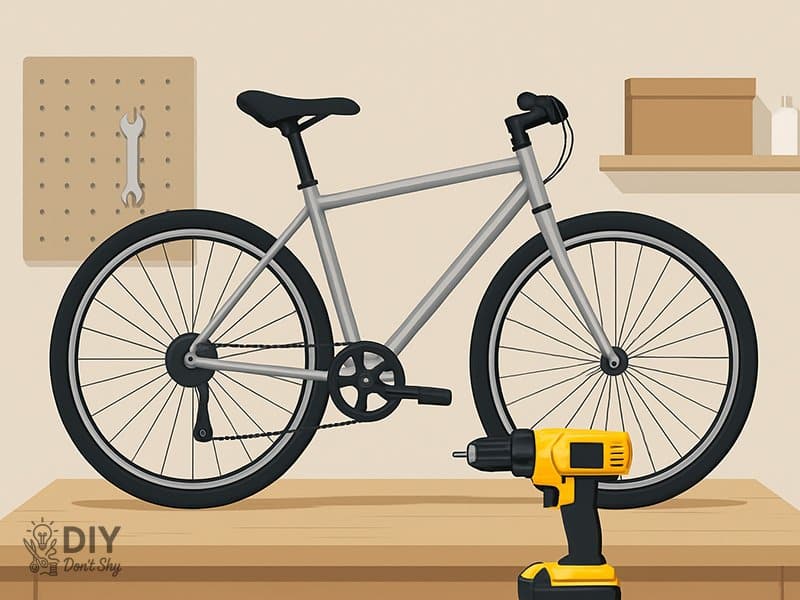
- Step 1: Prepare the Bike and Drill
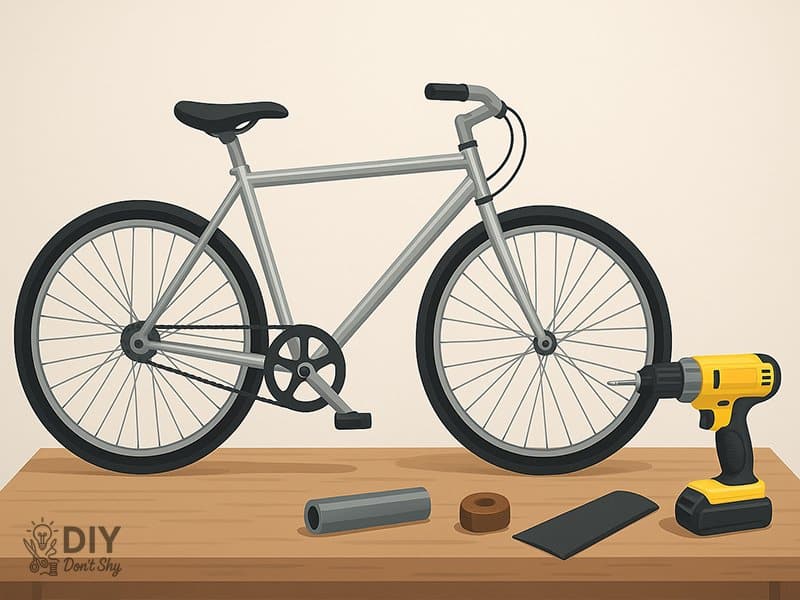
Choose a full-size bicycle with a clean rear tire. Get an 18–20V cordless drill with a charged battery. - Step 2: Build the Roller
Use a short steel pipe or a skateboard wheel. Wrap it with black grip tape so it can press against the bike tire without slipping. - Step 3: Mount the Drill and Roller
Make a flat bracket across the seat stays using plywood, aluminum, or steel. Secure the drill with clamps so the roller on the drill chuck presses gently on the very top of the rear tire. - Step 4: Add Switch and Adjust Pressure
Use the drill trigger or wire a toggle switch with a fuse near the battery. Adjust roller tension with a spring so it grips without dragging. Test indoors with the rear wheel lifted, then take a safe short ride. Expect 10–15 mph speeds on flat ground.
Scooter Motor Rear Drive Build
A little more effort, but solid results.
Step 1 Collect What You Need
Old Razor scooters are gold mines for motors and sprockets. Aim for a 24V brushed motor around 200 watts.

Step 2 Attach The Motor
Mount it near the rear wheel with a sturdy plate or brackets. Keep the chain straight. A sloppy chainline eats parts fast.

Step 3 Power Setup
Wire two 12V batteries in series. Add your fuse, then connect the motor through either a basic controller or just a heavy-duty switch. Keep wiring short and tied down.
Step 4 First Spin
Spin the wheel by hand first. Then power up. If the chain grinds, adjust tension. When smooth, give it a road test. Pedal a few strokes, then switch on the motor.
You May Also Like: How to Make a Toy Car That Moves by Itself
Cost Breakdown Under 100 Dollars
Typical drill build:
- Drill with battery: $20–30
- Brackets and clamps: $10
- Roller: $5
- Wiring and fuse: $10
- Spare battery: $15
Scooter motor build comes in similar, about $60–90 if you shop smart.
Performance Expectations
The drill-powered bike works best for short, flat rides. Expect a few miles of range per battery.
Scooter motor builds handle longer rides and mild hills. Both give about 10–15 mph speeds, which is plenty for campus commutes.
Upgrades When You Have Extra Cash
- Better brake pads
- Stronger lights
- Mudguards for rainy days
- Bigger batteries
- Real motor controller for smoother starts
Tips And Warnings
- Don’t let the drill or motor block your brakes.
- Always use a fuse.
- Recheck bolts after the first few rides.
- Avoid puddles with friction drives.
- Be polite when passing people on foot.
Creative Variations
- Compact dorm build: BMX frame with a mini drill, easy to stash.
- Hidden design: Paint mounts to match your bike, tuck wires under the frame.
- Cargo helper: Attach a roller to push a small trailer instead of the wheel.
Skill Building
By the time you finish, you’ll know how to mount hardware, wire a switch, and line up a chain. Those skills stick with you.
Troubleshooting
- Roller slipping? Add grip tape or clean the tire.
- Drill getting hot? Pedal more and use shorter runs.
- Chain popping? Realign the sprockets.
- Drag when pedaling? Lift the roller when off power.
- Wires warm? Use thicker ones.
Frequently Asked Questions
Can I Build This Inside A Dorm?
Yes, but do the noisy drilling outside. Store batteries in a safe, dry place.
How Fast Can It Go?
Between 10 and 15 mph, depending on rider weight and road surface.
What Happens In Rain?
Light mist is fine. Heavy rain makes friction drives slip. Protect wiring and stay out of puddles.
Are They Allowed On Campus?
Most colleges treat them as bikes if they don’t go too fast. Still, check your school rules.
How Long Do Batteries Last?
One drill battery covers a couple of short rides. Carrying a spare doubles your range.
Key Takeaways
A working electric bike for under 100 dollars sounds far-fetched, but it’s real. Using either a drill or a scooter motor, you can put together a simple machine that saves time and energy. It won’t replace a car, but it will carry you across campus with less effort and way more fun.
If you’d like help with ideas or even improving your setup, DIYDONTSHY has a team ready to guide you. Just tell them what bike you have, how much you want to spend, and what kind of ride you’re aiming for. Contact us now.

Kareem Sallam is an Egyptian special writer based in Australia, with a strong interest in practical ideas and creative content that focuses on everyday solutions. He writes clear, engaging articles designed to be easy to follow and useful for a wide range of readers.
His work centers on DIY projects, handmade ideas, simple crafts, and home based creativity. Kareem aims to deliver content that is practical, inspiring, and accessible, helping readers turn simple materials into smart and enjoyable projects.


